
How to Toast Bread in Oven: A Beginner’s Guide
Toasting bread in your oven is one of the simplest yet most versatile cooking techniques you can master. Whether you’re preparing crispy garlic bread for pasta night, making homemade croutons for salads, or simply wanting perfectly golden toast for breakfast, oven toasting delivers consistent, delicious results every time. Unlike a traditional toaster that can only handle a few slices at once, your oven allows you to toast multiple pieces simultaneously, making it ideal for feeding a family or preparing ingredients for recipes.
Many home cooks overlook the oven method because they assume it’s complicated or time-consuming. In reality, it’s faster than you might think and requires minimal effort. The key is understanding the right temperature, timing, and technique to achieve that perfect golden-brown exterior while keeping the inside soft and flavorful. This guide will walk you through everything you need to know, from selecting the right bread to troubleshooting common problems.

Why Toast Bread in the Oven?
The oven method offers several advantages over traditional toasters. First, capacity is significantly higher—you can toast an entire loaf’s worth of slices in one batch, making it perfect for meal prep or entertaining guests. Second, even browning is easier to achieve because you control both the top and bottom heat exposure. Third, versatility allows you to toast bread at various thickness levels without getting jammed mechanisms.
Additionally, oven toasting gives you more control over the final texture. You can achieve light golden tones for delicate applications or deep, crispy exteriors for heartier dishes. The even heat distribution in a properly preheated oven prevents the uneven browning that sometimes occurs with pop-up toasters. For those working on kitchen improvements and home projects, mastering oven toasting is a foundational skill.

Choosing the Right Bread
Not all breads are created equal when it comes to toasting. The type of bread you select dramatically impacts your results. White bread toasts quickly and evenly, making it ideal for beginners. Whole wheat bread contains more moisture and fiber, requiring slightly longer toasting times but offering superior nutrition. Sourdough has a thicker crust that resists burning while the interior toasts beautifully.
For the best results, use bread that’s at least one day old. Fresh bread contains more moisture and will steam rather than toast, resulting in a chewy rather than crispy texture. Day-old bread has had time to lose surface moisture, allowing the Maillard reaction (the browning process) to occur more effectively. Avoid bread that’s already stale or hard, as it will become overly brittle and may burn before the interior toasts properly.
Consider the thickness of your slices as well. Standard sandwich bread slices (about 1/2 inch thick) are ideal for beginners. Thicker slices (3/4 inch to 1 inch) work well for artisanal breads and create satisfying croutons. Thin slices (1/4 inch or less) toast extremely quickly and work best for delicate applications like bread chips for soup.
Essential Equipment and Setup
You’ll need minimal equipment to get started. A standard kitchen oven is essential—convection ovens work particularly well because their circulating air promotes even browning. You’ll also want a baking sheet or sheet pan (preferably with a light-colored surface, as dark pans absorb more heat and may cause over-browning), an oven thermometer to verify your oven’s actual temperature, and a timer to ensure precision.
Optional but helpful items include kitchen maintenance knowledge, parchment paper (to prevent sticking and simplify cleanup), a pastry brush (for applying oils or toppings), and a cooling rack (to prevent steam from making your toast soggy after removal). For those managing kitchen renovations, understanding your oven’s performance characteristics is crucial for consistent results.
Preparation is straightforward: ensure your oven racks are clean and positioned in the center of your oven. Remove any debris from the bottom. If using parchment paper, line your baking sheet. Have all your bread slices arranged and ready before preheating to maximize efficiency.
Step-by-Step Toasting Instructions
Step 1: Preheat Your Oven
Preheat your oven to 375°F (190°C) for standard white or wheat bread, or 350°F (175°C) for more delicate breads like brioche or ciabatta. Preheating typically takes 10-15 minutes. Use an oven thermometer to verify the temperature, as many home ovens run hot or cold. This is a critical step—toasting without proper preheating results in uneven browning and unpredictable cooking times.
Step 2: Prepare Your Bread
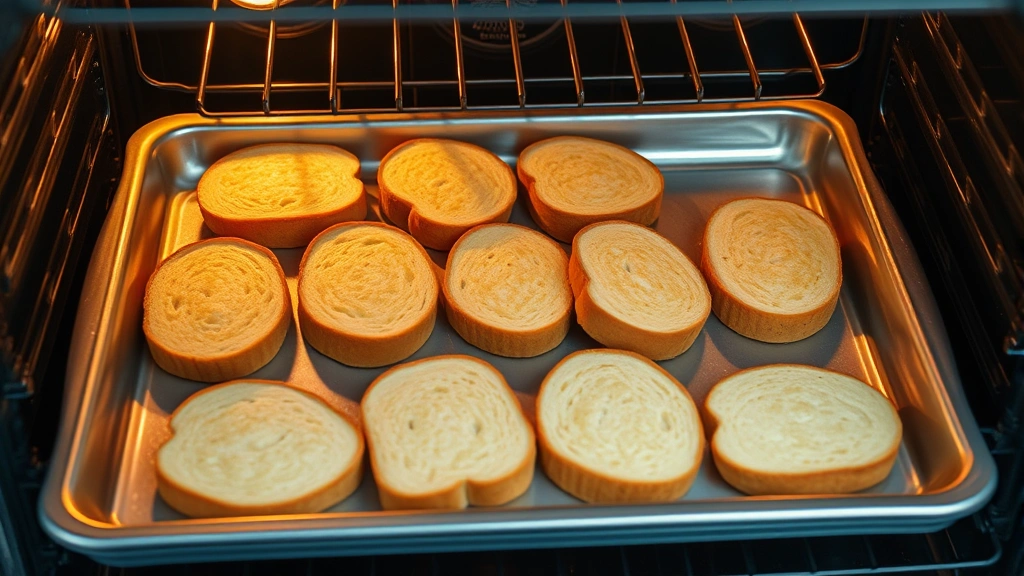
Slice your bread to your desired thickness. If you’re making garlic bread or applying toppings, prepare those elements now. For plain toast, simply arrange slices on your baking sheet in a single layer, ensuring they don’t overlap. Slight spacing between slices allows hot air to circulate evenly around each piece.
Step 3: Place Bread in Oven
Once your oven reaches the target temperature, carefully place your baking sheet on the center rack. Close the oven door gently to avoid disrupting the heat. Set your timer for the appropriate duration based on your bread type and thickness (see temperature guide below).
Step 4: Monitor Progress
For the first batch, watch your bread around the halfway point. Open the oven briefly to check browning. This teaches you how your specific oven performs. Some ovens have hot spots that brown bread faster on one side, so you may need to rotate your pan halfway through. Close the door quickly to maintain temperature.
Step 5: Remove and Cool
Once your bread reaches your desired golden-brown color, remove the baking sheet using oven mitts. Be careful—the sheet and bread will be extremely hot. Place the toast on a cooling rack or clean surface. Allow it to cool for 2-3 minutes before serving. This cooling period allows the exterior to crisp further as residual moisture evaporates.
Temperature and Timing Guide
Achieving perfect toast requires understanding the relationship between temperature and time. Here’s a comprehensive guide:
- White Bread (1/2 inch slices): 375°F for 5-7 minutes. Start checking at 4 minutes to prevent over-browning.
- Whole Wheat Bread (1/2 inch slices): 375°F for 7-9 minutes. The higher fiber content requires slightly longer cooking.
- Sourdough (1/2 inch slices): 375°F for 6-8 minutes. The thick crust provides natural protection against burning.
- Thick Artisanal Slices (3/4 to 1 inch): 350°F for 10-14 minutes. Lower temperature prevents exterior burning before interior toasts.
- Thin Slices (1/4 inch): 400°F for 3-5 minutes. Watch constantly to prevent burning.
- Garlic Bread: 375°F for 8-10 minutes. The oil and garlic require slightly longer to toast properly.
These times are guidelines—your specific oven’s performance may vary. Variables including bread moisture content, actual oven temperature, rack position, and even humidity affect cooking time. Keep notes on your successful batches to develop intuition for your particular oven.
Advanced Toasting Techniques
Two-Stage Toasting for Maximum Crispness
For ultimate crispness, use a two-stage method. First, toast at 375°F for 60% of your normal time. Remove the bread, let it cool for 1-2 minutes, then return it to the oven for the remaining time at 350°F. This technique allows the interior to dry out while preventing the exterior from over-browning.
Broiler Method for Speed
If you’re in a hurry, use your oven’s broiler setting. Position your rack 4-6 inches from the heating element. Toast for 1-3 minutes, watching constantly. This method is extremely fast but requires vigilant monitoring to prevent burning. It’s excellent for small quantities but less ideal for large batches.
Oil and Seasoning Variations
Before toasting, brush bread lightly with olive oil, melted butter, or garlic-infused oil. Sprinkle with herbs, parmesan cheese, or sea salt. Toast at 375°F for 6-8 minutes. The oil helps achieve deeper browning while adding flavor. This technique is perfect for creating gourmet croutons or crostini.
Combination with Other Cooking Tasks
Toast bread while your oven is already running for another dish. If you’re baking at 350°F, your bread will toast in 8-10 minutes instead of 5-7. This saves energy and time. However, monitor carefully as your oven’s actual temperature distribution may differ when multiple items are cooking simultaneously.
Common Mistakes to Avoid
Mistake 1: Skipping the Preheat
Placing bread in an unprehated oven results in uneven browning. The bread toasts slowly at first, then suddenly accelerates as the oven reaches temperature. Always preheat fully and verify with a thermometer.
Mistake 2: Using Wet or Fresh Bread
Fresh bread contains too much moisture and will steam instead of toast. Always use day-old bread. If you must use fresh bread, slice it and let the slices sit uncovered for 30 minutes before toasting to allow surface moisture to evaporate.
Mistake 3: Overcrowding the Pan
Piling bread slices on top of each other or pressing them together blocks airflow and creates uneven browning. Arrange slices in a single layer with small gaps between them.
Mistake 4: Not Monitoring the First Batch
Every oven is different. Watch your first batch closely to learn your oven’s characteristics. This prevents wasting bread while you dial in the perfect timing.
Mistake 5: Leaving Bread in Too Long
Bread transitions from perfectly golden to burnt quickly. Set a timer and check early. It’s easier to return bread to the oven for another minute than to salvage burnt toast.
Creative Uses for Oven-Toasted Bread
Beyond simple breakfast toast, oven-toasted bread serves numerous culinary purposes. Croutons made from cubed and toasted bread add texture to salads and soups. Simply cut bread into 3/4-inch cubes, toss with oil and seasonings, and toast at 375°F for 8-10 minutes, stirring halfway through.
Breadcrumbs can be made by toasting bread completely until very dry and hard, then pulsing in a food processor. Homemade breadcrumbs taste superior to store-bought versions and cost significantly less. Store them in an airtight container for up to two weeks.
Crostini for appetizers or soup toppers are thin-sliced bread toasted until crispy, often rubbed with garlic and drizzled with quality olive oil. Toast thin diagonal slices at 400°F for 4-6 minutes until they’re completely crispy.
Panzanella (Italian bread salad) uses day-old toasted bread cubes combined with fresh tomatoes, cucumbers, and basil. The toasting process concentrates the bread’s flavor and creates better texture contrast in the final dish.
Bread Pudding benefits from partially toasted bread cubes that have lost surface moisture but retain enough moisture in the interior to absorb the custard mixture. Toast bread cubes at 325°F for 5-7 minutes until dry on the outside but still slightly soft inside.
For those managing broader home improvement projects, developing efficient kitchen techniques like oven toasting streamlines meal preparation and saves time for other tasks.
FAQ
Can I toast frozen bread directly in the oven?
Yes, but add 2-3 minutes to your standard toasting time. Frozen bread requires extra time for the interior to thaw and the moisture to evaporate. You may also want to reduce the temperature by 25°F to prevent the exterior from burning before the interior toasts.
Why is my toast coming out soggy?
Soggy toast usually results from one of three causes: bread that’s too fresh (use day-old bread), insufficient toasting time, or stacking the toast while it’s still warm (steam condenses and makes it soggy). Always cool toast on a rack or open surface.
Can I use a toaster oven instead of a full-size oven?
Absolutely. Toaster ovens are excellent for oven toasting, especially for small quantities. Use the same temperatures and timing, but check frequently as toaster ovens often have hot spots and may toast faster than full-size ovens.
How do I achieve darker toast without burning it?
Use a lower temperature (350°F instead of 375°F) and extend the cooking time by 2-3 minutes. This slower browning allows the bread to toast evenly throughout without the exterior burning. Alternatively, use the two-stage toasting method described above.
What’s the best way to store oven-toasted bread?
Store cooled toast in an airtight container at room temperature for up to three days. For longer storage, place toast in a freezer bag and freeze for up to one month. Reheat frozen toast in a 300°F oven for 2-3 minutes to restore crispness.
Can I toast bread with toppings already applied?
Yes, but timing varies based on toppings. Cheese melts around 5-7 minutes, herbs and spices require no additional time, and garlic-oil mixtures need 8-10 minutes. Add toppings after toasting for more control, or experiment with your preferred method.
Is oven toasting energy-efficient?
For small quantities (1-4 slices), a traditional toaster is more energy-efficient. For larger batches (8+ slices), oven toasting uses less energy overall because you’re toasting everything simultaneously rather than multiple toaster cycles. Combine oven toasting with other baking tasks to maximize efficiency.
How do I prevent bread from sticking to the baking sheet?
Use parchment paper, which is inexpensive and eliminates sticking completely. Alternatively, lightly spray your baking sheet with cooking spray or brush with a thin layer of oil. Light-colored sheets also reduce sticking compared to dark baking sheets.