
How to Solder: Expert Step-by-Step Guide
How to Solder: Expert Step-by-Step Guide
Soldering is one of those skills that looks intimidating until you actually try it—then you realize it’s genuinely one of the most satisfying DIY techniques you can master. Whether you’re repairing electronics, creating jewelry, or working on plumbing projects, soldering creates permanent, reliable connections that’ll outlast your patience for most other joining methods.
The beauty of soldering lies in its simplicity and precision. Unlike welding, which requires specialized equipment and serious heat management, soldering works with lower temperatures and more forgiving learning curves. You’ll be joining metals with confidence once you understand the fundamentals and practice the right technique.
This guide walks you through everything you need to know—from selecting the right tools to troubleshooting common mistakes. We’ll cover the science behind what makes solder actually work, then dive into hands-on techniques that’ll have you creating professional-quality joints within your first session.
Understanding Soldering Basics
Soldering is fundamentally about melting a metal alloy (solder) to create a bond between two metal surfaces. The solder acts as a filler material that flows into the joint, cooling to form a strong connection. Think of it as metal glue, except it’s actually metallurgically superior to the surfaces you’re joining.
The process relies on a few key principles. First, heat from your soldering iron melts the solder, which flows into the joint through capillary action—basically, the molten metal is attracted to the narrow gap between your two metal pieces. Second, the solder chemically bonds with the base metals through a process called wetting, which creates that permanent connection. Third, as the solder cools, it solidifies into a crystalline structure that conducts electricity and holds mechanically.
Lead-free solder has become the standard in most applications, though lead-based solder (containing 60% tin and 40% lead) remains popular for certain electronics work because it flows more smoothly. Modern lead-free solder typically contains tin, silver, and copper, offering excellent reliability without the toxicity concerns.
The temperature matters tremendously. Most lead-free solders melt around 240°C (464°F), while traditional lead solder melts closer to 190°C (374°F). Your soldering iron needs to reach these temperatures reliably, which is why quality equipment is genuinely important—not just a luxury.
Essential Tools and Equipment
You don’t need an overwhelming array of gadgets to solder successfully, but the tools you choose directly impact your results. Here’s what actually matters:
- Soldering Iron: A 30-40 watt iron works beautifully for most hobby and home repair projects. Adjustable temperature models give you flexibility across different applications. Ceramic or coil heating elements are fine; look for models with good heat recovery (the ability to reheat quickly after contact with metal).
- Solder: Lead-free rosin core solder in 60/40 or 63/37 tin/copper ratios handles most situations. The rosin core flux is already built in, simplifying your process. Wire diameter of 0.8-1.0mm works well for general soldering.
- Flux: While solder often includes rosin flux, having extra flux paste or liquid flux on hand helps with trickier joints. Flux cleans oxidation and helps solder flow smoothly.
- Wet Sponge or Brass Wire Cleaner: Keeping your soldering iron tip clean is non-negotiable. A simple wet natural sponge works, though brass wire cleaners are gentler on your tip.
- Helping Hands or Third-Hand Tool: These clamps hold your work steady, freeing both your hands for the iron and solder. They’re incredibly useful and cost about fifteen dollars.
- Desoldering Pump or Wick: Mistakes happen. A desoldering pump (solder sucker) removes excess solder quickly. Desoldering wick absorbs molten solder through capillary action.
- Safety Equipment: Ventilation is crucial. A small fume extractor or even positioning yourself near an open window helps. Safety glasses protect against accidental splatters.
Don’t fall for the temptation to buy the cheapest iron available. A quality 40-watt adjustable iron costs around $30-50 and performs infinitely better than a $10 basic model. The difference between struggling with poor heat transfer and creating beautiful joints comes down to equipment quality.
Safety Considerations
Soldering involves heat, fumes, and sometimes hazardous materials. Taking safety seriously isn’t paranoia—it’s practical wisdom.
Heat Safety: The soldering iron tip reaches temperatures that instantly cause severe burns. Treat it like you’d treat a stovetop burner. Always return the iron to its stand immediately after use. Never leave a powered iron unattended. Keep children and pets away from your workspace.
Fume Management: Rosin flux produces fumes when heated. While not acutely toxic, prolonged exposure isn’t ideal. Work in well-ventilated areas. A simple desk fume extractor (around $20-30) dramatically improves air quality. If you’re working with lead-based solder, ventilation becomes even more critical.
Skin Protection: Solder and flux can splash unpredictably. Long sleeves protect your arms. Safety glasses shield your eyes from potential splatters. Some people wear nitrile gloves, though many experienced solderers prefer bare hands for better control and heat feedback.
Work Surface Protection: Use a heat-resistant mat or ceramic tile under your workspace. Solder splatters cool quickly but remain hot briefly. Protect your work surface from accidental burns.
Hand Hygiene: If you’re using lead-based solder, wash your hands thoroughly after soldering. Lead exposure occurs through ingestion, not skin contact, but good habits matter. Lead-free solder removes this concern entirely.
Preparing Your Workstation and Materials
Success in soldering starts before you plug in the iron. Proper preparation eliminates most common problems.
Cleaning Your Base Metals: Oxidation is the enemy of good solder joints. Copper, brass, and steel all oxidize, creating a layer that prevents proper wetting. If you’re working with corroded materials, you might need to remove rust before soldering. For light oxidation, a fine wire brush, steel wool, or even sandpaper works beautifully. For electronics, use a pencil eraser to gently clean copper pads on circuit boards. The cleaner your surfaces, the better your joint.
Tinning Your Iron: Before soldering, coat your iron tip with fresh solder. This process, called tinning, improves heat transfer dramatically. Touch a small amount of solder to the heated tip—it should flow smoothly and coat the entire tip surface. A properly tinned iron looks shiny and metallic. A dull, crusty tip indicates oxidation and poor heat transfer.
Organizing Your Workspace: Arrange everything within arm’s reach. Position your helping hands to hold the work piece. Keep solder, flux, and your cleaning sponge nearby. Have a stand for your iron where it won’t roll away. A small brass sponge or wet natural sponge sits within easy reach for tip cleaning. This setup takes two minutes but saves tremendous frustration.
Temperature Management: If your iron has adjustable temperature, set it appropriately. For lead-free solder, aim for 350-380°C (660-715°F). For traditional lead solder, 300-330°C (570-625°F) works well. Higher temperatures aren’t better—they can damage components and degrade solder quality. Let your iron heat for 2-3 minutes before beginning.

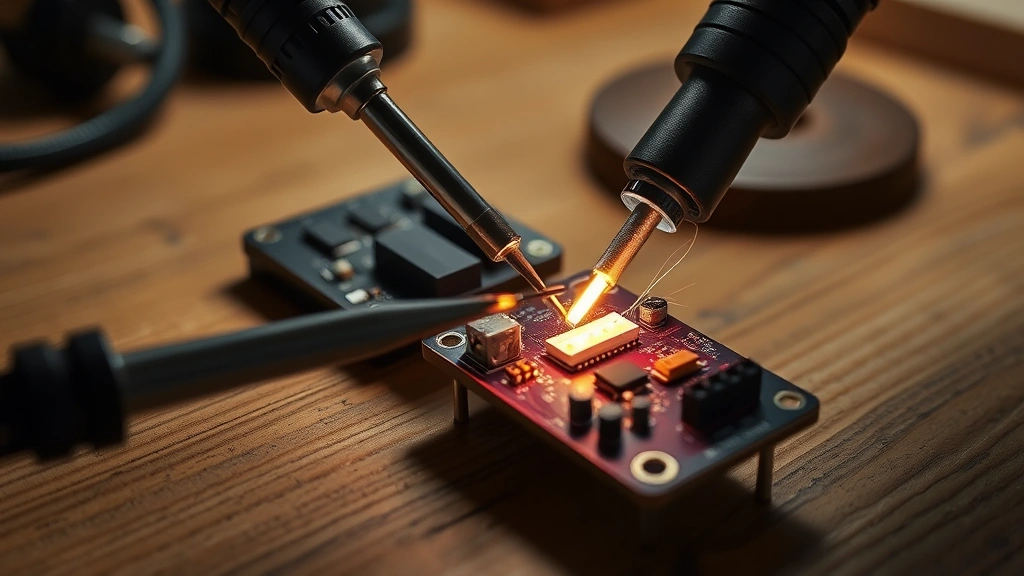
Step-by-Step Soldering Process
Now for the actual technique. This is where soldering transforms from theory into practical skill.
Step 1: Position Your Work Piece
Use your helping hands to hold the components at a comfortable working angle. Position the joint so you can access it easily without awkward hand positions. The goal is stability and accessibility. Your hands should be relaxed, not straining to reach or hold anything.
Step 2: Heat Both Surfaces
This step separates successful solderers from frustrated beginners. Touch your soldering iron tip to both pieces of metal simultaneously. You’re not melting solder yet—you’re heating the base metals. The metals need to reach the melting point of solder for proper flow. Apply steady, consistent heat for 2-3 seconds. You’ll notice the joint area becoming shinier as oxidation melts away.
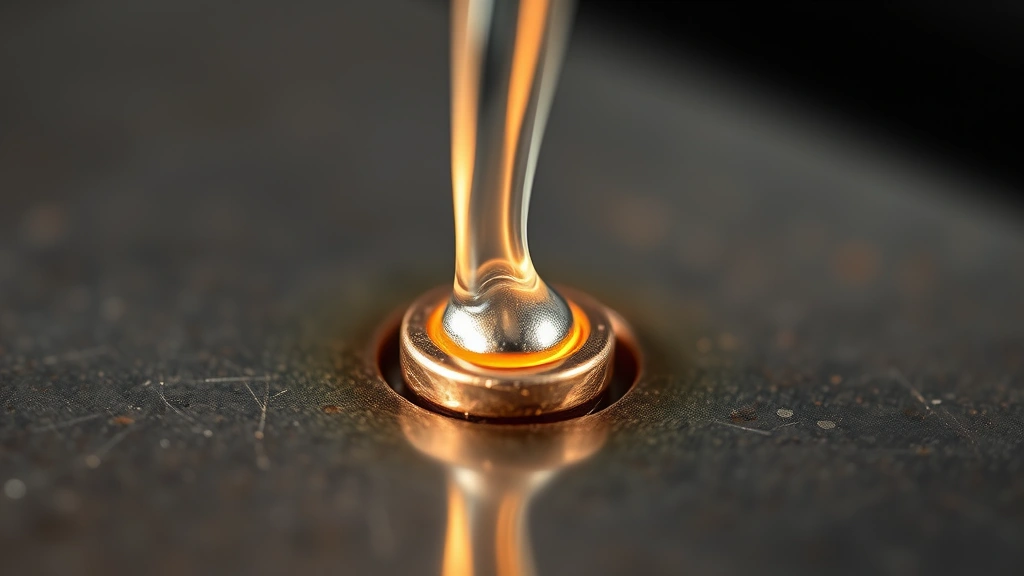
Step 3: Apply Solder to the Joint
Touch your solder wire to the heated joint (not directly to the iron tip). The heat from the joint should melt the solder. Feed solder gradually—you need only enough to fill the joint. A good rule: use about 2-3 inches of solder for typical connections. The solder should flow smoothly into the joint through capillary action, creating a shiny, smooth bead around the connection.
Step 4: Remove the Iron
Once the solder flows properly around the joint, remove the iron. Then remove the solder wire. The order matters—taking away the iron first prevents excess solder from flowing onto the joint. Let the connection cool naturally for 10-15 seconds. Resist the temptation to blow on it or move it—undisturbed cooling creates stronger, more reliable joints.
Step 5: Inspect Your Joint
A properly soldered joint looks shiny, smooth, and evenly coated. The solder should form a smooth transition from one component to the other. If you see a dull, grainy appearance, the joint probably didn’t reach proper temperature—you’ll need to reheat and re-solder. If excess solder pooled messily, you applied too much. These aren’t failures—they’re learning opportunities.
The entire process takes 5-10 seconds from start to finish once you develop the rhythm. Speed comes naturally with practice.
Common Mistakes and How to Avoid Them
Insufficient Heat: The most common beginner mistake is applying too little heat. When solder doesn’t flow smoothly, most people assume they need more solder. Actually, they need more heat. The base metals must reach solder’s melting point. Touch the iron to both pieces and wait those crucial 2-3 seconds. Patience pays dividends.
Dirty Surfaces: Oxidized metal won’t accept solder properly. Always clean your work surfaces before attempting joints. A quick wire brush takes seconds and prevents frustration. If your solder beads up instead of flowing smoothly, surface cleanliness is usually the culprit.
Iron Tip Issues: A crusty, oxidized iron tip transfers heat poorly. Clean your tip regularly throughout your work session. Touch it to your wet sponge or brass cleaner every few joints. Tin it with fresh solder before each connection. This habit alone improves results dramatically.
Moving the Joint While Cooling: Solder needs undisturbed time to solidify properly. Moving or vibrating the joint while it cools creates weak, unreliable connections. Wait at least 10-15 seconds before touching anything. This patience produces joints that actually last.
Applying Solder Directly to the Iron: Beginners often touch solder to the iron tip rather than the joint. This creates poor connections because the solder doesn’t heat the base metals adequately. Always touch solder to the joint itself, allowing the heated base metals to melt it.
Overheating Components: Extended heat exposure can damage sensitive components, especially on circuit boards. Work efficiently—heat the joint for 2-3 seconds, apply solder, and remove heat. If you need to reheat a joint, wait 20-30 seconds before attempting again.
Advanced Techniques
Desoldering and Rework: Sometimes you need to remove solder to fix mistakes or replace components. A desoldering pump (solder sucker) works wonderfully. Heat the joint, then immediately press the pump nozzle against the molten solder and trigger the spring-loaded plunger. The vacuum sucks away most solder. Desoldering wick works similarly—place the copper braid on the joint and heat it. The wick absorbs molten solder through capillary action. Both methods require practice but become intuitive quickly.
Multiple Component Soldering: When joining three or more components, solder them sequentially. Heat the first joint, solder it, let it cool. Then heat the second joint. This prevents heat damage to already-soldered connections and ensures each joint receives proper attention.
Through-Hole vs. Surface Mount: Traditional through-hole soldering (what we’ve covered) works for components with leads that pass through circuit board holes. Surface mount soldering requires different techniques and typically involves reflow ovens in professional settings. For home repair, through-hole soldering handles most situations.
Flux Application: Extra flux helps with difficult joints. Apply a small amount of liquid or paste flux to the joint before heating. The flux cleans oxidation and improves solder flow. It’s particularly helpful when soldering brass, stainless steel, or other oxidation-prone metals. After soldering, you can clean away excess flux with a brush and water (for water-soluble flux) or with isopropyl alcohol.
Cold Solder Joint Recovery: If you end up with a dull, grainy-looking joint (a cold solder joint), don’t panic. Simply reheat it with your iron. Touch the iron to the joint, apply a tiny bit of fresh solder, and let it cool properly. The joint will transform into a proper connection. Cold joints happen to everyone—they’re completely fixable.
Specialty Applications: Soldering extends beyond electronics. For plumbing work, understanding proper preparation matters just as much as electrical work. If you’re working on automotive electrical repairs, ensure you’ve disconnected your car battery before soldering any connections. For jewelry and decorative work, cleaning brass components thoroughly before soldering ensures beautiful, professional results. If you accidentally use super glue on components meant for soldering, you’ll need to remove super glue first. For gaming console repairs like fixing electronic components, if you’re not soldering directly, you might need to address issues like how to fix stick drift through other methods. Each application has nuances worth researching.
Frequently Asked Questions
What’s the difference between soldering and brazing?
Soldering uses lower temperatures (typically under 450°C) and creates weaker joints than brazing. Brazing operates at higher temperatures (800°C and above) and produces stronger connections. For most home repairs and electronics work, soldering is appropriate and more practical. Brazing requires different equipment and higher skill levels.
Can I solder stainless steel?
Stainless steel is notoriously difficult to solder because it resists oxidation removal—the very property that makes it corrosion-resistant works against soldering. Special high-temperature solders and aggressive flux are required. For most home projects, if stainless steel is involved, welding or mechanical fastening might be more practical alternatives.
How long do solder joints last?
Properly executed solder joints are essentially permanent. Electronics from the 1960s still work with original solder joints. The longevity depends on the application environment—thermal cycling, vibration, and corrosive atmospheres can eventually degrade connections, but under normal conditions, solder joints outlast most other components.
Is lead-free solder really better?
Lead-free solder eliminates toxicity concerns and is now legally required in most consumer electronics. It requires slightly higher temperatures and flows less smoothly than lead-based solder, but performs excellently for home projects. Unless you’re repairing vintage equipment where lead solder was originally used, lead-free is the practical choice.
What should I do if my solder won’t flow?
Check these factors in order: First, ensure your iron is hot enough and properly tinned. Second, verify your base metals are clean and oxidation-free. Third, confirm you’re applying solder to the joint, not the iron. Fourth, check that you’re heating both base metals adequately before applying solder. Addressing these four issues solves 95% of flow problems.
Can I solder in cold weather?
Cold temperatures slow cooling and can affect joint quality, but soldering is definitely possible outdoors or in unheated spaces. Your iron simply takes longer to heat, and joints cool more slowly. Ensure adequate ventilation regardless of temperature. If working below 10°C (50°F), allow extra heating time and be patient with cooling periods.
How do I know if my joint is strong enough?
A properly soldered joint should resist pulling apart with moderate hand force. Gently try to wiggle or flex the connection—it should feel solid and immovable. Visually, look for a smooth, shiny appearance with good solder coverage around the entire joint. If it looks dull and grainy, reheat and re-solder. With practice, you’ll develop intuition about joint quality.
What’s the best way to practice soldering?
Purchase inexpensive practice circuit boards or scrap wire and components. Practice creating joints without pressure—you’re simply building muscle memory and understanding how heat behaves. Spend 15-20 minutes practicing basic joints. You’ll quickly develop the feel for proper heat application and solder flow. YouTube videos showing real-time soldering are invaluable learning tools.
Related Posts

How Long to Boil Lobster Tails: Cooking Guide

How Long to Fly from New York to London? Travel Times
