
Remove Sharpie Stains? Expert Cleaning Tips
How to Remove Sharpie Stains: Expert Cleaning Tips for Every Surface
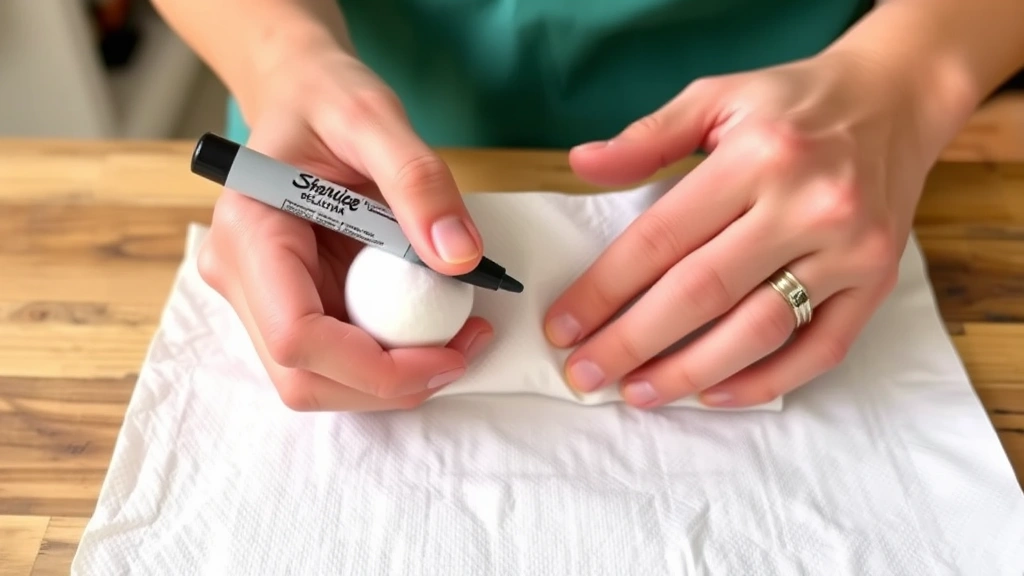
Sharpie markers are incredibly useful for labeling, crafting, and marking, but they’re equally notorious for leaving stubborn stains on surfaces where they don’t belong. Whether your child has decorated the walls, you’ve accidentally marked furniture, or permanent marker has found its way onto fabric, removing Sharpie stains doesn’t have to be a permanent problem. The key is understanding which cleaning methods work best for different materials and acting quickly before the ink fully sets.
Most people assume that once a Sharpie mark appears, it’s there to stay. However, with the right approach and readily available household items, you can successfully remove these persistent stains from walls, clothing, furniture, skin, and countless other surfaces. This guide walks you through proven techniques that actually work, saving you from repainting, replacing, or discarding damaged items.
Understanding Sharpie Ink Composition
Before diving into removal techniques, it helps to understand why Sharpie markers are so difficult to clean. Sharpie permanent markers contain alcohol-based ink formulated to bond with surfaces and resist water. This same property that makes them permanent also makes them challenging to remove. The ink contains xylene and other organic solvents that help it adhere to porous and non-porous surfaces alike.
The permanence of Sharpie ink varies slightly depending on the surface. On porous materials like paper, cardboard, or untreated wood, the ink penetrates deeply and becomes nearly impossible to remove without damaging the surface itself. On non-porous surfaces like plastic, glass, or sealed wood, the ink sits on top, making removal more feasible. Understanding this distinction helps you choose the right removal method for your specific situation.
Time is your enemy when dealing with fresh Sharpie marks. The longer ink sits on a surface, the more it sets and bonds chemically. This is why tackling stains immediately yields better results than waiting days or weeks. Even so, don’t despair if you discover old marks—many removal methods still work effectively on aged stains.
Removing Sharpie from Painted Walls
Sharpie marks on walls present a unique challenge because you want to remove the ink without damaging the paint underneath. The approach depends on your wall’s finish and the marker’s age.
Method 1: Rubbing Alcohol Approach
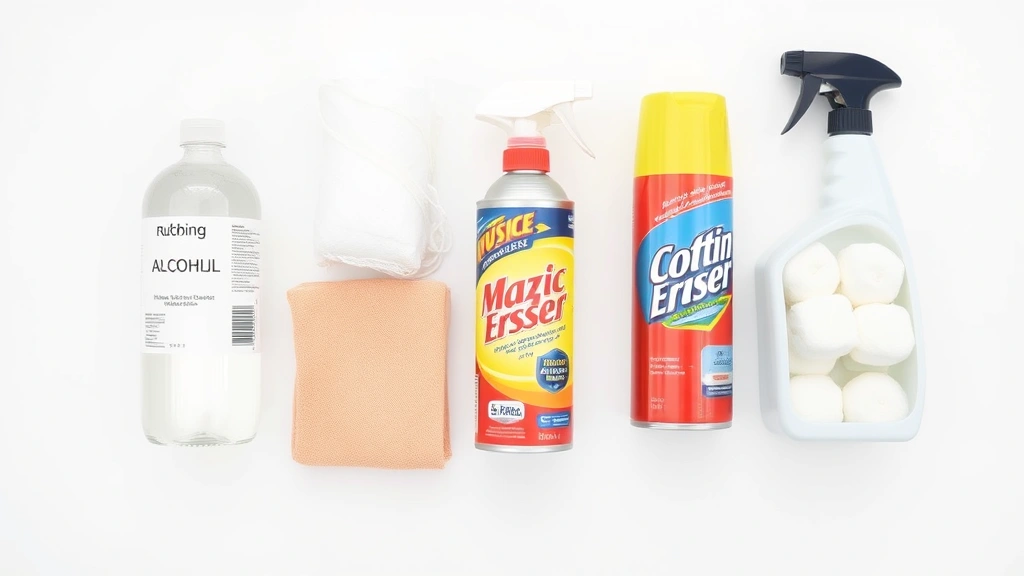
Rubbing alcohol is one of the most effective solutions for removing permanent markers from painted surfaces. Since Sharpie ink is alcohol-based, isopropyl alcohol works by dissolving the ink’s binding agents.
- Test the alcohol on an inconspicuous wall area first to ensure it won’t damage your paint finish
- Dampen a clean cloth with 70% or 90% isopropyl alcohol
- Gently rub the Sharpie mark in circular motions, applying light to moderate pressure
- Flip to a clean section of the cloth as ink transfers onto it
- Continue until the mark fades completely
- Wipe the area with a damp cloth to remove any remaining alcohol residue
- Allow the wall to dry completely
Method 2: Hairspray Technique
Hairspray contains alcohol and other solvents that can break down Sharpie ink. This method works particularly well on flat or matte paint finishes.
- Spray hairspray directly onto the Sharpie mark
- Let it sit for 30 seconds to allow the solvents to penetrate
- Wipe with a soft cloth using gentle circular motions
- Repeat if necessary, spraying and wiping until the mark disappears
- Clean the area with a slightly damp cloth to remove residue
Method 3: Magic Eraser Method
Magic erasers (melamine foam) can remove Sharpie marks through gentle abrasion. They work best on semi-gloss or glossy painted walls but may dull matte finishes.
- Dampen the Magic Eraser slightly with water
- Gently rub the Sharpie mark with minimal pressure
- Check progress frequently to avoid over-scrubbing
- Stop as soon as the mark is gone to prevent paint damage
- Wipe the area with a clean, damp cloth
For stubborn marks that resist these methods, consider using a combination approach: first apply rubbing alcohol, wait a few minutes, then gently use a Magic Eraser. If all else fails and the mark remains visible, you can always use touch-up paint that matches your wall color.
Cleaning Sharpie Off Fabric and Clothing
Removing Sharpie from fabric requires quick action and the right solvents. Success rates are highest when you treat the stain immediately, but several methods can still work on set-in marks.
Immediate Treatment (Fresh Stains)
When Sharpie hits fabric, act within minutes for best results:
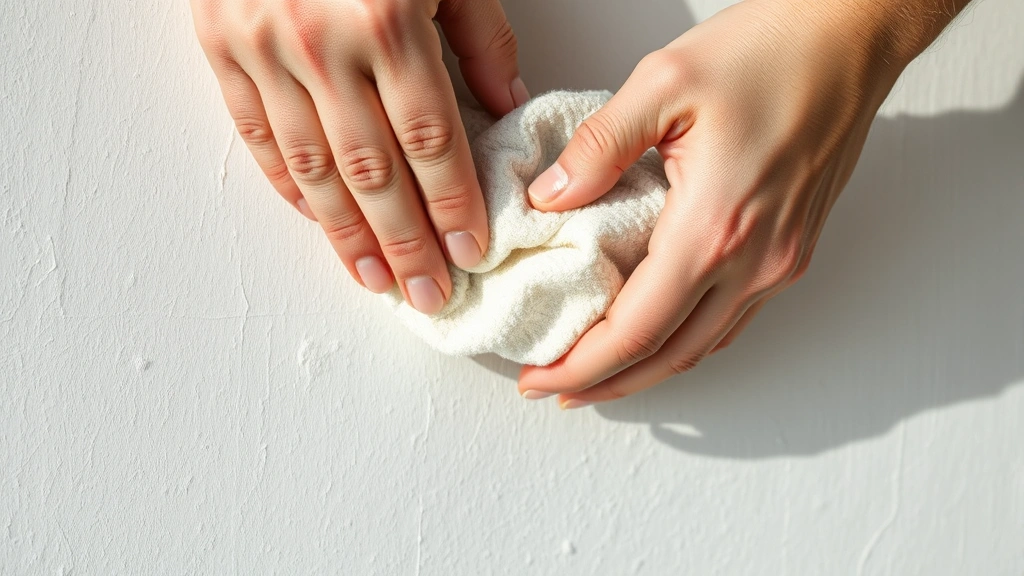
- Blot the mark gently with a clean cloth—don’t rub, as this spreads the ink
- Place the stained fabric on paper towels to absorb excess ink
- Apply rubbing alcohol to the back of the stain using a cloth or cotton ball
- Blot from the back, allowing the cloth to absorb the transferred ink
- Repeat with fresh alcohol and cloth sections until no more ink transfers
- Rinse the area with cool water
- Wash the garment in the hottest water safe for the fabric
- Check before drying—heat sets stains permanently
Established Stain Removal
For older stains already set into fabric, try these approaches:
- Acetone Method: Apply nail polish remover (acetone-based) to the stain, let sit 5-10 minutes, then blot with a cloth. This works well on synthetic fabrics but test first on hidden areas
- Glycerin Approach: Soak the stain with glycerin for 30 minutes, then gently rub and rinse. Glycerin is gentler than alcohol and works on delicate fabrics
- Hairspray Treatment: Spray hairspray on the stain, wait 2-3 minutes, blot with a cloth, and repeat as needed
- Bleach Solution (White Fabrics Only): Mix one part bleach with four parts water, apply to the stain, let sit 5 minutes, then rinse thoroughly
After any treatment, always rinse thoroughly with cool water before washing. Never put a treated garment in the dryer until you’re certain the stain is completely gone, as heat permanently sets any remaining ink.
For delicate fabrics like silk or wool, consider taking the item to a professional dry cleaner rather than risking damage with strong solvents. Many dry cleaners have specialized stain removal techniques and products not available for home use.
Sharpie Removal from Hard Surfaces
Hard surfaces like plastic, glass, laminate, and sealed wood offer the best chances for complete Sharpie removal since the ink sits on top rather than penetrating.
Glass and Mirrors
Glass is one of the easiest surfaces to clean. The ink doesn’t adhere as strongly as it does to porous materials:
- Spray the Sharpie mark with glass cleaner or rubbing alcohol
- Wipe with a clean cloth or paper towel
- For stubborn marks, let the alcohol sit for 1-2 minutes before wiping
- Use a razor blade or glass scraper at a shallow angle if needed (be very careful not to scratch)
- Finish with a final glass cleaner application
Plastic Surfaces
Plastic requires a gentler approach to avoid damage:
- Test your chosen solvent on an inconspicuous area first
- Dampen a cloth with rubbing alcohol or acetone
- Gently rub the mark in circular motions
- For tough marks, try a Magic Eraser with light pressure
- Wipe clean with a slightly damp cloth
Sealed Wood Furniture
Furniture with polyurethane or varnish finishes can be treated similarly to painted walls. The sealed surface prevents ink penetration:
- Test rubbing alcohol on an inconspicuous spot first
- Apply alcohol with a soft cloth, rubbing gently
- If the finish appears unaffected, continue until the mark fades
- Wipe with a damp cloth and dry immediately
- Follow up with furniture polish if needed to restore finish
Laminate and Countertops
These non-porous surfaces respond well to alcohol-based solutions:
- Spray or apply rubbing alcohol directly to the mark
- Wipe with a cloth, applying gentle pressure
- For set-in stains, let alcohol sit for 2-3 minutes first
- Use a Magic Eraser for remaining marks
- Clean with a damp cloth and mild soap solution
For any sealed surface, avoid excessive moisture and always wipe dry immediately to prevent water damage. Never use abrasive scrubbers on finished surfaces, as these can remove the protective coating along with the stain.
Treating Skin and Hands
Sharpie marks on skin are harmless but annoying. Fortunately, they come off much easier than marks on other surfaces since skin naturally sheds.
Quick Removal Methods
Several household items effectively remove Sharpie from skin:
- Rubbing Alcohol: Dampen a cloth with alcohol and rub the marked area. The ink should come off quickly
- Hand Sanitizer: Most alcohol-based hand sanitizers work similarly to rubbing alcohol
- Hairspray: Spray on the mark, wait 30 seconds, and rub with a cloth
- Sunscreen: The oils in sunscreen can help dissolve the ink
- Toothpaste: Rub toothpaste on the mark and wash with warm water
- Baking Soda Paste: Mix baking soda with water to form a paste, rub on the mark, and rinse
Natural Fading Approach
If you prefer to avoid chemical solutions, Sharpie marks naturally fade from skin within 2-3 days through normal washing and skin shedding. Frequent handwashing accelerates this process. This is the gentlest option, especially for children’s skin.
Never use harsh chemicals like bleach or acetone on skin. Stick to gentle, skin-safe options. If marks persist beyond a few days or cause any irritation, wash the area with soap and water and let time do the work.
Prevention Strategies
While removal methods work well, prevention is always preferable. Implementing a few simple strategies can prevent most Sharpie disasters.
Storage and Access Control
- Store Sharpies in a secure location away from children’s unsupervised access
- Keep markers in a designated container with proper caps
- Regularly check that caps are secure to prevent dried-out markers that leak
- Dispose of dried or damaged markers immediately
Protective Measures
- Use washable or dry-erase markers for temporary marking on surfaces you want to keep clean
- Cover furniture and walls with protective sheets when doing craft projects involving permanent markers
- Establish designated marker-use areas, such as craft tables with protective coverings
- Create a rule system with children about where markers can and cannot be used
Surface Protection
For items frequently marked or at high risk, consider protective coatings. A clear polyurethane coating on wood, for example, creates a sealed surface that prevents ink penetration. Glass surfaces naturally resist permanent marker damage. For walls, semi-gloss or glossy finishes make marker removal easier than flat or matte finishes.
If you have young children, consider designating one wall or section as a whiteboard or chalkboard area where marker use is allowed and encouraged. This satisfies the creative urge while protecting the rest of your home.
FAQ
Will rubbing alcohol damage my painted walls?
Rubbing alcohol is generally safe for painted walls, but always test it on an inconspicuous area first. Some paint finishes, particularly flat or matte finishes, may be more susceptible to damage than semi-gloss or glossy finishes. Use 70% isopropyl alcohol and apply it gently with a soft cloth rather than scrubbing aggressively.
Can I remove old Sharpie stains that have been set for weeks?
Yes, though success rates decrease over time. Older stains often respond well to extended soaking with rubbing alcohol or acetone. Allow the solvent to penetrate for 5-10 minutes before wiping. For fabric, professional dry cleaning may be your best option for established stains.
Is it safe to use acetone on all fabrics?
No. Acetone (found in nail polish remover) can damage certain synthetic fabrics and remove dyes from colored clothing. Always test acetone on a hidden area of the garment first. Avoid it entirely on delicate fabrics like silk, wool, or anything labeled dry-clean-only.
What’s the difference between Sharpie and other permanent markers?
Sharpie is a brand name, but the term is often used generically for permanent markers. Most permanent markers use similar alcohol-based ink formulations, so removal methods work across different brands. However, some brands may have slightly different solvent compositions, so results may vary.
Can I use a Magic Eraser on all painted surfaces?
Magic erasers work best on semi-gloss and glossy painted finishes. They can dull or damage flat or matte finishes. Test on an inconspicuous area first, and use very light pressure to avoid removing paint along with the stain.
How long does it take for Sharpie to permanently set on fabric?
Sharpie ink begins setting immediately upon contact with fabric, but the process isn’t complete for several hours or even days depending on the fabric type and ink saturation. Treating stains within the first 30 minutes yields the best results, but removal is still possible even after hours or days with the right solvents.
Are there any household items I shouldn’t use on Sharpie stains?
Avoid using bleach on colored fabrics or delicate surfaces. Never use abrasive scrubbers on finished surfaces as they damage the protective coating. Don’t apply heat (dryer, iron, etc.) to stained fabric until the mark is completely removed. Avoid mixing cleaning products, particularly bleach with other chemicals, as this creates toxic fumes.
What should I do if Sharpie gets on untreated wood?
Untreated wood is highly porous and absorbs ink quickly, making removal nearly impossible without damaging the wood. Your best options are sanding the area (which removes surface wood) or staining/painting over the mark. For information on treating wood surfaces, consult finishing guides. Prevention through protective coatings is essential for valuable wooden items.
Can professional cleaners remove Sharpie stains that home methods can’t?
Yes. Professional cleaners and dry cleaners have access to specialized solvents and equipment not available for home use. They’re particularly valuable for expensive fabrics, antique furniture, or valuable items where DIY methods pose too much risk. For valuable items with stubborn stains, professional service is worth the investment.
Related Posts

Superscript in Google Docs: Expert Tips

Strikethrough in Excel: Easy Steps for Beginners
