
Create Amazing Slime Without Glue: A Simple DIY Guide
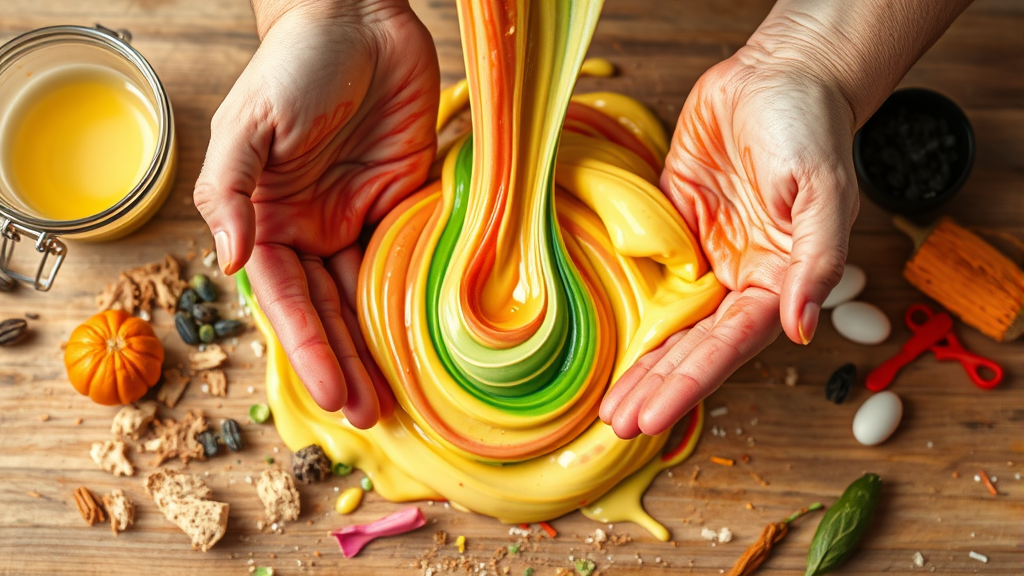
Making slime has become one of the most popular DIY activities for kids and adults alike, but what happens when you don’t have glue on hand? The good news is that you can create amazing, stretchy, and satisfying slime without using any glue at all. These alternative methods use common household ingredients that you likely already have in your kitchen or bathroom cabinet.
Whether you’re dealing with a glue shortage, prefer natural ingredients, or simply want to explore creative alternatives, learning how to make slime without glue opens up a world of possibilities. From shampoo-based slimes to cornstarch creations, these methods are not only effective but often safer for younger children and more budget-friendly than traditional glue recipes.
Understanding Glue-Free Slime
Traditional slime recipes rely on the polymer chains in glue to create that characteristic stretchy texture. However, many household items contain similar binding properties that can mimic this effect. The key to successful glue-free slime lies in understanding how different ingredients interact to create viscosity and elasticity.
The science behind glue-free slime involves creating temporary polymer networks using various thickening agents and binding compounds. Ingredients like cornstarch, flour, and even certain soaps can form these networks when combined with the right activators. According to polymer science research, these alternative materials can create similar non-Newtonian fluid properties that make slime so fascinating to play with.
Unlike traditional glue-based slimes that require borax or contact lens solution as activators, glue-free versions often rely on salt, heat, or simple mixing to achieve the desired consistency. This makes them not only more accessible but often safer for children who might accidentally ingest small amounts during play.
The Shampoo and Salt Method
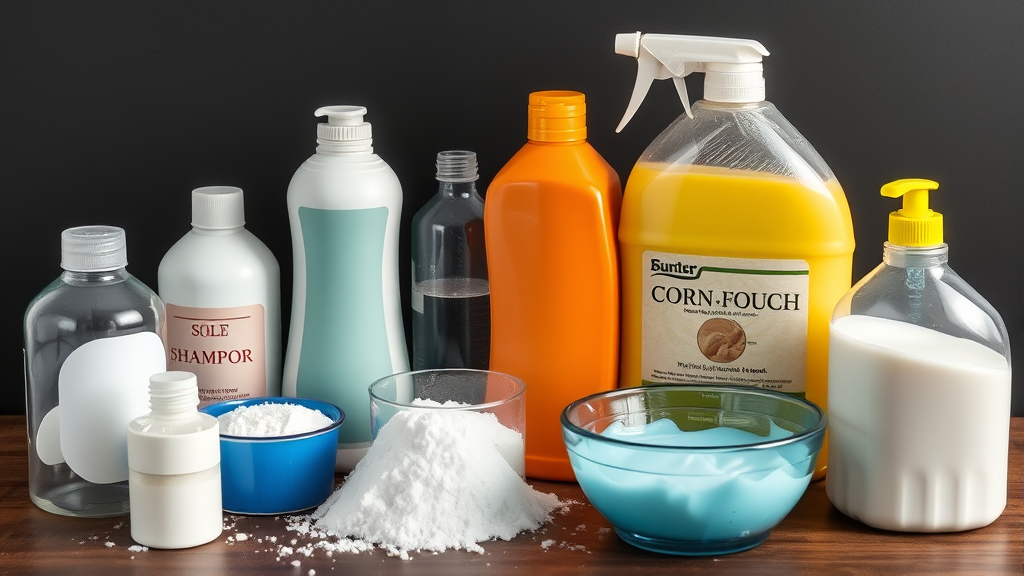
One of the most popular and reliable methods for creating slime without glue involves using thick shampoo and salt. This method works particularly well with cream-based or thick consistency shampoos that contain sulfates and thickening agents.
To create shampoo slime, start with approximately 3-4 tablespoons of thick shampoo in a mixing bowl. Gradually add small pinches of table salt while stirring continuously. The salt acts as a thickening agent, helping to bind the shampoo molecules together. Continue adding salt in small increments until the mixture begins to pull away from the sides of the bowl and forms a cohesive mass.
The process typically takes 5-10 minutes of consistent mixing. You’ll know the slime is ready when it becomes less sticky and more stretchy. If the mixture becomes too thick, add a few drops of warm water. If it’s too thin, continue adding salt gradually. This method produces slime with a slightly different texture than glue-based versions but offers excellent stretch and bounce properties.
For best results, place the finished slime in the refrigerator for 10-15 minutes to help it set completely. This chilling process helps solidify the molecular bonds and creates a more stable final product. Just like when learning how to make self rising flour, timing and proper ingredient ratios are crucial for success.
Cornstarch-Based Techniques
Cornstarch offers one of the most versatile bases for glue-free slime creation. This common kitchen ingredient creates what scientists call an oobleck – a non-Newtonian fluid that behaves as both a liquid and solid depending on the stress applied to it.
The basic cornstarch slime recipe requires equal parts cornstarch and water, though you can adjust these ratios for different consistencies. Mix 1/2 cup of cornstarch with approximately 1/4 cup of water, adding the water gradually while stirring. The mixture should reach a consistency where it flows like liquid when handled gently but becomes solid when squeezed or hit quickly.
For enhanced texture and color, you can add food coloring, essential oils, or even glitter to your cornstarch slime. Some creators enhance the recipe by substituting part of the water with liquid soap or shampoo, creating hybrid slimes with improved stretch properties. The NASA educational resources explain how these fascinating fluids behave differently under various conditions.
Advanced cornstarch techniques involve creating flavored or scented varieties. You can incorporate vanilla extract, mint oil, or even fruit juices to create unique sensory experiences. Remember that natural additives may affect the slime’s shelf life, so use these enhanced versions within a few days of creation.
Dish Soap Slime Methods
Dish soap provides another excellent foundation for glue-free slime, particularly when combined with other household ingredients. The surfactants in dish soap help create the binding properties necessary for slime formation, while various thickening agents help achieve the desired texture.
The most effective dish soap method combines liquid dish soap with cornstarch and a small amount of salt. Start with 3 tablespoons of dish soap, gradually add 1 tablespoon of cornstarch while mixing, then sprinkle in salt until the mixture thickens. This combination creates a slime with excellent stretch properties and a smooth, glossy finish.
Another variation involves mixing dish soap with sugar instead of salt. The sugar acts as a natural thickener and can create interesting texture variations. Use approximately 2 tablespoons of dish soap with 1 teaspoon of granulated sugar, mixing until the sugar completely dissolves and the mixture achieves slime-like consistency.
For colored varieties, add food coloring before incorporating the thickening agents. This ensures even color distribution throughout the final product. Some enthusiasts create layered effects by making multiple batches in different colors and carefully combining them, similar to the precision required when learning how to make powdered sugar.
Toothpaste Slime Creation
Toothpaste might seem like an unusual slime ingredient, but it contains binding agents and thickeners that make it surprisingly effective for slime creation. Gel-based toothpastes work particularly well due to their higher concentration of thickening compounds.
To create toothpaste slime, squeeze approximately 2-3 inches of gel toothpaste into a mixing bowl. Add a small amount of salt (start with 1/4 teaspoon) and mix thoroughly. The salt helps activate the binding properties in the toothpaste, creating a more cohesive mixture. Continue adding tiny amounts of salt until the mixture reaches the desired consistency.
Heat can significantly improve toothpaste slime texture. After mixing, place the bowl in the microwave for 10-15 seconds (adult supervision required). The gentle heating helps the ingredients bind more effectively. Allow the mixture to cool completely before handling, as it will be hot immediately after heating.
Toothpaste slime often has a unique minty scent and creates interesting texture variations. Some creators combine different toothpaste flavors or colors to create marbled effects. According to American Dental Association guidelines, while toothpaste slime is generally safe for brief skin contact, it should not be ingested and hands should be washed thoroughly after play.
Flour-Based Slime Alternatives
Flour offers another accessible option for creating glue-free slime, though the texture differs significantly from traditional varieties. Flour-based slimes tend to be more putty-like and less stretchy but offer excellent moldability and are completely natural.
The basic flour slime recipe combines 1 cup of all-purpose flour with approximately 1/8 cup of water, added gradually while mixing. The key is achieving the right moisture level – too much water creates a sticky mess, while too little results in crumbly, unusable mixture. Add water one tablespoon at a time until the mixture holds together when squeezed but doesn’t stick excessively to your hands.
Enhanced flour slimes can incorporate various additives for improved properties. A small amount of cooking oil (1-2 teaspoons) can improve texture and prevent cracking. Food coloring adds visual appeal, while essential oils provide pleasant scents. Some recipes substitute part of the water with milk for creamier texture, though this reduces shelf life significantly.
For firmer, more durable flour slime, some creators add a small amount of salt or sugar to the mixture. These ingredients help bind the flour particles more effectively and can improve the final texture. The process is somewhat similar to the precision needed when learning how to make heavy cream, where ingredient ratios significantly impact the final result.
Safety Tips and Best Practices
Creating glue-free slime is generally safer than traditional methods, but proper safety practices remain essential, especially when children are involved. Always supervise young children during slime-making activities and ensure proper cleanup procedures are followed.
Ingredient safety is paramount when selecting materials for glue-free slime. Avoid using products containing harsh chemicals, strong fragrances, or ingredients that might cause allergic reactions. Read ingredient labels carefully, particularly for individuals with sensitive skin or known allergies. Natural ingredients like cornstarch and flour are generally the safest options for young children.
Proper hygiene practices include washing hands thoroughly before and after slime play, keeping slime away from faces and mouths, and avoiding contact with eyes. Store finished slimes in sealed containers and discard any that develop unusual odors, colors, or textures that might indicate bacterial growth.
Workspace preparation helps prevent messes and ensures safe creation environments. Cover work surfaces with newspapers or plastic sheets, have cleaning supplies readily available, and ensure adequate ventilation when using products like toothpaste or shampoo. Keep pets away from slime-making areas, as some ingredients may be harmful if ingested by animals.
Troubleshooting Common Issues
Even experienced slime makers encounter challenges when working with glue-free recipes. Understanding common problems and their solutions helps ensure successful results every time.
Sticky slime is one of the most frequent issues with glue-free varieties. This typically indicates insufficient thickening agent or improper ratios. Gradually add more salt, cornstarch, or flour (depending on your base recipe) until the stickiness reduces. For shampoo-based slimes, refrigeration for 15-20 minutes often helps reduce stickiness significantly.
Conversely, overly stiff or crumbly slime usually results from too much thickening agent or insufficient liquid. Add small amounts of water, oil, or additional base ingredient (shampoo, dish soap, etc.) until the desired consistency returns. Work additions in gradually, as it’s easier to add more than to remove excess.
Texture inconsistencies often occur when ingredients aren’t mixed thoroughly or when incompatible additives are used. Ensure complete mixing at each step, and avoid combining acidic ingredients (like lemon juice) with alkaline ones (like some soaps), as this can cause unexpected reactions. The precision required is similar to that needed when learning how to make jello shots, where ingredient compatibility matters significantly.
Color bleeding or separation typically indicates incompatible dyes or excessive moisture. Use gel food coloring instead of liquid varieties when possible, and ensure the base mixture is stable before adding colorants. If separation occurs, try mixing more vigorously or adding a small amount of thickening agent to rebind the ingredients.
Frequently Asked Questions
How long does glue-free slime last?
Glue-free slime typically lasts 3-7 days when stored properly in airtight containers. Cornstarch-based slimes have the shortest lifespan due to their high water content, while shampoo and dish soap varieties tend to last longer. Always discard slime that develops unusual odors, mold, or significant texture changes, regardless of age.
Can I make glue-free slime stretchier?
Yes, you can improve stretchiness by adding small amounts of lotion, hair conditioner, or cooking oil to your mixture. Start with just a few drops and work them in thoroughly. Over-conditioning can make slime too soft, so add these ingredients gradually. Some recipes benefit from gentle heating, which can improve molecular bonding and stretch properties.
Is glue-free slime safe for toddlers?
Glue-free slime is generally safer than traditional varieties, but adult supervision remains essential for toddlers. Cornstarch and flour-based slimes are the safest options for very young children, as these ingredients are food-safe if small amounts are accidentally ingested. However, discourage eating slime and wash hands thoroughly after play, just as you would when teaching children how to clean strawberries properly.
Why does my slime separate after a few hours?
Separation typically occurs due to insufficient binding between ingredients or excess moisture. This is common with water-heavy recipes like cornstarch slime. Try adding more thickening agent or storing the slime in the refrigerator to slow separation. Some separation is normal and can often be fixed by re-mixing the slime thoroughly.
Can I add glitter or beads to glue-free slime?
Absolutely! Most glue-free slimes accept decorative additives well. Add glitter, small beads, foam balls, or other decorative elements after achieving the base consistency. Mix gently to distribute evenly without breaking the slime’s structure. Avoid sharp objects or items that might tear the slime during play.
What’s the best way to clean up slime messes?
Most glue-free slimes clean up more easily than traditional versions. For water-based slimes, use warm water and mild soap. Cornstarch slimes often vacuum up well once dry. For sticky residues, white vinegar can help break down remaining material. According to EPA safer choice guidelines, avoid harsh chemicals and opt for natural cleaning solutions when possible.
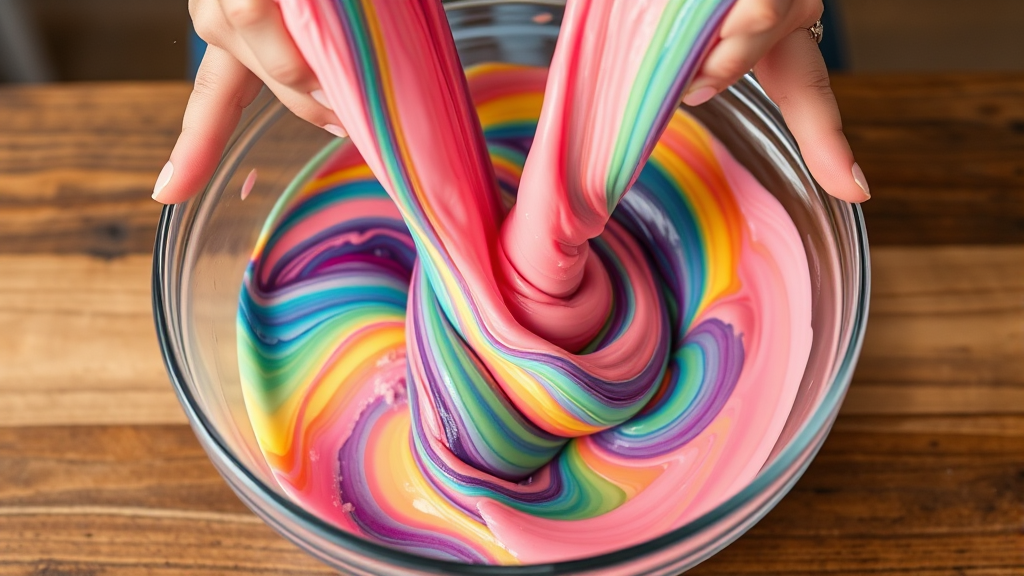
How can I make my glue-free slime more colorful?
Gel food coloring works best for vibrant, stable colors in glue-free slimes. Add coloring gradually while mixing to achieve even distribution. For natural coloring, try fruit juices, vegetable powders, or natural food dyes, though these may affect texture and shelf life. Layer different colored batches for rainbow effects, or create marbled patterns by partially mixing different colors together.
Related Posts

How Long to Boil Lobster Tails: Cooking Guide

How Long to Fly from New York to London? Travel Times
