
DIY Pillow Humping: Safe Practices Explained
DIY Pillow Humping: Safe Practices Explained
Pillow humping—the process of creating a secure, supportive structure by compressing and shaping pillows—is an essential technique for anyone looking to build ergonomic support systems at home. Whether you’re crafting a reading nook, creating lumbar support for furniture, or designing custom bedding arrangements, understanding the proper methods ensures safety, longevity, and comfort. This comprehensive guide walks you through everything you need to know about safely executing this DIY technique in your own space.
Many homeowners attempt pillow compression without understanding the fundamental principles that make the process effective and safe. Poor technique can lead to material degradation, uneven support, and potential injury. By following established best practices and learning from experienced DIYers, you’ll master this skill and create custom solutions tailored to your home’s unique needs.
Understanding Pillow Humping Basics
Pillow humping refers to the controlled compression and molding of pillows to create firm, stable support structures. This technique differs from casual pillow arrangement because it involves deliberate pressure application and strategic positioning. The goal is to compress fill material—whether down, synthetic fiber, or memory foam—into a dense, supportive form that maintains its shape under regular use.
The science behind effective pillow humping involves understanding material properties. Different fill types respond uniquely to compression. Down clusters compress significantly but regain volume quickly, making them ideal for temporary structures. Synthetic polyester maintains compressed form longer, while memory foam offers gradual recovery. Visit our FixWiseHub Blog for How-To Guides and Tutorials to explore related home comfort techniques and discover additional resources for optimizing your living space.
Professional furniture makers have used pillow compression techniques for decades to create custom seating and support systems. By applying their knowledge to DIY projects, homeowners can achieve professional-quality results without expensive furniture purchases. Understanding the mechanics helps you troubleshoot problems and adapt techniques to your specific situation.
Key principles include:
- Gradual pressure application prevents material damage
- Even distribution ensures balanced support
- Proper body mechanics protect your back and joints
- Strategic positioning creates maximum effectiveness
- Consistent technique produces repeatable results
Selecting the Right Materials
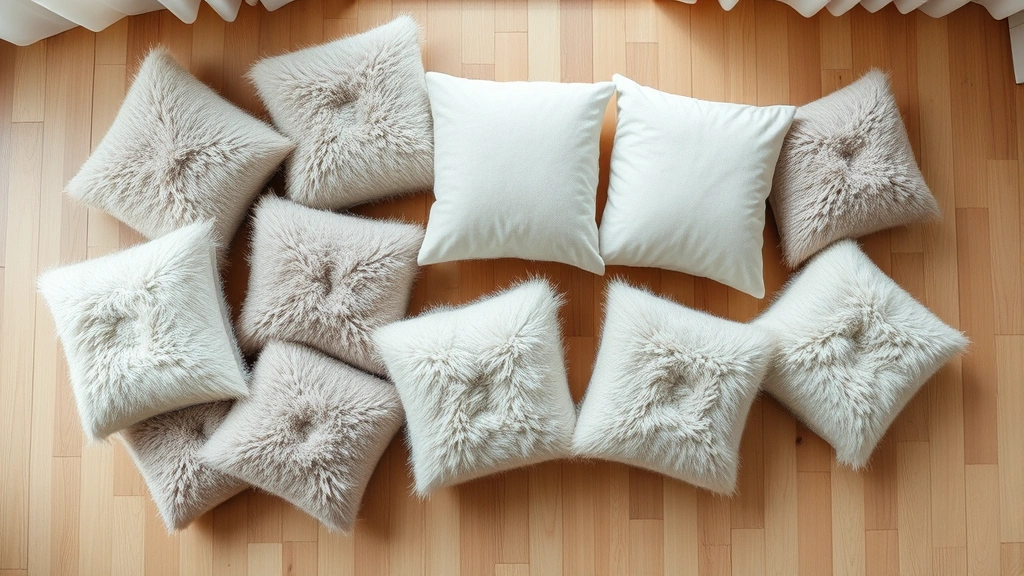
Choosing appropriate pillows is crucial for successful humping outcomes. Not all pillows respond equally to compression, and selecting the wrong type wastes time and effort. Consider your intended use, desired firmness level, and material durability when making your selection.
Pillow types and their suitability:
- Down and feather pillows: Excellent compressibility, quick recovery, premium comfort. Best for temporary structures or comfort applications.
- Polyester fiber pillows: Moderate compression, longer hold times, hypoallergenic. Ideal for DIY support structures.
- Memory foam pillows: Slow compression, excellent shape retention, therapeutic benefits. Perfect for ergonomic support projects.
- Buckwheat pillows: Minimal compression, firm support, natural materials. Suitable for specialized applications.
- Gel-infused pillows: Temperature-responsive, moderate compression, cooling properties. Good for comfort-focused projects.
Consider pillow firmness ratings when selecting materials. Medium-firm pillows typically offer the best balance between compressibility and structural integrity. Avoid overly soft pillows that compress too easily and lose effectiveness, or extremely firm pillows that resist shaping and may cause discomfort.
Quantity matters significantly. Most pillow humping projects require multiple pillows to create adequate support structures. Calculate your needs based on desired dimensions and intended weight-bearing capacity. Purchasing extra pillows ensures you have adequate material if initial attempts require adjustment.
[IMAGE_1]
Preparation and Setup
Proper preparation sets the foundation for successful pillow humping. Your work environment, body positioning, and tool selection all contribute to effective execution and injury prevention. Take time to arrange your space thoughtfully before beginning your project.
Workspace preparation:
- Clear a spacious, flat area for maneuvering
- Remove obstacles that might cause trips or falls
- Ensure adequate lighting for precise positioning
- Lay down protective covering if working on finished floors
- Have water and rest areas nearby for comfort breaks
Proper body mechanics are essential for preventing strain injuries. Stand with feet shoulder-width apart, maintaining neutral spine alignment. Bend at your knees and hips rather than your lower back when applying pressure. Engage your core muscles to stabilize your body during compression movements. Take frequent breaks to allow muscle recovery and maintain focus.
Consider your clothing and footwear. Wear comfortable, breathable clothing that allows full range of motion. Choose supportive shoes with good grip to prevent slipping during pressure application. Avoid loose clothing that might catch or restrict movement.
Step-by-Step Execution
Following a systematic approach ensures consistent results and minimizes errors. Each step builds upon previous work, creating progressively firmer support structures. Work deliberately and avoid rushing through any phase.
Step 1: Initial Positioning
Arrange your pillows in the target configuration. If creating a support structure, stack or nest pillows according to your design plan. Ensure pillows are centered and aligned properly before beginning compression. Take a moment to visualize the final product and verify your setup matches your intended outcome.
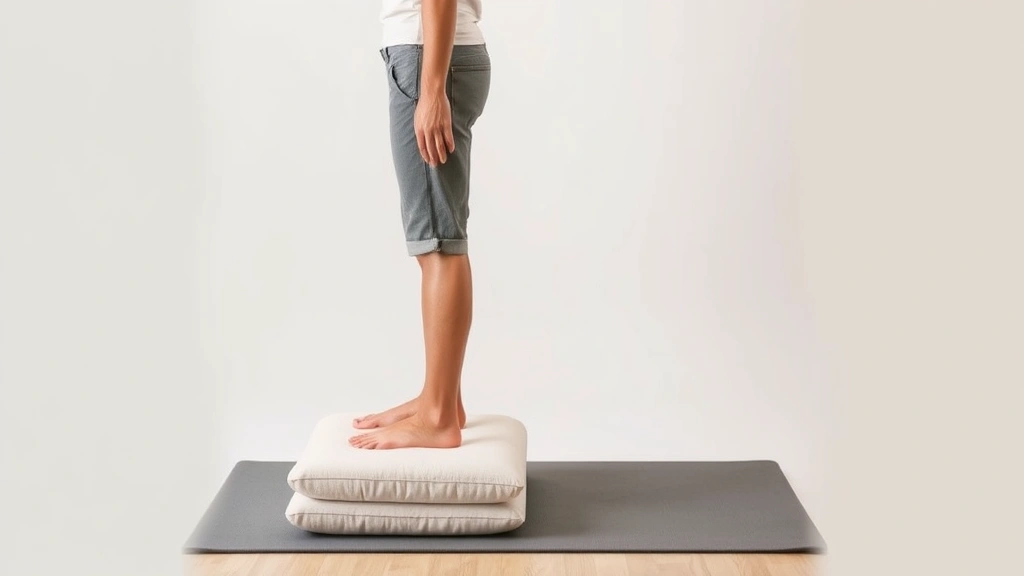
Step 2: Application of Pressure
Begin applying downward pressure using your body weight gradually. Stand on the pillow arrangement with controlled movements, distributing weight evenly across your feet. Start with light pressure and gradually increase intensity as materials compress. Move systematically across the entire structure, ensuring uniform compression rather than focusing pressure on single areas.
Step 3: Progressive Compression
Apply sustained pressure for 30-60 seconds, allowing materials to settle and compress fully. Shift your weight subtly to address any high spots or uneven areas. The compression process isn’t instantaneous—materials need time to adjust and reach their compressed state. Patience during this phase produces superior results.
Step 4: Repositioning and Adjustment
Step off the compressed structure and assess results. Check for even compression, proper alignment, and adequate firmness for your intended use. Make adjustments by repositioning pillows or applying additional compression to specific areas. This iterative process typically requires 2-4 adjustment cycles for optimal results.
Step 5: Final Compression Cycle
Apply one final comprehensive compression cycle to lock in the structure’s shape. This strengthens material bonds and ensures maximum longevity of your compressed form. Hold sustained pressure for 60-90 seconds, allowing everything to settle completely. The structure should feel firm, stable, and ready for use.
Step 6: Rest Period
Allow your completed structure to rest undisturbed for at least 2-4 hours before applying full load. This resting period allows compressed materials to fully stabilize and bond with neighboring materials. Premature use risks compromising your work and reducing structural integrity.
Safety Precautions
Safety should never be compromised during DIY pillow humping projects. Understanding potential risks and implementing preventive measures protects both your physical wellbeing and project success. Several key safety considerations apply to this technique.
Physical Safety:
- Back protection: Maintain proper posture throughout the process. If you have existing back conditions, consult a healthcare provider before undertaking projects involving sustained standing or pressure application.
- Circulation: Avoid standing in one position too long. Shift your weight frequently and take breaks to maintain healthy blood flow.
- Balance: Compressed pillows may shift unexpectedly. Maintain stable footing and hold onto support structures when available.
- Fatigue management: Stop work if you feel tired or dizzy. Fatigue increases injury risk and reduces technique precision.
Material Safety:
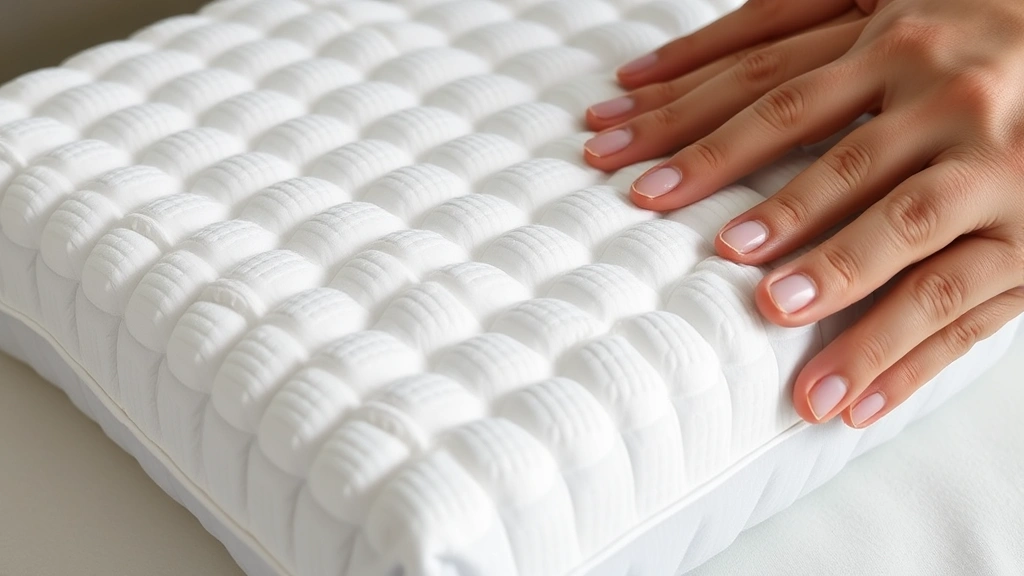
- Ensure pillows are clean and free from contaminants before compression
- Verify pillow covers are intact and won’t shed fibers
- Check for allergenic materials if you have sensitivities
- Avoid compressing wet or damp pillows, which can develop mold
Environmental Considerations:
Work in well-ventilated areas to avoid inhaling dust or fibers released during compression. If you experience respiratory irritation, take breaks in fresh air and consider wearing a dust mask during compression phases. Ensure your work area is climate-controlled—extreme heat or cold affects material behavior and your physical comfort.
For additional guidance on DIY techniques and safety practices, consult resources from This Old House, which provides comprehensive home improvement safety guidelines. Family Handyman also offers detailed safety protocols for various home projects.
Maintenance and Care
Proper maintenance extends the life of your compressed pillow structures and maintains their effectiveness. Regular care prevents material degradation and preserves the benefits of your hard work.
Regular Maintenance Tasks:
- Weekly inspection: Check for signs of compression loss or material separation. Address issues immediately before they worsen.
- Spot cleaning: Remove surface dust and debris with a soft brush or vacuum using low suction settings.
- Fluffing: Periodically lift and rearrange compressed pillows to prevent permanent creasing or flattening in specific areas.
- Rotation: If applicable, rotate your structure to distribute wear evenly across all materials.
Long-term Care:
Environmental factors significantly impact compressed pillow longevity. Maintain consistent humidity levels—excessive moisture promotes mold growth while very dry conditions cause material brittleness. Protect structures from direct sunlight, which degrades materials and causes discoloration. Keep compressed pillows away from heat sources that may damage synthetic materials or compromise down clusters.
If your compressed structure begins losing effectiveness, you can recompress materials using the techniques described in the Step-by-Step Execution section. Most pillow materials can be recompressed multiple times before requiring replacement. This extends the value of your initial investment and allows you to adapt structures as needs change.
For specific product recommendations and material sourcing, visit major home improvement retailers like Lowe’s or The Home Depot, which stock a wide variety of pillow options suitable for DIY projects.
FAQ
How long does a compressed pillow structure maintain its form?
Duration depends on material type, compression intensity, and usage patterns. Synthetic pillows typically maintain compression for 3-6 months with regular use. Down pillows recover faster but can maintain compressed form for 1-3 months. Memory foam pillows offer the longest retention, often maintaining compression for 6-12 months or longer. Recompression extends longevity indefinitely.
Can I use any pillow type for humping projects?
Most pillow types work for humping, but some perform better than others. Medium-firm polyester and memory foam pillows offer ideal balance between compressibility and shape retention. Avoid extremely soft or extremely firm pillows. Always verify pillow construction quality before committing to projects, as poorly-made pillows may deteriorate during compression.
What’s the maximum weight a compressed pillow structure can support?
Weight capacity depends on pillow quantity, material type, and compression intensity. A properly compressed structure of 4-6 medium-firm pillows typically supports 150-250 pounds safely. For heavier loads, use more pillows or higher-density materials. Never exceed recommended weight limits, as overloading compromises structure integrity and safety.
Is pillow humping safe for people with back problems?
Consult your healthcare provider before undertaking any physical activity if you have back conditions. The sustained standing and pressure application involved in pillow humping may aggravate certain conditions. However, the resulting compressed pillow structures can provide therapeutic support for many back issues. Individual circumstances vary, so professional medical guidance is essential.
Can I compress wet pillows?
Never compress wet or damp pillows. Moisture trapped in compressed materials promotes mold growth and material degradation. Always ensure pillows are completely dry before beginning compression work. If pillows become wet during use, allow them to dry thoroughly before recompressing.
How often should I recompress my pillow structures?
Recompression frequency depends on usage intensity and material type. Structures receiving daily use typically require recompression every 2-4 weeks to maintain optimal firmness. Less-frequently used structures may only need recompression every 1-2 months. Monitor your structure’s firmness and recompress when you notice decreased support or increased loft.
Are there building codes affecting pillow compression projects?
Most residential pillow compression projects don’t require permits or code compliance. However, if your project involves structural modifications or load-bearing applications, consult local building codes. Many jurisdictions have specific requirements for furniture and support structures. Visit International Code Council for comprehensive building code information applicable to your region.
What tools do I need for pillow humping?
Basic pillow humping requires minimal tools—primarily your body weight and proper technique. Optional tools that enhance results include firm flooring or a sturdy platform for controlled pressure application, a tape measure for precise positioning, and a dust mask for respiratory protection. Most successful DIYers rely primarily on proper body mechanics and technique rather than specialized equipment.
Related Posts

Superscript in Google Docs: Expert Tips

Strikethrough in Excel: Easy Steps for Beginners
