Dry Basil at Home: Easy Steps from Gardeners
How to Dry Basil at Home: Easy Steps from Gardeners
Fresh basil transforms dishes with its vibrant flavor and aroma, but its growing season doesn’t last year-round. Learning how to dry basil at home ensures you can enjoy this versatile herb long after summer ends. Whether you’re harvesting from your garden or preserving store-bought bunches, drying basil is one of the most rewarding preservation methods available to home gardeners and cooking enthusiasts.
Dried basil concentrates the herb’s essential oils, creating a more potent seasoning than fresh basil in many applications. Unlike some preservation methods that require special equipment or extensive preparation, drying basil demands only basic supplies you likely already have at home. This guide walks you through multiple proven techniques, from simple air-drying to using your oven or dehydrator, ensuring you can preserve your basil harvest using the method that works best for your kitchen setup.
Harvesting Basil for Drying
Timing your harvest is crucial for successful basil drying. The best time to pick basil is in the morning after the dew has dried but before the heat of the day intensifies. At this point, the leaves contain maximum essential oils, which translates to better flavor in your dried product. Pick basil just before the plant flowers, as this is when the leaves reach peak potency and flavor concentration.
Select healthy leaves from the top of your basil plants, pinching off stems rather than cutting them with scissors when possible. This encourages bushier growth and more harvests throughout the season. For the best results, gather basil when the plant is actively growing during warm months. If you’re exploring home improvement projects, consider dedicating a sunny windowsill or outdoor space to growing fresh basil year-round.
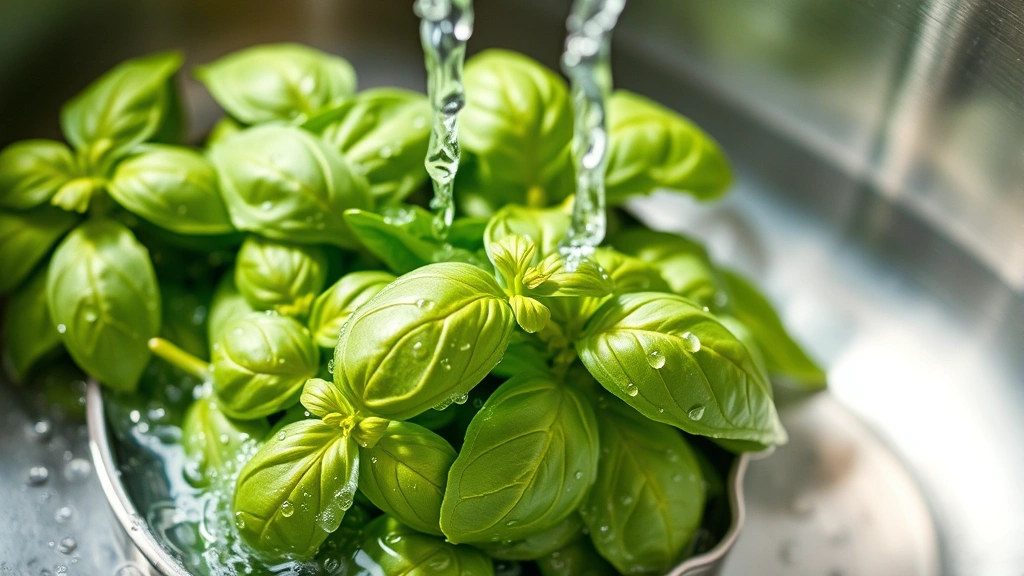
Gently rinse your basil under cool running water if it’s dusty, then pat it completely dry with paper towels or a clean kitchen cloth. Any excess moisture left on the leaves can promote mold growth during the drying process. For this reason, allowing harvested basil to air-dry for 30 minutes after rinsing helps ensure optimal results before you begin the preservation process.
Air-Drying Method
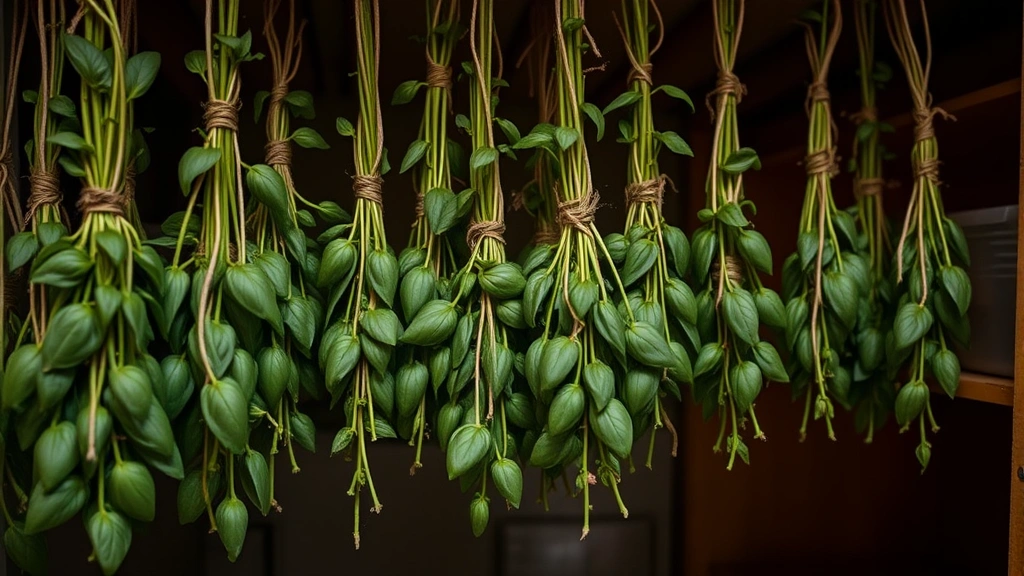
Air-drying is the simplest and most cost-effective way to preserve basil at home. This traditional method requires no electricity or special equipment, making it ideal for gardeners who prefer natural preservation techniques. To air-dry basil, gather 4-6 stems together and secure them with twine or a rubber band, creating small bundles that allow air to circulate freely around each leaf.
Hang your bundles upside down in a warm, dark, well-ventilated space away from direct sunlight. Direct sunlight can fade the basil’s color and degrade its flavor compounds. Ideal locations include a pantry, closet, garage, or any room with good air circulation and temperatures between 70-85°F. Avoid humid environments like bathrooms or kitchens near steam sources, as moisture inhibits proper drying.
The air-drying process typically takes 7-14 days, depending on humidity levels and air circulation in your chosen location. You’ll know the basil is fully dried when the leaves crumble easily between your fingers and no moisture remains. Once completely dry, strip the leaves from the stems and discard the woody stems. Store your dried basil leaves whole or crumble them into smaller pieces for easier measuring during cooking.
Pro tip: If you’re managing multiple preservation projects around your home, you might appreciate learning about cleaning and maintaining kitchen equipment to keep your workspace organized while working with fresh herbs.
Oven Drying Technique
Oven drying accelerates the preservation process, allowing you to dry basil in just a few hours rather than waiting over a week. This method works particularly well when you have a large harvest or limited hanging space in your home. Preheat your oven to its lowest setting, ideally between 150-200°F. If your oven doesn’t have a precise low-temperature setting, 200°F is your safest choice to prevent cooking the basil rather than drying it.
Pat your harvested basil completely dry with paper towels, removing all surface moisture. Arrange the leaves in a single layer on a baking sheet lined with parchment paper. Avoid overcrowding, as leaves need direct heat exposure for even drying. If you have multiple layers of basil to dry, use several baking sheets and rotate them halfway through the process.
Place the baking sheet in your preheated oven and prop the door open slightly with a wooden spoon or heat-safe object. This prevents heat and moisture from building up inside the oven, which would cook the basil rather than dry it. Check the basil every 15-20 minutes. The drying process typically takes 30-60 minutes total, depending on leaf size and oven temperature.
Your basil is ready when the leaves are brittle and crumble easily. Remove from the oven and allow to cool completely on the baking sheet before handling or storing. This cooling period allows any remaining internal moisture to escape, ensuring maximum shelf life.
Dehydrator Method
Food dehydrators provide the most controlled drying environment and often produce superior results compared to air-drying or oven methods. If you regularly preserve herbs, vegetables, or fruits, investing in a quality dehydrator makes this process incredibly straightforward. Spread your clean, dry basil leaves in a single layer on the dehydrator trays, avoiding overlap.
Set your dehydrator to 95-115°F, the ideal temperature range for preserving basil’s delicate flavor compounds and vibrant green color. At these low temperatures, the basil dries slowly enough to retain its quality while still removing moisture efficiently. Most dehydrators complete the process in 4-8 hours, though this varies based on your specific machine and leaf thickness.
Check the basil periodically toward the end of the drying cycle. You’re looking for leaves that crumble easily and contain no visible moisture. Once completely dry, remove from the dehydrator and allow to cool before storing. Many gardeners prefer the dehydrator method because it produces consistently excellent results and allows you to process large quantities simultaneously.
Storage and Shelf Life
Proper storage is essential for maintaining your dried basil’s flavor and potency. Once fully dried and cooled, transfer your basil to airtight containers such as glass jars with tight-sealing lids or vacuum-sealed bags. Store in a cool, dark place away from direct sunlight, heat sources, and humidity. A kitchen pantry, basement shelf, or dark cupboard works perfectly.
Dried basil maintains excellent quality for 6-12 months when stored properly in airtight containers. After a year, the flavor gradually diminishes, though the herb remains safe to use. To maximize shelf life, consider adding a food-grade oxygen absorber packet to your storage containers, which removes oxygen that can degrade the herb over time.
Label your containers with the date of drying and the herb type. This simple step prevents confusion and helps you use older supplies first. If you notice any signs of moisture, mold, or off-odors when opening your containers, discard the batch immediately, as these indicate improper storage or inadequate drying.
When managing home maintenance tasks, remember that organizing your preserved herbs alongside other pantry items keeps your kitchen functioning efficiently and your cooking preparations smooth.
Using Your Dried Basil
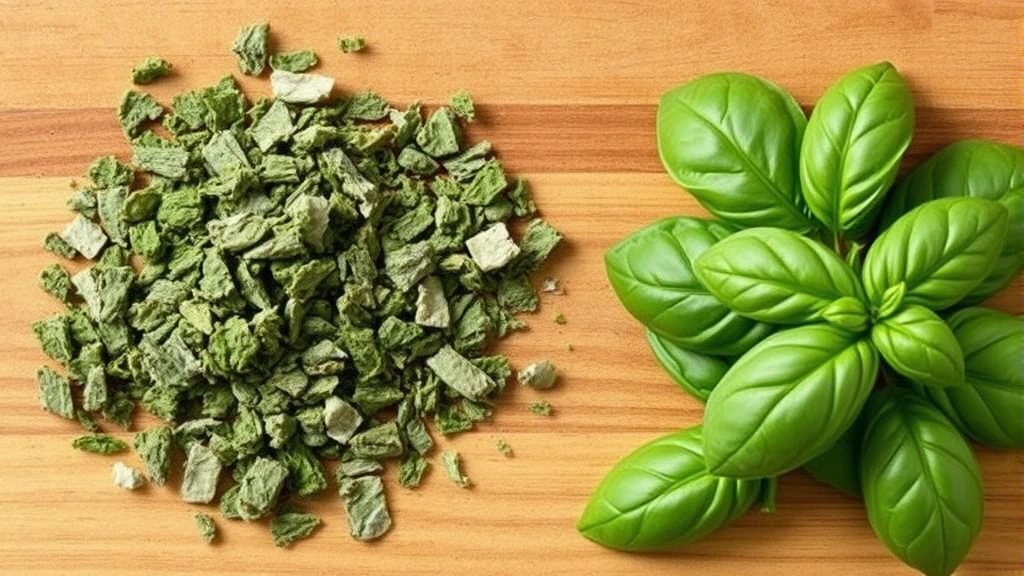
Dried basil’s concentrated flavor makes it a powerful seasoning for countless dishes. Use approximately one-third the amount of dried basil compared to fresh basil in recipes, as the drying process concentrates the flavor significantly. Add dried basil toward the end of cooking in fresh applications like salads, or incorporate it earlier in long-cooking dishes like soups, stews, and sauces where the flavors have time to fully develop.
Dried basil shines in Italian cuisine, including pasta sauces, pizza toppings, and tomato-based dishes. It’s also excellent in marinades for meats and vegetables, herb blends for seasoning meats, and infused oils for drizzling over finished dishes. Many cooks keep dried basil readily accessible since it’s more shelf-stable than fresh varieties and provides consistent flavor year-round.
To intensify the flavor of dried basil before adding it to a dish, crush the leaves between your fingers or in a mortar and pestle. This releases the essential oils and distributes the herb more evenly throughout your cooking. Some cooks prefer storing whole dried leaves and crushing them as needed, which helps preserve flavor longer than pre-crushed basil.
For maximum flavor retention, avoid storing dried basil near heat sources, bright light, or in the refrigerator, where moisture can accumulate. When you need guidance on other home preservation and maintenance projects, explore comprehensive home care resources to keep your entire home running smoothly.
FAQ
Can I dry basil in the microwave?
While microwave drying is possible, it’s the least recommended method because the intense, direct heat often damages basil’s delicate leaves and volatile oils, resulting in poor flavor and color. If you must use a microwave, place basil leaves between paper towels and use the lowest power setting for 30-second intervals, checking frequently. Air-drying, oven drying, or using a dehydrator produces significantly better results.
What’s the difference between drying basil and freezing it?
Drying concentrates basil’s flavor and extends shelf life to 6-12 months, making it ideal for long-term storage and cooking applications where heat helps release the herb’s flavors. Freezing preserves a fresher taste better suited to dishes served cold or added at the last moment, but frozen basil only lasts 2-3 months and becomes mushy when thawed. Choose drying for year-round seasoning and freezing for fresh-tasting applications needed within a few months.
Why is my dried basil turning brown?
Browning indicates exposure to too much heat, light, or oxygen during drying or storage. During the drying process, ensure temperatures don’t exceed 200°F and keep basil away from direct sunlight. During storage, use airtight containers in dark locations. If browning occurs during drying, reduce your oven temperature or dehydrator setting and extend the drying time slightly.
Can I dry different herb varieties together?
While you can dry multiple herbs simultaneously, keep different varieties separate on different trays or in different bundles. Different herbs have varying drying times and optimal temperature ranges. For example, delicate herbs like basil dry faster than hardy herbs like rosemary. Keeping them separate ensures each herb dries perfectly and prevents flavor transfer between varieties.
How do I know when basil is completely dry?
Completely dried basil leaves should crumble easily between your fingers with no flexibility or moisture remaining. If leaves bend without breaking, they still contain moisture and need additional drying time. Any moisture left in the basil can promote mold growth during storage, so ensure leaves are completely brittle before storing them.
Should I remove basil stems before or after drying?
For air-drying and dehydrator methods, keep stems attached during drying for easier handling. Strip leaves from stems after drying is complete. For oven drying, you can remove leaves before or after drying, depending on your preference. Removing leaves beforehand allows for faster drying but requires more careful handling of delicate leaves.
For additional home preservation and maintenance guidance, consult Family Handyman’s comprehensive guides on kitchen organization and This Old House’s expert advice on home systems. When you’re ready to implement your dried basil in recipes, proper pantry organization ensures your preserved herbs remain in peak condition. Learning how to maintain home systems alongside managing your herb garden creates a well-rounded approach to home management that keeps both your kitchen and home operating efficiently.
Related Posts
Remove a Bathtub Drain? Expert Tips Inside

Remove Activation Lock: Expert Tips & Tricks