
Safely Disconnect Your Car Battery: A Step-by-Step Guide
Disconnecting your car battery is a fundamental automotive maintenance skill that every car owner should master. Whether you’re performing routine maintenance, replacing parts, or storing your vehicle for an extended period, knowing how to safely remove your car battery can save you time, money, and prevent potentially dangerous situations.
This comprehensive guide will walk you through the entire process of safely disconnecting your car battery, from preparation to completion. We’ll cover essential safety precautions, required tools, step-by-step instructions, and common mistakes to avoid. By following these detailed instructions, you’ll be able to confidently handle this basic automotive task while protecting both yourself and your vehicle’s electrical system.
Essential Safety Precautions
Before you begin the battery disconnection process, it’s crucial to understand the safety risks involved. Car batteries contain sulfuric acid and produce hydrogen gas, which can be dangerous if proper precautions aren’t taken. Always work in a well-ventilated area to prevent gas accumulation, and never smoke or use open flames near the battery.
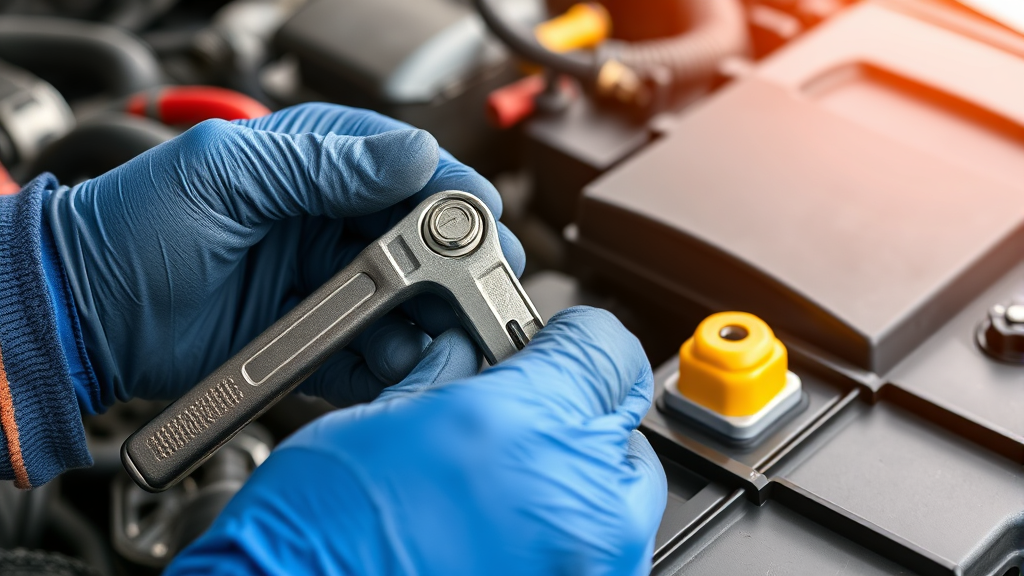
Wear appropriate protective equipment including safety glasses and rubber gloves to protect against acid splashes. Remove any metal jewelry such as rings, watches, or chains that could accidentally create a short circuit. Ensure your vehicle is parked on level ground with the parking brake engaged and the engine completely cool before starting work.
According to the Occupational Safety and Health Administration, proper battery handling procedures are essential to prevent workplace injuries and should be followed by both professionals and DIY enthusiasts.
Tools and Materials Needed
Having the right tools makes the battery disconnection process much safer and more efficient. You’ll need a set of wrenches or socket set, typically ranging from 8mm to 13mm, depending on your vehicle’s battery terminal configuration. Most standard car batteries use 10mm bolts, but it’s wise to have multiple sizes available.
Additional essential items include a wire brush or battery terminal cleaner for removing corrosion, petroleum jelly or battery terminal protectant to prevent future corrosion, and clean rags for wiping down terminals and surrounding areas. A multimeter can be helpful for checking battery voltage before and after the procedure.
Consider having a memory saver device if you want to maintain your vehicle’s electronic settings, though this isn’t always necessary. Some mechanics also recommend having baking soda and water solution on hand to neutralize any acid spills that might occur during the process.
Preparation Steps
Begin by ensuring your vehicle is properly prepared for battery disconnection. Turn off the engine and remove the keys from the ignition. Allow the engine to cool completely if you’ve been driving, as hot engine components can pose burn risks. Engage the parking brake and ensure the vehicle is on level ground.
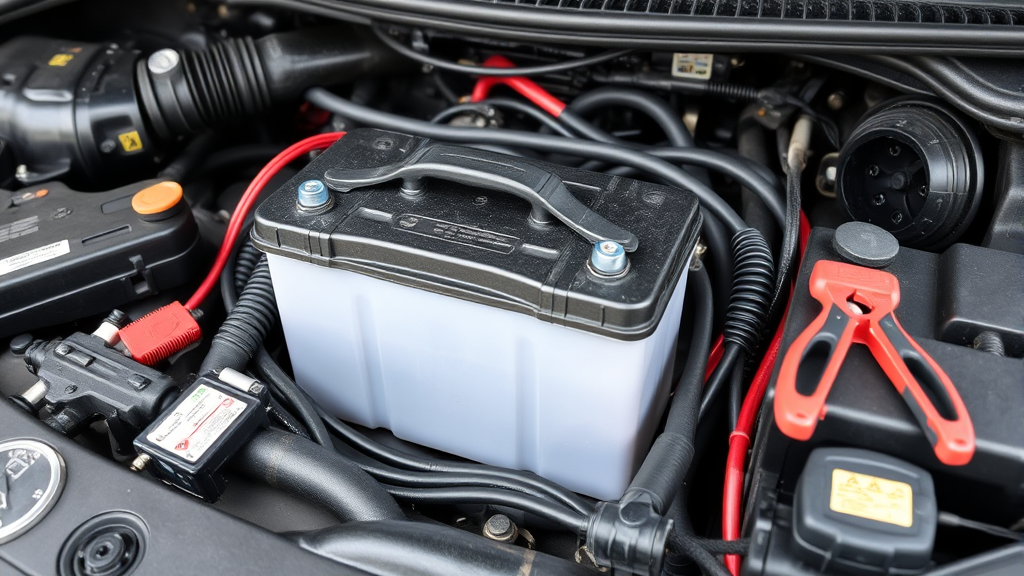
Open the hood and locate your battery. In most vehicles, it’s positioned near the front of the engine compartment, but some models have batteries in the trunk or under seats. Clean the battery terminals and surrounding area with a damp cloth to remove dirt and debris that could interfere with the disconnection process.
Take note of your battery’s current condition before disconnecting. Check for obvious signs of damage, corrosion, or leaks. Just as you might regularly check your engine oil or check transmission fluid, inspecting your battery condition is an important part of vehicle maintenance.
Step-by-Step Disconnection Process
The actual disconnection process must be performed in the correct order to prevent electrical damage. Always disconnect the negative terminal first, which is typically marked with a minus (-) sign and may have a black cable. This reduces the risk of short circuits if your wrench accidentally touches the vehicle’s metal frame.
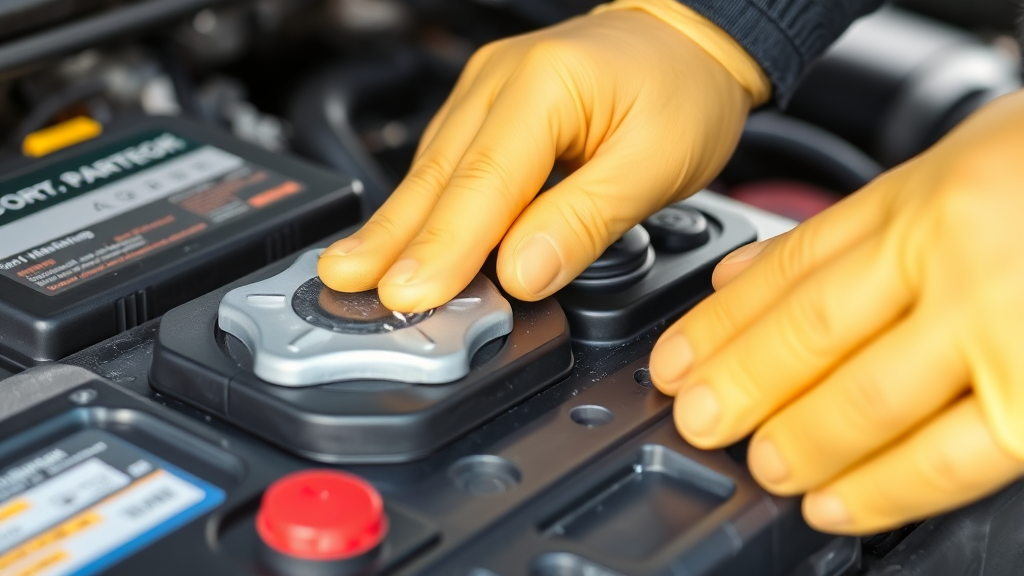
Loosen the negative terminal clamp using the appropriate wrench, turning counterclockwise. You may need to wiggle the clamp slightly to free it from the terminal post. Once loose, carefully lift the negative cable away from the battery and secure it so it cannot accidentally touch the terminal.
Next, disconnect the positive terminal, marked with a plus (+) sign and typically connected to a red cable. Follow the same procedure: loosen the clamp, wiggle if necessary, and carefully remove the cable. Keep the positive cable separate from the negative cable and any metal surfaces to prevent accidental contact.
If your battery has a hold-down bracket or clamp securing it to the vehicle, remove these fasteners using the appropriate tools. Some batteries may also have a heat shield or cover that needs removal. Take photos during disassembly to help with reassembly later.
Post-Disconnection Considerations
After successfully disconnecting your battery, several important considerations come into play. Your vehicle’s computer systems will lose power, which means various electronic settings may reset to factory defaults. This includes radio presets, clock settings, seat positions, and other personalized configurations.
The engine control module and other electronic systems may need to relearn certain parameters once the battery is reconnected. This adaptation process can take several drive cycles to complete, during which you might notice slight differences in engine performance or shifting patterns in automatic transmissions.
Store the disconnected battery in a clean, dry location if you’re removing it completely. Batteries should be kept upright and protected from extreme temperatures. If you’re working on other vehicle maintenance tasks, this is an excellent time to address related items, similar to how you might coordinate tire rotation with other maintenance procedures.
How to Reconnect Your Battery
When you’re ready to reconnect your battery, reverse the disconnection process. Always connect the positive terminal first, followed by the negative terminal. This sequence helps prevent sparking and potential electrical damage to sensitive electronic components.
Before making connections, clean the battery terminals and cable ends with a wire brush to ensure good electrical contact. Apply a thin layer of petroleum jelly or battery terminal protectant to prevent future corrosion. Tighten the terminal clamps securely but avoid overtightening, which can damage the battery posts.
After reconnection, check that all connections are secure and properly seated. Start your vehicle to verify that all systems are functioning correctly. You may need to reset various electronic settings and allow the engine management system time to relearn optimal operating parameters.
Common Issues and Troubleshooting
Several common problems can occur during battery disconnection. Corroded terminals are perhaps the most frequent issue, making it difficult to remove cable clamps. Use a wire brush and baking soda solution to clean heavy corrosion, but be careful to avoid getting the cleaning solution inside the battery cells.
Stuck or seized terminal clamps require patience and the right technique. Never force connections, as this can damage battery posts or cable ends. Instead, use penetrating oil and gentle wiggling motions to free stubborn connections. Sometimes, terminal pullers are necessary for severely stuck clamps.
If you encounter unusual electrical behavior after reconnection, such as warning lights or system malfunctions, consult your vehicle’s manual or a qualified technician. Some modern vehicles require specific procedures or scan tool resets after battery disconnection, particularly those with advanced security systems.
Battery Maintenance Tips
Regular battery maintenance extends service life and prevents unexpected failures. Clean battery terminals monthly and inspect cables for signs of wear, corrosion, or damage. Keep the battery top clean and dry, as accumulated dirt and moisture can cause discharge across the battery case.
Test your battery voltage regularly using a multimeter. A healthy 12-volt battery should read approximately 12.6 volts when the engine is off and 13.5-14.5 volts when running. According to NIST guidelines, proper voltage measurements are crucial for electrical system diagnosis.
Consider the relationship between different vehicle maintenance tasks. Just as you might learn how to change AirTag batteries or replace AirTag batteries for your personal devices, maintaining your car battery requires similar attention to detail and regular care.
Frequently Asked Questions
Which battery terminal should I disconnect first?
Always disconnect the negative terminal first, followed by the positive terminal. This sequence prevents short circuits if your wrench accidentally touches the vehicle frame. When reconnecting, reverse the order: positive first, then negative.
Will disconnecting my car battery reset the computer?
Yes, disconnecting the battery will reset various electronic systems and erase stored error codes. Your radio presets, clock, and other personalized settings will also be lost. Some vehicles may need several drive cycles to relearn optimal operating parameters.
How long can I leave my car battery disconnected?
You can safely leave a battery disconnected indefinitely, but the battery will slowly self-discharge over time. If storing for extended periods, consider using a battery tender or trickle charger to maintain charge levels. Check the battery voltage monthly during long-term storage.
Do I need any special tools to disconnect a car battery?
Basic hand tools are sufficient for most vehicles. You’ll need the appropriate wrench or socket set (usually 8mm to 13mm), safety glasses, and gloves. A wire brush for cleaning terminals and petroleum jelly for corrosion prevention are also recommended.
Is it safe to disconnect a car battery while the engine is running?
Never disconnect a battery while the engine is running. This can cause voltage spikes that damage sensitive electronic components. Always turn off the engine, remove the keys, and allow the engine to cool before beginning any battery work.
What should I do if I see sparks when disconnecting the battery?
Small sparks when making the final connection are normal due to the electrical system charging. However, if you see large sparks or arcing, stop immediately and check for proper tool contact and terminal condition. Ensure all electrical loads are turned off before disconnecting.
Can I touch both battery terminals at the same time?
While 12 volts isn’t typically dangerous to humans, avoid touching both terminals simultaneously, especially with wet hands. The greater risk is creating a short circuit with tools or jewelry that could cause burns, battery damage, or electrical system problems.
Related Posts

How Long to Boil Lobster Tails: Cooking Guide

How Long to Fly from New York to London? Travel Times
