
How to Connect Roku to WiFi Without a Remote
How to Connect Roku to WiFi Without a Remote
We’ve all been there—you’ve just unboxed your shiny new Roku device, ready to dive into your favorite streaming services, only to realize the remote is missing, dead, or somewhere in the black hole behind your couch. The panic sets in. Is your Roku now a fancy paperweight? Not at all. Connecting your Roku to WiFi without a remote is entirely possible, and honestly, it’s easier than you might think. Whether you’re dealing with a lost remote, a malfunctioning one, or you simply prefer a hands-free approach, there are multiple methods to get your Roku online and streaming in minutes.
The beauty of modern technology is that manufacturers have built in backup solutions for exactly these situations. Roku, being a smart company, offers several alternative ways to set up your device without touching a physical remote. From using your smartphone as a virtual remote to connecting via USB, you have options. In this guide, we’ll walk you through every method available, from the simplest smartphone solution to more technical workarounds. By the end, you’ll have your Roku connected to WiFi and ready to binge-watch your next favorite series.
Using the Roku Mobile App as Your Remote
The easiest and most straightforward method to connect your Roku to WiFi without a physical remote is using the official Roku mobile app. This method works because the app communicates with your Roku device over your existing WiFi network—but wait, that sounds circular, right? Actually, your Roku creates its own temporary network during setup, which is brilliant for initial configuration. Here’s how to leverage this feature.
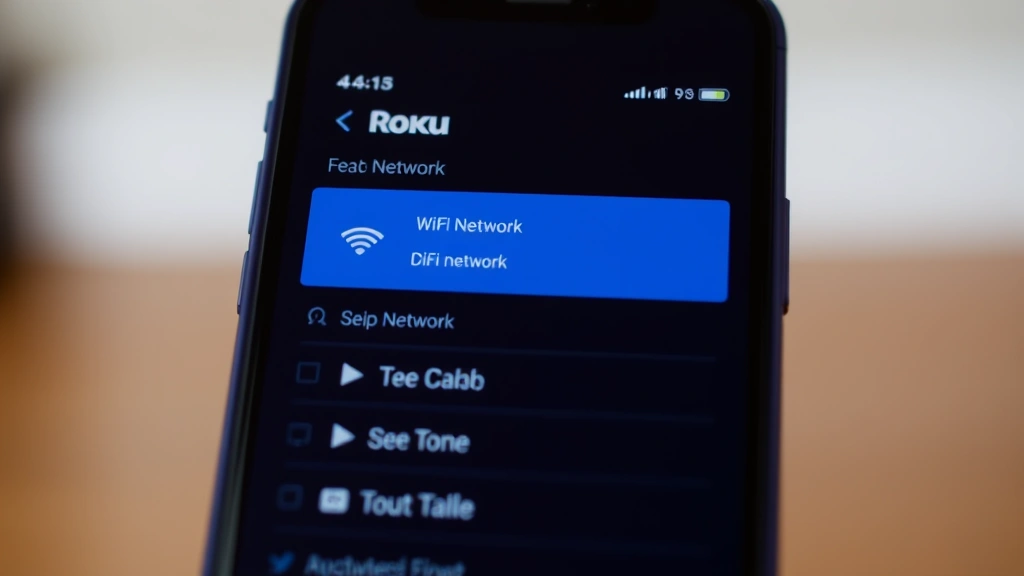
First, download the Roku app from your smartphone’s app store—it’s free and available for both iOS and Android devices. Once installed, open the app and look for the “Set Up Your Device” or “Add Your Roku” option. The app will automatically search for nearby Roku devices that are in pairing mode. Make sure your Roku device is powered on and connected to a power source. Within moments, the app should detect your device and display it as an available option.
Tap on your Roku device in the app, and you’ll be guided through a setup wizard. The interface is intuitive and user-friendly, walking you through network selection, WiFi password entry, and account linking. When prompted to select your WiFi network, the app will display all available networks in your area. Choose your network from the list and enter your WiFi password. The Roku will then attempt to connect to your network. Once successfully connected, you’ll see a confirmation message in the app.
One of the advantages of using the mobile app method is that you can continue using it as a virtual remote even after setup is complete. This means if you ever lose or break your physical remote, you’ll always have a backup control method. The app includes all the functionality of a traditional remote—directional navigation, text input, play controls, and even voice search capabilities on compatible devices.
Setting Up WiFi Through USB Connection
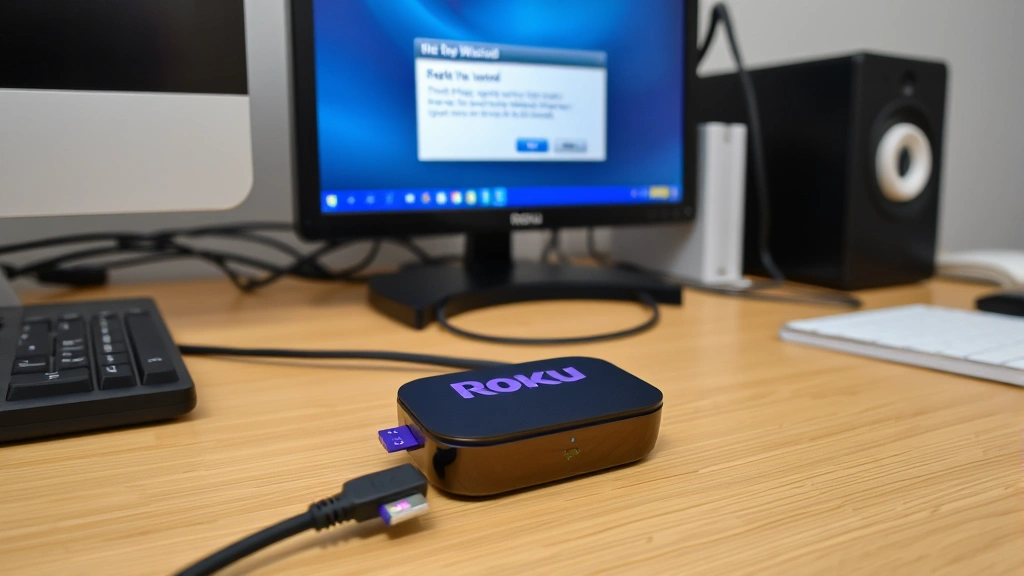
If you don’t have access to a smartphone or the mobile app method isn’t working for you, connecting via USB is your next best option. This method requires a USB cable (typically a micro-USB or USB-C depending on your Roku model) and a computer. While this approach is slightly more technical, it’s still very manageable for anyone comfortable with basic computer navigation.
Start by connecting your Roku device to your computer using a USB cable. Plug the other end into an available USB port on your computer. Your computer should recognize the Roku as a connected device. On your computer, open your web browser and navigate to the Roku setup page. You can typically access this by typing “localhost:8080” into your browser’s address bar, or you can visit Roku’s official support documentation for the exact URL for your specific model.
The web interface will load, displaying a setup wizard similar to the mobile app version. Follow the prompts to select your WiFi network and enter your password. The Roku will process this information and attempt to establish a connection to your network. Once you see the confirmation screen, your device is successfully connected. You can then disconnect the USB cable and proceed with normal Roku operation.
The USB method is particularly helpful for users who want complete control over the setup process through a larger screen. Some people find it easier to type WiFi passwords using a computer keyboard rather than navigating an on-screen keyboard with a remote or app. Additionally, this method doesn’t require your Roku to be on the same temporary network as your phone, making it a viable option if you’re setting up the device in a location with different network conditions.
Connecting via Ethernet Cable
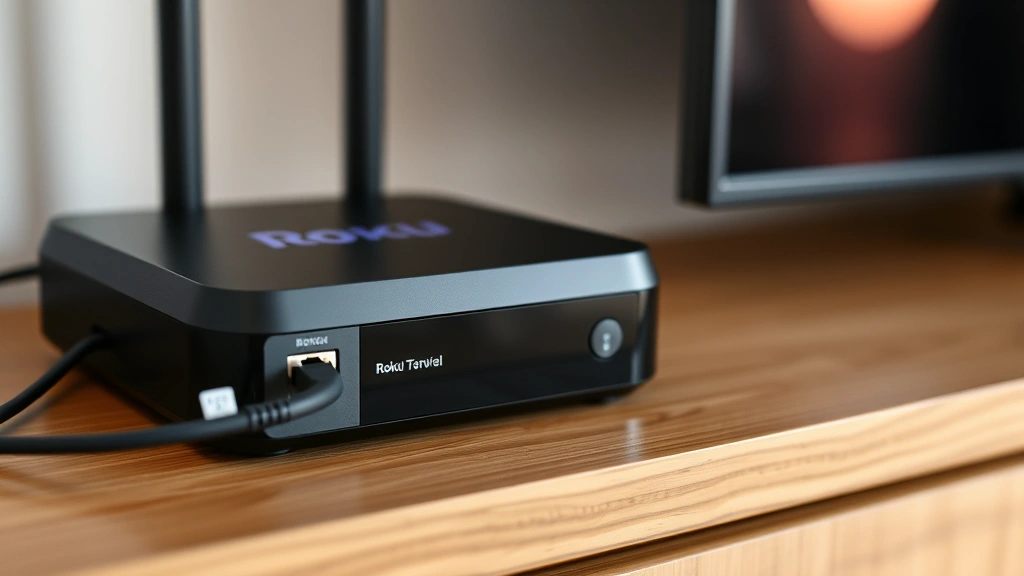
For a more stable and immediate connection, consider using an Ethernet cable. Most Roku devices have an Ethernet port, though some of the smaller models may require an adapter. This method bypasses WiFi entirely for the initial connection and setup process, which can be particularly useful if you’re experiencing WiFi interference or if your network is particularly slow.
Connect an Ethernet cable from your router directly to your Roku device’s Ethernet port. Power on your Roku and wait for it to boot up. The device will automatically detect the wired connection and establish internet access without requiring any WiFi credentials. Once online, you can proceed with account setup and other configuration tasks. After initial setup is complete, you can disconnect the Ethernet cable and switch to WiFi if desired, or keep the wired connection for optimal streaming performance.
The beauty of using Ethernet is that you don’t need a remote, mobile app, or computer interaction at all. The device simply connects automatically. This method is ideal for users who want a quick, fuss-free setup or those who plan to keep their Roku connected via Ethernet for superior streaming stability. If you’re experiencing buffering or connection drops with your WiFi setup, making the switch to Ethernet can significantly improve your streaming experience.
Using Voice Commands Without a Remote
If your Roku device supports voice control functionality, you might be able to use voice commands to navigate setup without a traditional remote. Some Roku models come with built-in microphones or support external voice assistants like Amazon Alexa or Google Assistant. This method requires that your Roku is already powered on and in pairing mode.
For devices with built-in voice control, simply speak commands toward your Roku. You can say phrases like “Search for Netflix” or navigate menus using directional voice commands. While voice control alone might not be sufficient for entering complex WiFi passwords, it can help you navigate through setup menus and select WiFi networks from a displayed list.
If your Roku integrates with Alexa or Google Assistant, you can use your Echo device or Google Home speaker to control your Roku remotely. This requires that both devices are on the same network, but it provides another hands-free option for navigation. You can ask your voice assistant to “connect to WiFi” or other setup-related commands, depending on what your specific Roku model supports.
Pairing a Universal Remote
If you don’t have the original Roku remote but have a universal remote at home, you might be able to pair it with your Roku device. Many universal remotes are programmed with codes for popular streaming devices, including Roku. Check your universal remote’s instruction manual for the specific Roku code for your device model.
Enter the code into your universal remote following the manufacturer’s instructions. Once programmed, test the remote by pressing a few buttons to see if your Roku responds. If successful, you now have a working remote to complete setup. This is a practical solution if you’re someone who has multiple universal remotes around your home or office.
Keep in mind that universal remotes typically offer basic functionality—directional navigation and power controls—but might lack advanced features like voice search or quick-access buttons. However, for getting through the initial WiFi setup process, a universal remote works perfectly fine. If you find yourself relying on a universal remote long-term, you might eventually want to invest in an official Roku remote or continue using the mobile app for full functionality.
Troubleshooting Connection Issues
Even with these multiple methods available, sometimes connection issues can arise. If your Roku isn’t appearing in the mobile app during setup, ensure that your smartphone is connected to the same WiFi network as your Roku’s temporary setup network. Check that your phone’s Bluetooth is enabled, as the app sometimes uses Bluetooth in addition to WiFi for device discovery.
If the USB method isn’t working, try a different USB cable or port on your computer. Some cables are data-only and won’t allow communication between devices. Ensure your computer recognizes the Roku as a connected device before attempting to access the web interface. You might need to install drivers for your specific Roku model on your computer.
For Ethernet connections, verify that your cable is properly seated in both the router and Roku device ports. Test the Ethernet cable with another device to confirm it’s functional. If your Roku still isn’t connecting, try rebooting your router and waiting a few minutes before attempting connection again.
When entering your WiFi password, remember that it’s case-sensitive. Double-check that caps lock isn’t accidentally enabled and that you’re entering the correct password for your network, not your router’s admin password. If you’re unsure of your WiFi password, you can check it through your router’s settings or contact your internet service provider for assistance.
If you’re having trouble with the Roku mobile app, try force-closing and reopening it, or uninstalling and reinstalling the application. Ensure your smartphone’s operating system is up to date, as older software versions might have compatibility issues with the latest Roku app version.
Frequently Asked Questions
Can I connect my Roku to WiFi without any remote at all?
Yes, absolutely. You have several options including the Roku mobile app, USB connection through a computer, direct Ethernet cable connection, or voice commands if your device supports them. None of these methods require a physical remote control.
What if I don’t have a smartphone to use the Roku app?
You can use the USB method with a computer instead, or connect via Ethernet cable for the most straightforward setup. Both methods bypass the need for a smartphone entirely.
Is connecting via Ethernet permanent, or can I switch to WiFi later?
You can absolutely switch to WiFi after initial setup. Connect via Ethernet first to complete setup and account linking, then disconnect the cable and configure your WiFi connection using the mobile app or another method. Many users keep the Ethernet connection for better streaming performance.
Will I need a remote eventually?
Not necessarily. The Roku mobile app is fully functional as a permanent replacement for a physical remote. However, many users prefer having a physical remote for convenience, especially when guests are visiting or when you want quick access without pulling out your phone.
How long does Roku setup typically take without a remote?
Setup usually takes 5-15 minutes depending on which method you use. The Ethernet method is typically fastest since it requires no password entry, while the mobile app or USB method might take slightly longer due to WiFi password entry.
What if none of these methods are working?
Ensure your Roku device is powered on and has been given time to fully boot up. Try power-cycling the device by unplugging it for 30 seconds, then plugging it back in. If issues persist, you might want to check Roku’s official support page for model-specific troubleshooting or consider contacting their customer service team.
Related Posts

How Long to Boil Lobster Tails: Cooking Guide

How Long to Fly from New York to London? Travel Times
