
Shine On: Expert Tips for Cleaning Brass Like a Pro
Brass has been a beloved material for centuries, gracing homes with its warm, golden luster in everything from door handles and light fixtures to decorative ornaments and musical instruments. However, maintaining that beautiful shine requires proper care and cleaning techniques. Over time, brass naturally develops a patina or tarnish that can dull its appearance, but with the right knowledge and tools, you can restore its original brilliance.
Learning how to clean brass effectively is essential for preserving both its aesthetic appeal and monetary value. Whether you’re dealing with antique brass pieces, modern fixtures, or everyday household items, understanding the proper cleaning methods will help you maintain these items for years to come. This comprehensive guide will walk you through everything you need to know about brass cleaning, from identifying the type of brass you’re working with to choosing the right cleaning solutions and techniques.
Identifying Different Types of Brass
Before diving into cleaning techniques, it’s crucial to understand what type of brass you’re working with. Not all brass items are created equal, and different types require different cleaning approaches. The first step is determining whether your item is solid brass, brass-plated, or lacquered brass.
Solid brass is made entirely of the brass alloy and can withstand more aggressive cleaning methods. To test if an item is solid brass, use a magnet – brass is not magnetic, so if the magnet doesn’t stick, you likely have solid brass. However, if the magnet does stick, the item is probably brass-plated over a ferrous metal.
Brass-plated items have only a thin layer of brass over another metal, typically steel or zinc. These require gentler cleaning methods to avoid damaging or wearing away the brass coating. Lacquered brass has a protective clear coating applied to prevent tarnishing. This type should never be polished with abrasive materials, as doing so will damage the protective coating.
Understanding these distinctions is as important as knowing how to clean stainless steel pans properly – using the wrong method can cause permanent damage to your valuable brass items.
Essential Cleaning Supplies and Tools
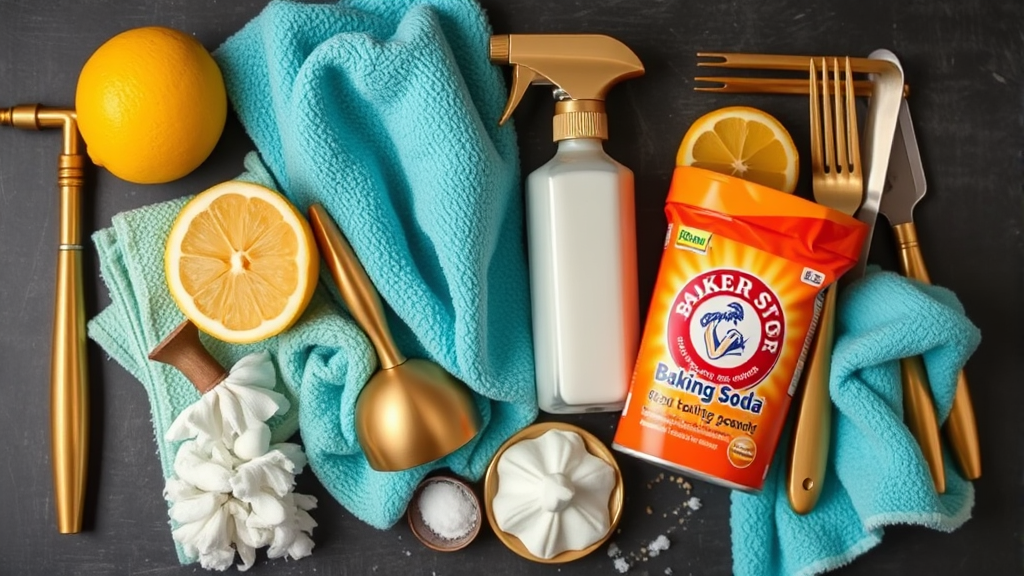
Having the right tools and supplies makes brass cleaning more effective and safer for your items. Start with soft, lint-free cloths or microfiber towels, which won’t scratch the brass surface. Avoid using paper towels or rough fabrics that can leave scratches.
For cleaning solutions, you’ll want to have both commercial brass cleaners and natural alternatives on hand. Commercial cleaners like Brasso, Bar Keepers Friend, or Wright’s Silver Cream are specifically formulated for brass and can be very effective. However, natural ingredients like lemon juice, white vinegar, baking soda, and salt can also work wonders and are often safer for antique pieces.
Soft-bristled toothbrushes are invaluable for getting into crevices and detailed areas. Cotton swabs can help with intricate designs and hard-to-reach spots. For protection, keep some clear wax or lacquer on hand to seal cleaned brass and prevent future tarnishing.
According to the National Park Service, proper tool selection is crucial for preserving historic brass artifacts, emphasizing the importance of using non-abrasive materials and appropriate cleaning agents.
Basic Brass Cleaning Methods
The basic brass cleaning process begins with removing any dirt, dust, or grime from the surface. Start by washing the item with warm, soapy water using a mild dish soap. This initial cleaning removes surface contaminants that could interfere with the polishing process. Rinse thoroughly and dry completely with a soft cloth.
For light tarnishing, a commercial brass cleaner applied according to the manufacturer’s instructions is often sufficient. Apply the cleaner with a soft cloth, work it into the surface using circular motions, and then buff to a shine with a clean, dry cloth. Always work in small sections to prevent the cleaner from drying on the surface.
When working with brass fixtures that cannot be removed, protect surrounding surfaces with painter’s tape or plastic sheeting. This is particularly important when cleaning brass hardware on cabinets or doors, similar to the care needed when learning how to clean oven interiors without damaging surrounding components.
Natural and Homemade Cleaning Solutions
Natural cleaning solutions can be just as effective as commercial products and are often safer for antique or delicate brass pieces. One of the most popular methods involves creating a paste using equal parts lemon juice and baking soda. Apply this paste to the brass surface, let it sit for about 30 minutes, then gently scrub with a soft cloth and rinse thoroughly.
Another effective natural cleaner combines white vinegar and salt. Mix one teaspoon of salt into half a cup of vinegar, then apply the solution to the brass using a soft cloth. The acid in the vinegar helps dissolve tarnish while the salt provides gentle abrasion. After cleaning, always rinse with clean water and dry thoroughly to prevent water spots.
For heavily tarnished pieces, try soaking them in a solution of hot water and dish soap for several minutes before applying your chosen cleaning method. This pre-treatment helps loosen stubborn tarnish and makes the cleaning process more effective.

Deep Cleaning Techniques for Heavy Tarnish
When brass items have developed heavy tarnish or haven’t been cleaned in years, they may require more intensive cleaning methods. For solid brass pieces, you can use a more abrasive approach, but always start with the gentlest method that will be effective.
Create a stronger cleaning paste using cream of tartar mixed with lemon juice. This combination is more acidic than basic natural cleaners and can tackle stubborn tarnish. Apply the paste generously, allow it to work for up to an hour, then scrub gently with a soft brush before rinsing and drying.
For extremely tarnished pieces, consider using fine-grade steel wool (0000 grade) very carefully and sparingly. This should only be used on solid brass pieces and never on plated or lacquered items. Always follow up steel wool treatment with a thorough cleaning and polishing to restore the brass’s shine.
The Smithsonian Institution recommends testing any aggressive cleaning method on a small, inconspicuous area first to ensure it won’t damage the piece.
Maintenance and Prevention Tips
Regular maintenance is key to keeping brass looking its best and reducing the need for intensive cleaning sessions. Dust brass items regularly with a soft, dry cloth to prevent buildup of dirt and oils that can accelerate tarnishing. For frequently handled items like door handles, clean them weekly with a damp cloth followed by immediate drying.
Environmental factors play a significant role in brass tarnishing. High humidity, exposure to air pollution, and contact with skin oils all contribute to tarnish formation. Consider applying a thin coat of clear wax or lacquer to cleaned brass pieces to create a protective barrier. This is especially important for outdoor brass fixtures or items in high-humidity environments.
Just as regular maintenance is important for household appliances like understanding how to clean washing machine components, consistent care for brass items prevents the need for harsh cleaning methods later.
Store brass items in a cool, dry place when possible, and consider using anti-tarnish strips in storage areas. These strips absorb sulfur compounds in the air that cause tarnishing, significantly extending the time between necessary cleanings.
Common Mistakes to Avoid
One of the most common mistakes when cleaning brass is using the wrong type of cleaner for the specific brass type. Using abrasive cleaners on brass-plated items can remove the brass layer entirely, while using gentle cleaners on heavily tarnished solid brass may prove ineffective.
Never use bleach or ammonia-based cleaners on brass, as these can cause discoloration and damage. Similarly, avoid using abrasive materials like steel brushes or coarse sandpaper, which can scratch and permanently damage the surface. Even when dealing with solid brass, start with the gentlest effective method.
Another frequent error is not properly rinsing and drying brass after cleaning. Leaving cleaning residue on the surface can cause discoloration or accelerated tarnishing. Always ensure complete removal of all cleaning products and thoroughly dry the brass to prevent water spots.
Timing is also crucial – don’t let cleaning products sit on brass longer than recommended, as this can cause etching or discoloration. According to Library of Congress preservation guidelines, patience and gentle techniques are always preferable to aggressive cleaning methods that might cause irreversible damage.
Frequently Asked Questions
How often should I clean my brass items?
The frequency of brass cleaning depends on the item’s location and use. Items in high-traffic areas or exposed to outdoor elements may need cleaning monthly, while decorative pieces in controlled environments might only need attention every 3-6 months. Regular dusting can extend the time between deep cleanings.
Can I clean brass that has been lacquered?
Lacquered brass should only be cleaned with mild soap and water. Never use polish or abrasive cleaners on lacquered brass, as this will damage the protective coating. If the lacquer is damaged or wearing off, consider having it professionally re-lacquered rather than attempting to clean the exposed brass.
Why does my brass turn green?
Green discoloration on brass, called verdigris, occurs when copper in the brass alloy oxidizes due to exposure to moisture and acids. This is more common on outdoor brass fixtures. While this patina can be removed with proper cleaning, some people prefer to leave it as it provides natural protection against further corrosion.
Is it safe to put brass items in the dishwasher?
No, brass items should never be cleaned in a dishwasher. The harsh detergents, high heat, and prolonged exposure to moisture can cause severe tarnishing and damage. Always clean brass by hand using appropriate methods. This principle applies to other specialty cleaning tasks, such as knowing how to clean a dishwasher itself requires different techniques than cleaning the items that go inside it.
What’s the difference between brass and bronze cleaning?
While brass and bronze are both copper alloys, bronze contains tin instead of zinc and typically develops a different type of patina. Bronze cleaning methods are generally gentler, and the natural patina on bronze is often considered desirable and should be preserved rather than removed.
How can I tell if my antique brass piece is valuable?
Valuable antique brass pieces often have maker’s marks, unique designs, or historical significance. Before cleaning any antique brass, research its potential value or consult an appraiser. Over-cleaning can significantly reduce an antique’s value, and some patina may be historically important to preserve.
Can I use lemon juice alone to clean brass?
Pure lemon juice can be effective for light tarnish due to its natural acidity, but it works best when combined with salt or baking soda for gentle abrasion. Cut a fresh lemon in half, dip it in salt, and rub it on the brass surface for a simple, effective natural cleaner. Always rinse thoroughly afterward to prevent acid damage from prolonged contact.
Related Posts

How Long to Boil Lobster Tails: Cooking Guide

How Long to Fly from New York to London? Travel Times
