
How to Address an Envelope: Expert Tips Inside
Addressing an envelope correctly might seem like a simple task, but there are specific formatting rules and best practices that ensure your mail reaches its destination efficiently. Whether you’re sending a formal business letter, wedding invitation, or personal correspondence, understanding proper envelope addressing techniques is essential. This guide walks you through everything you need to know about addressing envelopes like a professional, including USPS standards, international formats, and common mistakes to avoid.
In today’s digital age, the art of proper envelope addressing has become less common, yet it remains important for formal communications, official documents, and personal touches. Learning how to write professionally extends beyond the letter itself—it includes presenting your correspondence in a polished, correctly formatted manner from the moment it arrives in someone’s mailbox.
USPS Standard Envelope Addressing Format
The United States Postal Service (USPS) has established clear guidelines for addressing envelopes to ensure efficient mail sorting and delivery. Following these standards significantly reduces the chance of your mail being delayed or returned to sender. The USPS prefers addresses printed or clearly written in block letters, using a sans-serif font when printing, and maintaining consistent spacing throughout.
According to USPS official guidelines, the recipient’s address should be positioned in the center of the envelope, approximately one inch from the left edge and between one and five-eighths inches from the top. The address block should not exceed five lines, with each line containing no more than 32 characters including spaces and punctuation.
The standard format includes: recipient name on the first line, street address on the second line, and city, state, and ZIP code on the third line. All capital letters are acceptable and actually preferred by postal automation equipment, though standard capitalization is perfectly acceptable for personal correspondence. The key is consistency and clarity—your address must be legible and properly formatted.
Step-by-Step Guide to Addressing Your Envelope
Step 1: Gather Your Materials
Before you begin, collect everything you’ll need: an envelope, a pen with blue or black ink, the recipient’s complete mailing address, and your return address information. If you’re printing addresses, ensure you have quality printer paper or address labels and a working printer with sufficient ink.
Step 2: Prepare Your Recipient’s Address
Write or print the recipient’s name on the first line. Include their full name with appropriate titles (Mr., Ms., Dr., etc.) if this is formal correspondence. On the second line, write the street address including the house number and street name. Include apartment numbers, suite numbers, or unit designations on this same line or as a separate line if space allows.
Step 3: Add City, State, and ZIP Code
On the final line of the address block, write the city name, followed by a comma, the two-letter state abbreviation, and the five-digit ZIP code. For example: Springfield, IL 62701. If you have an extended ZIP+4 code, include it after a hyphen (62701-1234). Ensure proper spacing between the state abbreviation and ZIP code.
Step 4: Position the Address Correctly
Center the address block on the envelope, leaving adequate margins on all sides. The address should start approximately one inch from the left edge and one and five-eighths inches from the top edge. This positioning ensures postal automation equipment can scan the address accurately.
Step 5: Add Your Return Address
Place your return address in the upper left corner of the envelope. Use the same formatting as the recipient’s address but in smaller text if possible. Your return address should include your name, street address, city, state, and ZIP code.
Step 6: Apply Postage
Affix the appropriate postage stamp in the upper right corner of the envelope. If using a postage meter or printed postage, follow the same placement guidelines. Ensure stamps are affixed securely and will not come loose during mail handling.
Recipient Address Placement and Positioning
Proper placement of the recipient’s address is crucial for mail delivery efficiency. The USPS uses optical scanning equipment that reads addresses in a specific area of the envelope. Placing your address outside this optimal zone can result in delays or misdelivery.
The address block should occupy a rectangular area measuring approximately 4.5 inches wide by 1 inch tall, centered on the envelope. The top of the address should be positioned between 1 and 1.625 inches from the top edge of the envelope. The left edge should be between 1 and 1.375 inches from the left edge of the envelope.
For standard business envelopes (number 10 envelopes, which measure 4.125 by 9.5 inches), this positioning is relatively straightforward. For larger envelopes, postcards, or custom-sized mailers, adjust your positioning proportionally while maintaining the same relative distance from the edges.
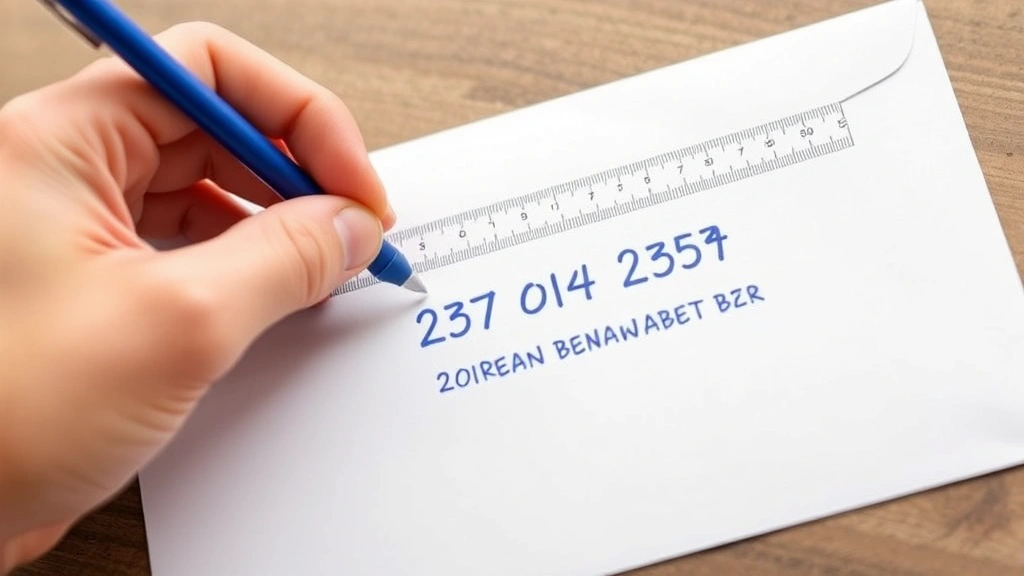
When addressing envelopes by hand, use a ruler to help maintain consistent alignment. If printing addresses, use envelope templates in Microsoft Word or similar programs to ensure proper positioning automatically. This prevents the frustration of printing addresses only to discover they’re misaligned.
Never place address information in the lower right corner, as this area is reserved for postage. Similarly, avoid placing addresses in the upper right corner unless they’re part of a printed return address. The center positioning ensures maximum legibility for both automated and manual mail sorting processes.
Return Address Essentials
Your return address is just as important as the recipient’s address. It allows mail carriers to return your correspondence if delivery is impossible, and it provides the recipient with your contact information for responses. A properly formatted return address demonstrates professionalism and courtesy.
The return address should appear in the upper left corner of the envelope, at least 0.125 inches from the top and left edges. Format it identically to the recipient’s address, using three lines: name, street address, and city/state/ZIP code. You may use a smaller font size for the return address, typically 8-10 points for printed addresses.
For business correspondence, your return address typically includes your name and the company name, followed by the street address and city/state/ZIP code. For personal letters, simply use your full name and home address. Some people prefer to include their phone number or email address on the return address, particularly for business communications, though this is optional.
Never leave off your return address, even if you’re sending to a close friend or family member. This ensures the mail can be returned if there’s an issue with delivery, and it helps the recipient know where the mail originated. Learn more about how to make an envelope if you’re creating custom envelopes for special occasions.
International Envelope Addressing
Addressing envelopes for international delivery requires additional considerations beyond standard domestic addressing. International mail must include country information and may require specific formatting depending on the destination country.
For international addresses, use the recipient’s address format as it would appear in their country. However, the final line should always include the country name in full capitals. For example, a letter to Canada might be addressed:
John Smith
123 Maple Street
Toronto, ON M5V 3A8
CANADA
For many European countries, the postal code precedes the city name. For example, a German address would be formatted as:
Hans Mueller
Unter den Linden 77
10115 Berlin
GERMANY
When sending to countries that don’t use traditional street addresses, such as rural areas or regions using alternative addressing systems, include as much location information as possible. This might include landmark descriptions, region names, or postal box information.
International mail typically requires customs forms (Form 2976 for small packages or Form 2976-A for larger items) in addition to proper addressing. Visit USPS International Services for current requirements and restrictions.
Consider using Family Handyman’s resources if you’re preparing formal invitations that need international addressing. Always verify current postal regulations for your destination country, as requirements change periodically.
Common Addressing Mistakes to Avoid
Incomplete ZIP Codes
One of the most common errors is omitting or incorrectly writing ZIP codes. Always include the full five-digit ZIP code, and use the ZIP+4 extension when available. Incomplete ZIP codes slow down mail sorting and delivery.
Unclear Handwriting
If writing addresses by hand, use clear, legible handwriting. Avoid cursive for the address itself, opting instead for print lettering. Ensure numbers are distinctly written—make zeros round and ones vertical to avoid confusion with mail sorting equipment.
Inconsistent Abbreviations
Use standard USPS state abbreviations (two letters) consistently throughout your envelope. Don’t mix full state names with abbreviations. Similarly, use consistent abbreviations for street types: use St. or Street, but not both on different envelopes.
Address Line Overflow
Keep each address line to 32 characters or fewer. If an address is too long, move secondary address information (apartment number, suite number) to a separate line rather than cramming it onto one line where it might be missed by scanning equipment.
Incorrect Positioning
Placing the address too high, too low, too far left, or too far right can cause mail sorting delays. Follow USPS guidelines for positioning, leaving adequate margins on all sides of the address block.
Using Decorative Fonts or Sizes
When printing addresses, stick with standard, legible fonts like Arial or Times New Roman. Decorative fonts, script fonts, or extremely small text can be difficult for postal automation equipment to read. Maintain a font size of at least 10 points for optimal readability.
Forgetting the Return Address
Never omit your return address. Even if you’re certain the mail will reach its destination, including a return address demonstrates professionalism and ensures the mail can be returned if needed. Learn more about how to add signature in Word for formal business correspondence that requires additional professional touches.
Special Notations and Markings
Certain situations call for special notations on envelopes to ensure proper handling and delivery. These markings communicate important information to mail carriers and postal staff.
Urgent or Priority Markings
If your mail requires expedited delivery, use appropriate USPS services and markings. Write “PRIORITY MAIL” or “EXPRESS MAIL” on the envelope if using these services. Place these notations below the return address or in the upper right corner near the postage.
Fragile or Handling Notations
For packages containing fragile items, write “FRAGILE” or “HANDLE WITH CARE” in the upper left area of the envelope or package. Use a red pen or marker to make these notations stand out. Include arrows pointing upward to indicate proper package orientation if necessary.
Confidential Markings
For personal or confidential correspondence, write “CONFIDENTIAL” or “PERSONAL” above the recipient’s name on the envelope. This alerts mail handlers that the envelope should be delivered directly to the named recipient rather than opened by office staff.
Do Not Forward Notation
If you want to ensure mail is not forwarded to a new address if the recipient has moved, write “DO NOT FORWARD” below the return address. This ensures the mail is returned to you if the recipient is no longer at the listed address.
Attention Line Notations
For business correspondence, you may include an “ATTN:” line above the company name to direct mail to a specific department or individual. Format this as:
ATTN: John Smith
ABC Corporation
123 Business Avenue
New York, NY 10001
This notation ensures mail reaches the appropriate recipient within a large organization. Learn more about how to write an obituary if you’re handling formal correspondence during difficult times, as these letters often require special care in addressing and presentation.
FAQ
What is the correct format for addressing a business envelope?
Place the company name or recipient’s name on the first line, the street address on the second line, and the city, state, and ZIP code on the third line. Use standard capitalization and include a title (Mr., Ms., Dr.) before the name if appropriate. Position the entire address block in the center of the envelope, approximately one inch from the left and one and five-eighths inches from the top.
Can I use a permanent marker to address an envelope?
While you can use a permanent marker, it’s not ideal. Permanent markers may bleed through thin envelopes and can be difficult for postal automation equipment to read clearly. Stick with ballpoint pens using blue or black ink for the best results. If you must use a marker, ensure it’s not too thick and the ink doesn’t saturate the envelope paper.
Should I include apartment numbers on the same line as the street address?
Yes, apartment numbers, suite numbers, or unit designations should be included on the second line with the street address. Format it as: 123 Main Street, Apt. 4B. However, if space is limited, you may place the apartment number on a separate line after the street address. Never place secondary address information on a separate line before the street address.
What should I do if the address is longer than the standard three-line format?
If an address requires more than three lines, you can extend it to four or five lines maximum. Place secondary address information (apartment, suite, unit) on its own line, followed by the street address, then city/state/ZIP code. Ensure each line is legible and properly spaced.
Is it necessary to use all capital letters when addressing an envelope?
Using all capital letters is acceptable and is actually preferred by USPS postal automation equipment. However, standard capitalization (capital first letter, lowercase remaining letters) is equally acceptable for personal correspondence. The key is consistency and legibility—choose one style and stick with it throughout the address.
How do I address an envelope to someone with a PO Box?
When addressing to a PO Box, use the format: Recipient Name, PO Box [number], City, State, ZIP code. Never include a street address if using a PO Box, as this can cause delivery confusion. The PO Box number replaces the street address entirely.
What’s the correct position for international addresses?
International addresses should be positioned identically to domestic addresses—centered on the envelope approximately one inch from the left and one and five-eighths inches from the top. The only difference is the final line, which should include the country name in full capitals. Always include the country of origin on your return address as well.
Can I print addresses on envelope labels instead of directly on the envelope?
Yes, address labels are an acceptable alternative to writing or printing directly on the envelope. Position labels in the same location as you would place a printed or handwritten address. Ensure labels are affixed securely and won’t peel off during mail handling. Use quality label stock for the best results.
Should the return address and recipient address use the same font size?
No, the return address can be smaller than the recipient address. Use 8-10 point font for the return address and 10-12 point font for the recipient address when printing. This visual hierarchy helps mail handlers quickly identify the primary address while still maintaining legibility of return information.
What if I make a mistake addressing an envelope?
If you make a minor error, you can cross it out neatly with a single line and write the correction above it. For significant errors or if the envelope looks messy, start over with a new envelope. Mail handlers need to read addresses clearly, and corrections that obscure the address can cause delivery delays.