
Master the Art of Shirt Shrinking for a Perfect Fit
Finding the perfect-fitting shirt can be challenging, especially when your favorite garment seems to have grown a size too large. Whether you’ve purchased a shirt that’s slightly oversized or your well-loved piece has stretched out over time, learning how to shrink a shirt effectively can save you money and help you achieve that ideal fit you’ve been seeking.
The art of shirt shrinking involves understanding fabric composition, heat application, and moisture control. While it might seem like a simple process of throwing your shirt in hot water, there are specific techniques and precautions that can make the difference between a perfectly fitted garment and a ruined piece of clothing. This comprehensive guide will walk you through various methods, from gentle adjustments to more aggressive shrinking techniques.
Understanding Fabric Types and Their Shrinking Potential
Different fabrics respond uniquely to shrinking techniques, making it crucial to identify your shirt’s material composition before beginning the process. Natural fibers like cotton, wool, and linen are generally more responsive to shrinking methods than synthetic materials such as polyester, nylon, or spandex blends.
Cotton shirts are the most predictable when it comes to shrinking. Pure cotton garments can shrink up to 5-10% in both length and width when exposed to heat and moisture. The weave density and fabric weight also influence shrinkage potential – lighter cotton fabrics tend to shrink more dramatically than heavier ones.
Wool requires special consideration due to its delicate nature. While wool can shrink significantly, it’s also prone to felting, which can permanently damage the fabric structure. Always use gentle methods with wool garments and consider professional cleaning for valuable pieces.
Synthetic fabrics present unique challenges. Polyester and nylon are heat-set during manufacturing, making them highly resistant to shrinking. However, cotton-polyester blends can achieve moderate shrinkage, typically affecting only the cotton fibers within the blend.
Understanding your shirt’s care label is essential before attempting any shrinking method. The symbols and instructions provide valuable insights into the fabric’s heat tolerance and washing requirements, helping you choose the most appropriate technique.
Essential Preparation Steps Before Shrinking
Proper preparation is crucial for achieving consistent results when learning how to shrink a shirt. Begin by thoroughly cleaning your garment to remove any dirt, oils, or detergent residue that might interfere with the shrinking process. Much like when you need to remove oil stains, starting with a clean surface ensures better results.
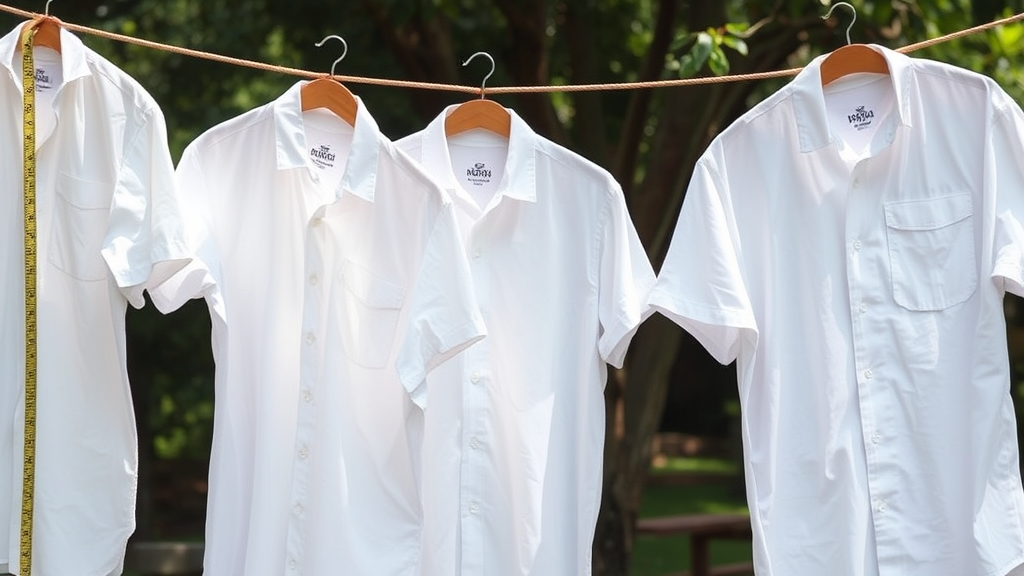
Measure your shirt carefully before beginning the process. Record the chest width, length from shoulder to hem, and sleeve measurements. This baseline data helps you monitor progress and avoid over-shrinking. Mark these measurements clearly and keep them accessible throughout the process.
Check for any existing damage, such as loose threads, small holes, or weak seams. Heat and agitation can worsen these issues, potentially ruining your garment. Address minor repairs before shrinking to prevent catastrophic damage during the process.
Remove any decorative elements that might not withstand the shrinking process. This includes detachable buttons, pins, or accessories that could be damaged by heat or water. Some printed designs or appliqués may also react poorly to aggressive shrinking methods.
Gather all necessary supplies before starting: measuring tape, thermometer for water temperature, clean towels for drying, and appropriate detergent. Having everything ready ensures a smooth process without interruptions that could affect timing and results.
The Hot Water Method for Controlled Shrinking
The hot water method offers excellent control over the shrinking process, making it ideal for beginners or those seeking moderate adjustments. This technique works particularly well with cotton and cotton-blend shirts, providing predictable results with minimal risk of damage.
Fill a large basin or bathtub with water heated to 140-160°F (60-71°C). This temperature range is hot enough to relax cotton fibers without causing excessive stress to the fabric. Use a thermometer to ensure accuracy, as water that’s too hot can cause uneven shrinkage or fabric damage.
Submerge your shirt completely in the hot water, ensuring all areas are thoroughly saturated. Gently agitate the fabric to promote even heat distribution, but avoid aggressive wringing or twisting that could damage the fibers. Allow the shirt to soak for 15-30 minutes, depending on the desired shrinkage level.
During soaking, occasionally check the fabric’s response by gently stretching small sections. You should notice the fibers becoming more relaxed and pliable. This tactile feedback helps gauge the process’s effectiveness and prevents over-treatment.
After soaking, carefully remove the shirt and gently squeeze out excess water without wringing. The fabric will be delicate when wet and hot, so handle it minimally to prevent stretching or distortion. Proceed immediately to the drying phase while the fibers remain in their relaxed state.
Using Your Dryer for Effective Shirt Shrinking
Your dryer can be a powerful tool for shrinking shirts when used correctly. The combination of heat and tumbling action helps set the new size while the fabric dries, creating lasting results that won’t reverse with subsequent washes.
Set your dryer to the highest heat setting appropriate for your fabric type. For cotton shirts, use the hottest setting available. Mixed fabrics may require medium-high heat to prevent damage to synthetic fibers. Always consult the care label for guidance on maximum safe temperatures.
Place the damp shirt in the dryer immediately after the hot water treatment. The timing is crucial – wet fibers are most responsive to heat-setting, and delays can reduce effectiveness. Add a few clean, dry towels to increase tumbling action and heat circulation around the garment.
Run the dryer for 20-40 minutes, checking every 10 minutes to monitor progress. Remove the shirt while it’s still slightly damp to prevent over-drying, which can make fibers brittle and prone to damage. The residual moisture will continue the shrinking process as it evaporates.
For stubborn areas that require additional shrinkage, use targeted steam application while the shirt is warm from the dryer. This combination approach often yields better results than extended dryer time alone.
Advanced Boiling Water Technique
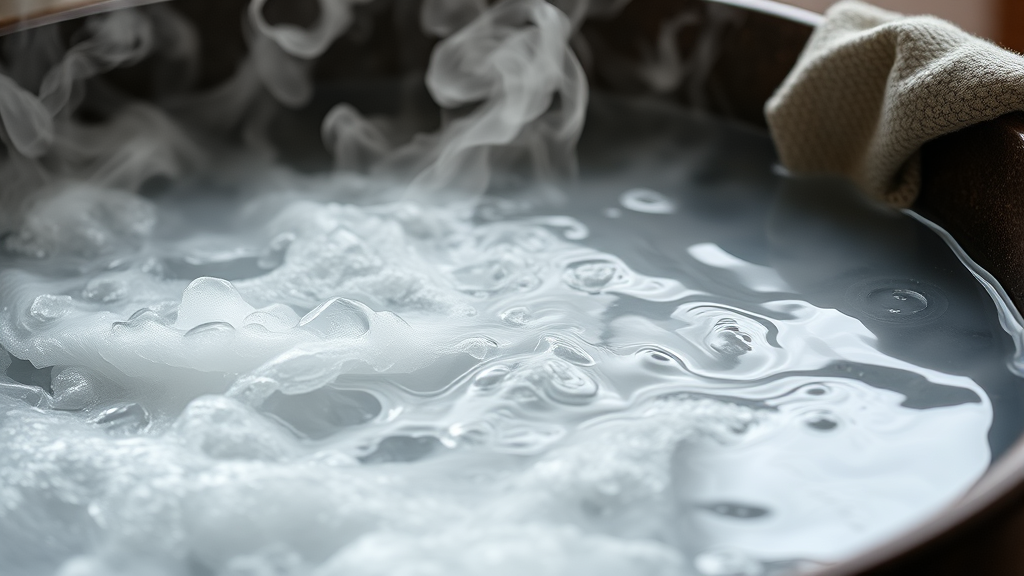
The boiling water technique represents the most aggressive shrinking method, capable of achieving significant size reduction in cotton garments. However, this approach requires careful execution to avoid fabric damage and uneven results.
Bring a large pot of water to a rolling boil, ensuring you have enough water to completely submerge your shirt. The pot should be large enough to allow the fabric to move freely without bunching or folding excessively. According to chemical research from the American Chemical Society, high temperatures significantly affect fiber structure in natural materials.
Carefully lower the shirt into the boiling water using tongs or a long-handled spoon. Avoid splashing, as boiling water can cause severe burns. Once submerged, reduce heat to maintain a gentle boil rather than violent bubbling, which can damage delicate fibers.
Allow the shirt to boil for 5-15 minutes, depending on the fabric thickness and desired shrinkage level. Thicker fabrics require longer exposure, while lightweight materials respond quickly to boiling temperatures. Monitor the process carefully to prevent over-shrinking.
Remove the shirt using tongs and immediately transfer it to a basin of cool water to stop the shrinking process. This thermal shock helps set the new dimensions while preventing continued fiber contraction. Handle the hot, wet fabric minimally to avoid burns and distortion.
Steam Shrinking for Delicate Fabrics
Steam shrinking offers a gentler approach suitable for delicate fabrics or shirts requiring minimal adjustment. This method provides excellent control over the process while reducing the risk of damage associated with more aggressive techniques.
Use a professional garment steamer or create steam using a pot of boiling water and a clean cloth. Position the shirt on a flat surface or hang it securely where it won’t move during treatment. Ensure adequate ventilation to prevent moisture buildup in your workspace.
Apply steam evenly across the shirt’s surface, maintaining a 2-3 inch distance between the steam source and fabric. Focus on areas requiring the most shrinkage, but don’t neglect other sections entirely. Consistent treatment prevents uneven results that can ruin the garment’s appearance.
Work systematically from top to bottom, spending 30-60 seconds on each section. The fabric should become noticeably warm and damp but not soaking wet. Excessive moisture can lead to water marks or uneven shrinkage patterns.
After steaming, gently stretch the warm, damp fabric to encourage shrinkage in desired directions. This manual manipulation, combined with controlled heat application, helps achieve targeted results without the risks associated with boiling water or high-heat drying.
Targeted Shrinking for Specific Areas
Sometimes you only need to shrink specific areas of a shirt, such as loose sleeves or an overly long torso. Targeted shrinking techniques allow precise adjustments without affecting the entire garment, preserving proper fit in areas that don’t require modification.
For sleeve shrinking, focus steam or hot water application on the arm portions while keeping the body area dry. Use plastic bags or waterproof barriers to protect sections you want to preserve. This selective approach requires patience but produces superior results compared to whole-garment treatments.
Length adjustments often require focusing on the bottom hem area. Soak only the lower portion of the shirt in hot water, gradually working upward until you reach the desired treatment zone. This gradient approach helps blend the shrinking effect naturally with the unchanged upper sections.
Shoulder and chest areas can be challenging to shrink selectively due to their central location. Use steam application combined with gentle stretching to encourage specific areas to contract while maintaining the overall shirt structure. Work slowly and check progress frequently to avoid over-adjustment.
Consider combining multiple techniques for complex fitting issues. You might use hot water for overall shrinkage followed by targeted steam treatment for specific problem areas. This layered approach often yields better results than relying on a single method.
Common Mistakes to Avoid
Learning how to shrink a shirt effectively requires avoiding several common pitfalls that can ruin your garment or produce disappointing results. Understanding these mistakes helps ensure success on your first attempt and prevents costly damage to favorite clothing items.
Over-shrinking represents the most frequent and devastating mistake. Unlike stretching, excessive shrinkage is often irreversible, leaving you with an unwearably small garment. Always err on the side of caution, using gentle methods initially and gradually increasing intensity if needed. Just as you would be careful when learning proper machine maintenance, patience is key to good results.
Ignoring fabric composition leads to inappropriate technique selection and potential damage. Synthetic fabrics don’t respond well to heat-based shrinking methods and may melt or become permanently deformed. Always check labels and research appropriate methods for your specific fabric type before beginning.
Uneven treatment creates irregular shrinkage patterns that can make your shirt unwearable. Ensure all areas receive consistent heat and moisture exposure unless you’re intentionally targeting specific zones. Rotate and reposition the garment during treatment to promote uniform results.
Rushing the process often leads to damage or poor results. Heat application requires time to penetrate fabric fibers effectively. Quick fixes rarely work and may cause irreversible harm to your garment. Plan adequate time for proper treatment and cooling phases.
Neglecting to test methods on inconspicuous areas can result in visible damage to prominent shirt sections. Always test your chosen technique on hidden areas like inside seams or hem sections before treating the entire garment.
Maintaining Your Newly Shrunk Shirt
Proper care after successfully shrinking your shirt ensures the new fit remains stable through future washes and wear. Understanding how to maintain shrinking results prevents gradual size increases that would negate your careful work.
Wash your newly shrunk shirt in cool water using gentle detergent to prevent fiber relaxation that could reverse the shrinking effect. Hot water can cause cotton fibers to expand again, gradually returning the shirt to its original size. Cold water washing helps set the new dimensions permanently.
Air drying or using low heat settings preserves the shrunk dimensions better than high-heat drying. While high heat helped achieve the initial shrinkage, continued exposure can cause fiber damage or unwanted additional shrinkage. Medium or low heat settings provide a good compromise between convenience and preservation.
Store shrunk shirts properly to maintain their shape between wears. Use appropriate hangers that support the shoulders without stretching, and avoid cramped storage that could cause wrinkles or distortion. Proper storage extends the life of your newly fitted garment.
Monitor the shirt’s fit over time and be prepared to perform minor touch-up treatments if needed. Some gradual relaxation is normal, especially with frequent wear and washing. Knowing how to perform gentle maintenance shrinking helps preserve your investment long-term.
Keep detailed records of successful shrinking methods for future reference. Note the fabric type, technique used, timing, and results achieved. This information proves invaluable when treating similar garments or making adjustments to your current shirt if needed. Maintaining your washing machine properly, as outlined in guides about machine cleaning, also helps preserve fabric treatments.
Frequently Asked Questions
Can all shirt fabrics be shrunk effectively?
Not all fabrics respond equally to shrinking techniques. Natural fibers like cotton, wool, and linen shrink readily when exposed to heat and moisture. Cotton blends can achieve moderate shrinkage affecting only the natural fiber components. However, synthetic materials like polyester, nylon, and spandex are highly resistant to shrinking due to their heat-set manufacturing process. Always check fabric composition before attempting to shrink any garment.
How much can I expect a cotton shirt to shrink?
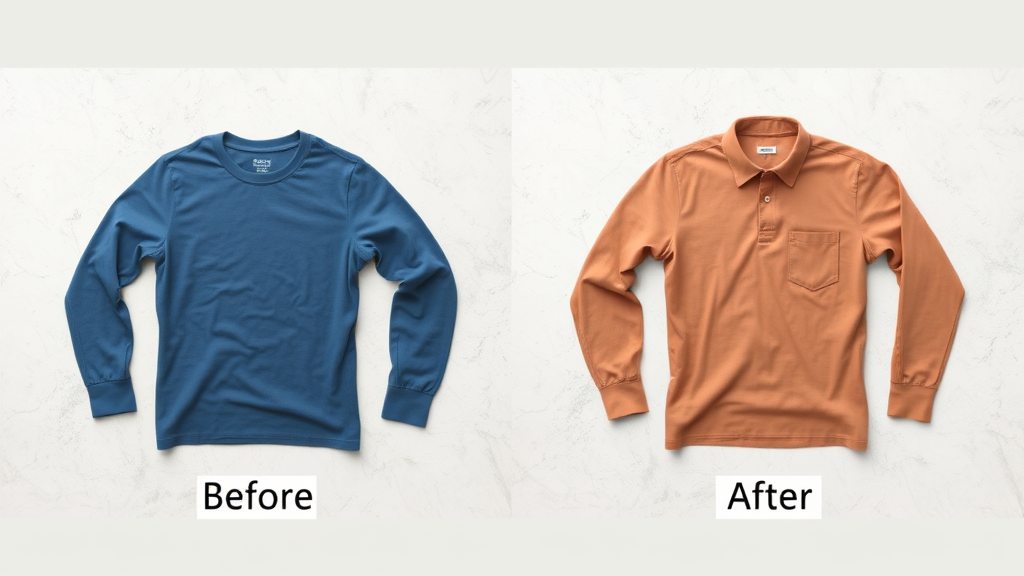
Pure cotton shirts typically shrink 5-10% in both length and width when properly treated. This translates to approximately 1-2 inches reduction in chest measurements and 2-4 inches in length for average-sized shirts. However, shrinkage varies based on fabric weight, weave density, and pre-shrinking treatments applied during manufacturing. Lighter cotton fabrics generally shrink more than heavier ones.
Is it possible to shrink only specific areas of a shirt?
Yes, targeted shrinking is possible using selective application of heat and moisture. You can shrink sleeves, length, or specific sections by protecting other areas with plastic barriers while treating desired zones. Steam application works particularly well for targeted shrinking, allowing precise control over which areas receive treatment. This technique requires patience and careful execution but produces excellent results for minor adjustments.
What should I do if I accidentally over-shrink my shirt?
Over-shrinking is difficult to reverse completely, but some recovery is possible with cotton fabrics. Soak the shirt in lukewarm water with hair conditioner for 30 minutes, then gently stretch the fabric while damp. Focus on problem areas and work gradually to avoid tearing. Air dry while occasionally stretching to encourage fiber relaxation. Success varies, and severely over-shrunk garments may remain unwearable.
How long do shrinking results typically last?
Properly executed shrinking results can be permanent with appropriate care. Cotton fibers that have been heat-set in their new position will maintain reduced dimensions indefinitely if washed in cool water and dried at appropriate temperatures. However, aggressive washing in hot water or excessive heat drying can gradually relax fibers and reverse some shrinkage over time. Following proper maintenance guidelines helps preserve results long-term.
Can I use my washing machine’s hot water setting to shrink shirts?
Yes, washing machines can effectively shrink shirts using the hottest water setting appropriate for your fabric. Combine hot water washing with high-heat drying for maximum effect. However, this method provides less control than manual techniques and may produce uneven results. For valuable garments or precise adjustments, hand-controlled methods offer better outcomes. According to Department of Energy guidelines, hot water temperatures in residential washers typically reach 120-140°F.
Are there any safety precautions I should take when shrinking shirts?
Safety is paramount when working with hot water and steam. Always use protective equipment like heat-resistant gloves when handling boiling water or hot fabrics. Ensure adequate ventilation when using steam methods to prevent moisture buildup and potential mold issues. Test water temperature with a thermometer rather than your skin to prevent burns. Keep a first aid kit nearby and never leave boiling water unattended. Work in well-lit areas to clearly see what you’re doing and avoid accidents.
Related Posts

How Long to Boil Lobster Tails: Cooking Guide

How Long to Fly from New York to London? Travel Times
