
Cultivate Success: Your Guide to Growing Bountiful Garlic
Growing your own garlic is one of the most rewarding experiences in gardening, offering both culinary satisfaction and impressive yields from minimal effort. This aromatic bulb, beloved by chefs and home cooks worldwide, transforms simple dishes into flavorful masterpieces while providing numerous health benefits. Unlike many vegetables that require constant attention, garlic is surprisingly low-maintenance once you understand its growing requirements.
Whether you’re a seasoned gardener looking to expand your harvest or a beginner eager to try your hand at cultivating this essential ingredient, mastering how to grow garlic will provide you with fresh, flavorful bulbs for months to come. The process requires patience, as garlic takes nearly a full year to mature, but the satisfaction of harvesting your own home-grown bulbs makes every month of waiting worthwhile.
Understanding Garlic Varieties
Success in growing garlic begins with selecting the right variety for your climate and culinary preferences. Garlic falls into two main categories: hardneck and softneck varieties, each with distinct characteristics that affect growing requirements, flavor profiles, and storage capabilities.
Hardneck garlic thrives in colder climates and requires a period of winter chill to form proper bulbs. These varieties produce flower stalks called scapes, which gardeners typically remove to encourage larger bulb development. Popular hardneck varieties include Purple Stripe, Porcelain, and Rocambole types, known for their complex flavors and excellent storage qualities. Hardneck garlic generally stores for six to ten months when properly cured.
Softneck garlic performs best in milder climates and doesn’t require winter chilling. These varieties rarely produce scapes and typically yield larger bulbs with more cloves per head. Softneck types like Artichoke and Silverskin varieties are commonly found in grocery stores and can store for eight to twelve months. They’re ideal for braiding due to their flexible stems.
When selecting seed garlic, always purchase from reputable suppliers rather than using grocery store bulbs, which are often treated to prevent sprouting. University extension services recommend choosing varieties adapted to your specific growing zone for optimal results.
Preparing for Planting
Proper soil preparation forms the foundation for successful garlic cultivation. Garlic thrives in well-draining, fertile soil with a pH between 6.0 and 7.0. Heavy clay soils should be amended with organic matter like compost or aged manure to improve drainage, as waterlogged conditions can cause bulb rot.
Choose a sunny location that receives at least six hours of direct sunlight daily. Garlic plants need consistent moisture but cannot tolerate standing water, making proper drainage crucial. Raised beds work exceptionally well for garlic cultivation, providing excellent drainage while allowing for easier soil amendment.
Before planting, work two to three inches of compost into the soil along with a balanced organic fertilizer. Bone meal or fish meal provides excellent slow-release nutrition that supports bulb development throughout the growing season. Just as you might prepare ingredients carefully when learning how to clean strawberries for optimal flavor, preparing your soil properly ensures the best possible garlic harvest.
Test your soil pH using a simple soil testing kit or through your local extension office. If your soil is too acidic, add lime several weeks before planting. For alkaline soils, incorporate sulfur or organic matter to lower the pH gradually.
Planting Techniques and Timing
Timing plays a crucial role in garlic cultivation, with planting schedules varying significantly by climate zone. In most regions, fall planting occurs four to six weeks before the ground freezes hard, typically between October and December. This timing allows roots to establish before winter dormancy while preventing premature top growth that could be damaged by frost.
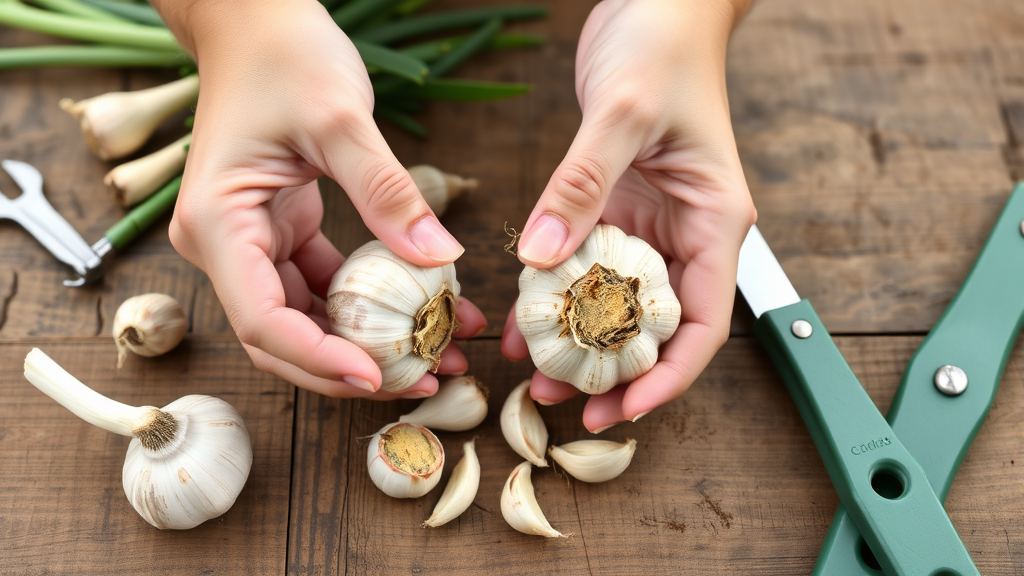
Separate bulbs into individual cloves just before planting, keeping the papery husks intact to protect against disease and pests. Plant cloves pointed end up, approximately two inches deep and four to six inches apart in rows spaced twelve inches apart. In colder regions, plant slightly deeper to provide additional winter protection.
After planting, apply a four-inch layer of organic mulch such as straw, leaves, or grass clippings. Mulch helps regulate soil temperature, conserve moisture, and suppress weeds throughout the growing season. USDA agricultural guidelines emphasize the importance of consistent mulching for successful garlic production.
Water newly planted cloves lightly if soil conditions are dry, but avoid overwatering as excessive moisture can cause rotting. In most climates, natural precipitation provides adequate moisture until spring growth begins.
Care and Maintenance Throughout the Season
Spring care begins when green shoots emerge from the soil, typically in March or April depending on your location. As plants establish active growth, begin regular watering to maintain consistent soil moisture. Garlic requires approximately one inch of water weekly, including rainfall.
Fertilize emerging plants with a nitrogen-rich organic fertilizer to support leafy growth, which directly correlates with bulb size. Side-dress plants with compost or apply liquid fish emulsion every three to four weeks during active growth. Reduce nitrogen applications as bulbs begin forming, typically in late spring.
Weed control remains critical throughout the growing season, as garlic plants have shallow root systems that compete poorly with weeds. Hand weeding works best near plants, while careful cultivation between rows helps maintain weed-free conditions. The mulch applied at planting significantly reduces weed pressure while conserving soil moisture.
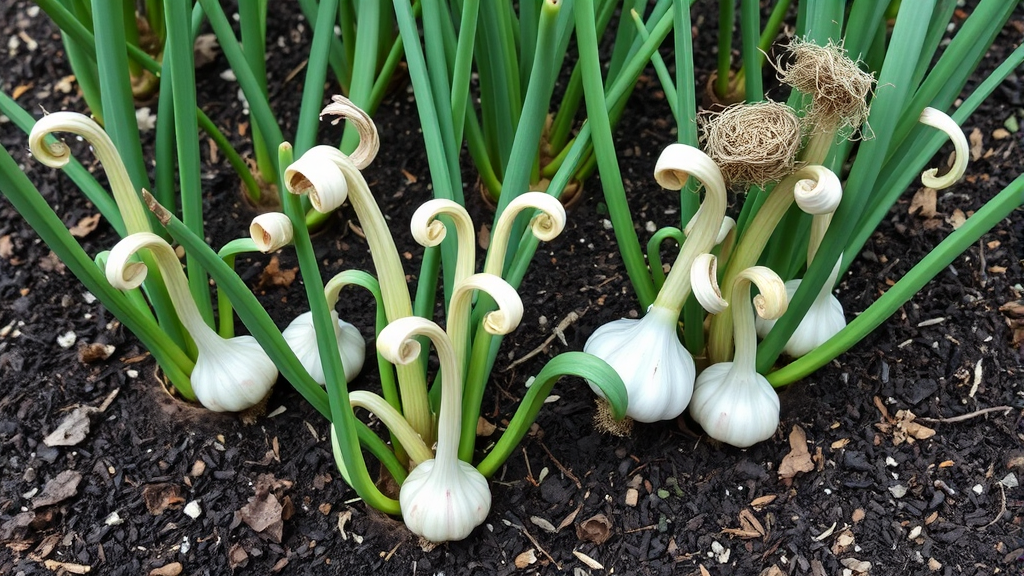
For hardneck varieties, remove flower stalks (scapes) when they curl or begin forming bulbils. This directs the plant’s energy into bulb development rather than flower and seed production. Harvest scapes when young and tender for use in cooking – they offer a mild garlic flavor perfect for stir-fries and salads.
Monitor plants for signs of disease or pest problems, including white rot, rust, or thrips damage. Good air circulation, proper spacing, and avoiding overhead watering help prevent most disease issues. Just as proper food handling techniques like knowing how to tell if eggs are good prevents kitchen mishaps, recognizing early signs of plant problems prevents major crop losses.
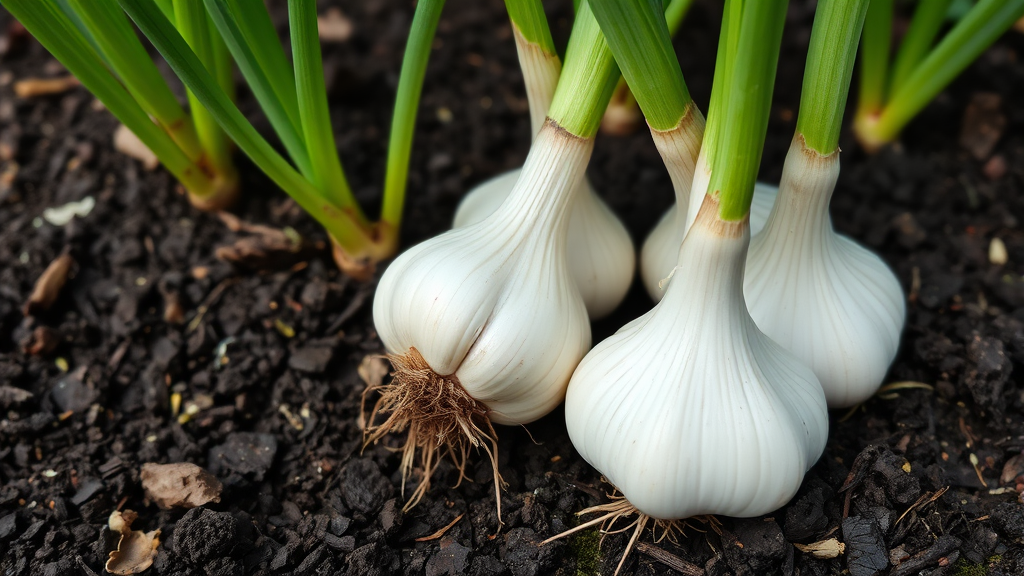
Harvesting and Storage Methods
Recognizing harvest timing requires careful observation of plant development. Garlic is ready for harvest when lower leaves turn brown while upper leaves remain green, typically occurring in mid-summer for fall-planted crops. Harvesting too early results in small bulbs with poor storage qualities, while waiting too long can cause bulbs to separate and deteriorate.
Begin checking bulbs in late June or July by carefully digging up a test plant. Properly mature bulbs show well-developed cloves surrounded by several layers of papery skin. The outer skin should be intact and tight around the bulb.
Harvest on a dry day when soil conditions allow for easy digging. Use a garden fork to loosen soil around plants, being careful not to pierce or damage bulbs. Brush off excess soil but avoid washing, as moisture can promote rot during curing.
Proper curing transforms fresh garlic into long-storing bulbs with concentrated flavors. Bundle plants in groups of five to ten and hang in a well-ventilated, dry location away from direct sunlight. Ideal curing conditions include temperatures between 70-80°F with good air circulation. Iowa State University Extension recommends curing for two to three weeks until outer skins become papery and stems are completely dry.
After curing, trim roots and cut stems to one inch above the bulb for storage. Store cured garlic in mesh bags, baskets, or braids in a cool, dry location with temperatures around 60-65°F and humidity below 70%. Properly stored garlic maintains quality for six to twelve months depending on variety.
Troubleshooting Common Problems
Even experienced gardeners encounter challenges when growing garlic, but understanding common problems and their solutions ensures better success rates. Poor bulb formation often results from inadequate chilling hours for hardneck varieties or planting too late in the season. Spring-planted garlic rarely develops proper bulbs, emphasizing the importance of fall planting for most varieties.
Small bulb size typically indicates insufficient nutrition, overcrowding, or water stress during critical development periods. Ensure adequate spacing, consistent moisture, and regular fertilization throughout the growing season. Competition from weeds can significantly reduce bulb size, making consistent weed management essential.
Disease problems like white rot, rust, or bacterial soft rot often stem from poor drainage, excessive moisture, or contaminated soil. Rotate garlic plantings to different garden areas each year and avoid planting in areas where onions or other alliums showed disease symptoms. Proper soil preparation and drainage prevent most disease issues.
Pest damage from thrips, onion maggots, or nematodes requires integrated management approaches. Beneficial insects, crop rotation, and maintaining healthy soil biology help control pest populations naturally. Row covers during early growth stages protect plants from flying pests while allowing growth and development.
Storage problems like sprouting, mold, or shriveling indicate improper curing or storage conditions. Ensure complete curing before storage and maintain proper temperature and humidity levels. Just as understanding proper food preparation techniques like how to make self-rising flour improves baking results, mastering garlic curing and storage techniques ensures long-lasting, flavorful bulbs.
Frequently Asked Questions
Can I plant garlic from the grocery store?
While technically possible, grocery store garlic is often treated with growth inhibitors to prevent sprouting and may not be adapted to your local climate. These bulbs frequently fail to develop properly or may introduce diseases to your garden. Always purchase certified seed garlic from reputable suppliers for best results. Seed garlic is specifically selected for growing characteristics and is free from treatments that inhibit sprouting.
When is the best time to plant garlic?
Fall planting is essential for most garlic varieties, typically occurring 4-6 weeks before hard frost. In northern climates, this means October through early November, while southern regions may plant as late as December or January. Spring planting rarely produces satisfactory bulbs since garlic requires a cold period to develop properly. The Old Farmer’s Almanac provides detailed planting schedules by region.
How deep should I plant garlic cloves?
Plant garlic cloves pointed end up, approximately 2 inches deep in most climates. In extremely cold regions, plant 3-4 inches deep for additional winter protection. Space cloves 4-6 inches apart with rows 12 inches apart. Proper planting depth ensures adequate root development while protecting cloves from temperature fluctuations and preventing premature sprouting.
Do I need to remove garlic scapes?
Yes, removing scapes (flower stalks) from hardneck garlic varieties redirects energy into bulb development, resulting in larger, better-formed bulbs. Cut or snap off scapes when they begin to curl or form bulbils. Harvest scapes when young and tender for culinary use – they have a mild garlic flavor excellent in stir-fries, pestos, and salads.
How do I know when garlic is ready to harvest?
Garlic is ready when lower leaves turn brown while 5-6 green leaves remain on the plant, typically in mid-summer. Check bulb development by carefully digging up a test plant. Mature bulbs show well-developed cloves with tight, papery outer skins. Harvesting at the right time is crucial for proper storage and flavor development.
Why didn’t my garlic form bulbs?
Bulbing failure usually results from insufficient chilling hours for hardneck varieties, spring planting instead of fall planting, or using inappropriate varieties for your climate. Softneck varieties need mild winters, while hardneck types require cold periods. Other factors include inadequate nutrition, water stress, or disease problems that interfere with normal development.
How long does garlic last in storage?
Properly cured and stored garlic lasts 6-12 months depending on variety and storage conditions. Hardneck varieties typically store 6-10 months, while softneck varieties can last 8-12 months. Store in cool, dry conditions (60-65°F, humidity below 70%) with good air circulation. Avoid storing in plastic bags or humid environments, which promote sprouting and decay.
Related Posts

How Long to Boil Lobster Tails: Cooking Guide

How Long to Fly from New York to London? Travel Times
