
Remove Section Break in Word: Expert Tips
Remove Section Break in Word: Expert Tips
Section breaks in Microsoft Word can be incredibly useful for formatting different parts of your document with unique page orientations, headers, footers, and margins. However, they can also become frustrating obstacles when you’re trying to clean up your document or consolidate formatting. Whether you accidentally inserted a section break or inherited a document riddled with them, knowing how to remove a section break in Word is an essential skill for anyone who works with documents regularly.
Removing section breaks is straightforward once you understand where they hide and how Word’s formatting system works. Many users struggle because section breaks aren’t immediately visible—they’re hidden by default, making them difficult to locate and delete. This comprehensive guide walks you through multiple methods to identify, locate, and remove section breaks efficiently, regardless of your Word version or document complexity.

Understanding Section Breaks in Word
Section breaks are formatting markers that divide your Word document into distinct sections, each with independent formatting properties. Unlike paragraph breaks, which simply create new paragraphs, section breaks allow you to apply different page layouts, margins, headers, footers, page numbering, and column configurations to different parts of your document. This is why many professional documents use them strategically.
Word offers four types of section breaks: next page, continuous, even page, and odd page. A next page section break starts the new section on the following page, commonly used when beginning a new chapter. A continuous section break starts the new section on the same page, useful for changing column layouts mid-document. Even page and odd page breaks ensure new sections begin on specific page types, often used in formal publishing.
When you insert a section break, Word stores this information in a special character that appears as a non-printing symbol. This symbol controls all the formatting properties for that section. If you delete the section break, the section above it adopts the formatting of the section below it, which is why understanding the consequences before deletion matters. Familiarize yourself with the FixWiseHub Blog for comprehensive how-to guides on document management.
Why You Need to Remove Section Breaks
Section breaks can accumulate in documents for various reasons, and they often cause unexpected formatting issues. When you copy and paste content from other documents, hidden section breaks sometimes tag along. Collaborative editing frequently introduces unwanted breaks as different users apply their own formatting. Sometimes you simply change your document structure and no longer need the sections you previously created.
Common problems caused by unwanted section breaks include inconsistent margins, unexpected page breaks, headers and footers appearing in wrong locations, page numbering restarting unexpectedly, and columns appearing where you didn’t intend them. Removing unnecessary section breaks simplifies your document structure, makes it easier to apply consistent formatting, reduces file size, and eliminates confusing formatting artifacts. Professional documents should maintain clean formatting, and removing superfluous section breaks is a crucial step toward that goal.
Additionally, when sharing documents with others, excessive section breaks can confuse collaborators and make the document harder to edit. A streamlined document with only essential section breaks is easier to maintain, update, and distribute.
Enable Formatting Marks Display
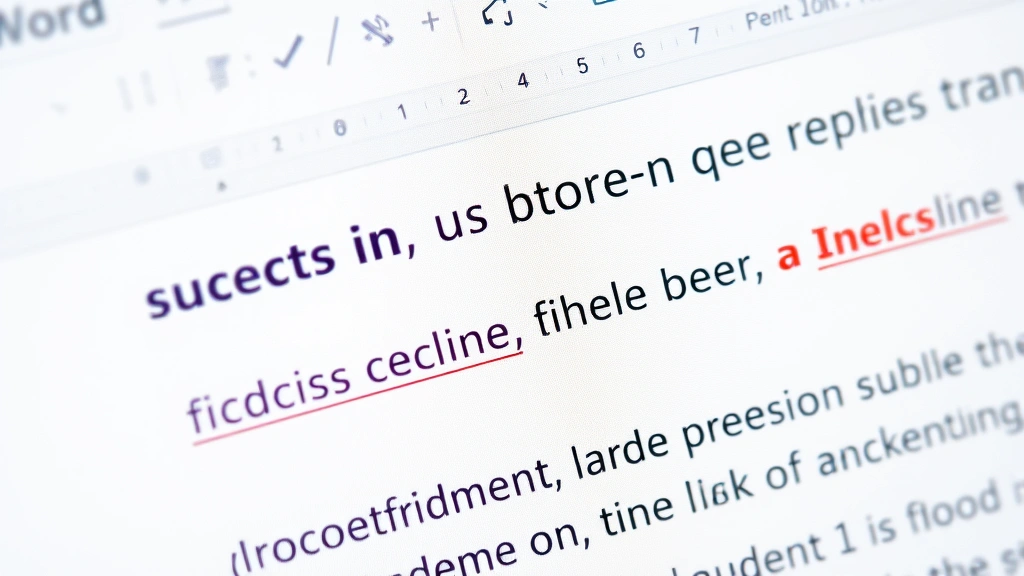
Before you can remove section breaks, you must make them visible. Section breaks are hidden by default, appearing as invisible formatting characters. Displaying formatting marks reveals these hidden symbols, allowing you to locate and select them precisely. This step is fundamental to successfully removing section breaks.
In Microsoft Word for Windows, click the Home tab in the ribbon menu. Look for the Pilcrow button (¶) in the Paragraph section—it looks like a backwards P. Click this button to toggle formatting marks on and off. Alternatively, use the keyboard shortcut Ctrl+Shift+8 on Windows or Cmd+Option+8 on Mac to activate formatting marks instantly.
Once enabled, you’ll see dots between words (representing spaces), arrows for tabs, and most importantly, section break symbols appearing as double-line breaks with text indicating the break type. These symbols make it obvious where section breaks exist in your document. You can now proceed with removing them using any of the methods detailed below.
Method 1: Delete Section Breaks Manually
The most straightforward approach to removing section breaks is manual deletion. With formatting marks visible, locate the section break symbol in your document. Click directly on the section break symbol to position your cursor there, then press the Delete key or Backspace key to remove it. This simple action eliminates the section break entirely.
When you delete a section break, the text before the break merges with the text after it, and the section above the deleted break adopts the formatting properties of the section below. This means if you’re removing a section break between two sections with different formatting, you’ll notice immediate changes to your document layout.
For documents with multiple section breaks, you’ll need to repeat this process for each one you want to remove. Start from the end of your document and work backward toward the beginning. This strategy prevents confusion from shifting text as you delete breaks, since removing breaks from the end doesn’t affect the positions of breaks earlier in the document.
If you have dozens of section breaks to remove, manual deletion becomes tedious. In those cases, consider using the Find and Replace method described below for greater efficiency. However, for most documents with a handful of section breaks, manual deletion provides precise control and immediate visual feedback.
Method 2: Using Find and Replace
For documents containing numerous section breaks, the Find and Replace function offers a powerful automated solution. This method searches your entire document for section break characters and removes them in bulk, saving considerable time compared to manual deletion.
Open the Find & Replace dialog by pressing Ctrl+H on Windows or Cmd+H on Mac. In the Find & Replace window, you need to search for section break characters. Click in the Find what: field and then click More (or Options depending on your Word version) to reveal additional search options.
Look for a button labeled Special or Format. Click it and select Section Break from the dropdown menu. Alternatively, you can manually type the section break code. In Word, the code for section breaks is ^b (caret followed by the letter b). Leave the Replace with: field empty—this ensures section breaks are replaced with nothing, effectively deleting them.
Now click Replace All to remove every section break in your document simultaneously. Word displays a message confirming how many replacements were made. This method works across entire documents, making it ideal for cleaning up complex files quickly. However, exercise caution—this removes all section breaks indiscriminately, which might not be desired if you want to preserve some sections.
For more selective removal, use Find Next and Replace individually to review each section break before deletion. This approach takes longer but provides greater control over which breaks are removed.
Method 3: Merge Formatting Between Sections
Sometimes you don’t necessarily need to delete a section break—you simply need to make sections share the same formatting. This approach preserves the technical section break structure while eliminating the formatting differences that cause problems. It’s particularly useful when section breaks serve organizational purposes but shouldn’t create visual document divisions.
To apply the same formatting to adjacent sections, select the text in the second section and manually set its formatting (margins, headers, footers, page orientation) to match the first section. Access these settings through Layout or Page Layout tab, depending on your Word version. Adjust margins, page orientation, and header/footer settings to match the previous section.
Alternatively, you can copy the formatting from one section and paste it to another using the Format Painter tool. However, this works best for character-level formatting rather than page-level section properties. For comprehensive section formatting, manual adjustment through the Layout menu provides more reliable results.
This method proves valuable when you want to keep section breaks for structural reasons (perhaps they mark logical document divisions) but need consistent formatting throughout. It’s also useful when section breaks were inserted by automated processes and removing them entirely would disrupt document organization.
Troubleshooting Common Issues
Even after removing section breaks, formatting problems sometimes persist. This occurs because formatting information can remain embedded in your document even after the section break is deleted. If unexpected formatting appears after deleting a section break, try selecting the affected text and clearing direct formatting by pressing Ctrl+M on Windows or Cmd+M on Mac.
Another common issue involves headers and footers that don’t disappear after section break removal. Headers and footers are tied to sections, so when you delete a section break, the headers and footers from that section might remain. Manually delete unwanted headers and footers by double-clicking them and removing the content. Access the Header & Footer Tools through the Insert tab.
If page breaks appear unexpectedly after deleting section breaks, check for manual page breaks that might have been placed near the section breaks. Manual page breaks appear as Page Break symbols when formatting marks are visible. Delete these the same way you delete section breaks—position your cursor on them and press Delete.
When working with complex documents, sometimes section breaks interact with other formatting elements unpredictably. If you encounter persistent problems, consider creating a backup copy and experimenting with removing breaks one at a time to identify which breaks cause specific issues. This systematic approach helps isolate problematic formatting.
For documents that become severely corrupted during section break removal, you can recover previous versions through Word’s File > Info > Version History feature (in Office 365) or by using your system’s file recovery tools. Always maintain backups before making bulk formatting changes.
When measuring your document’s success, ensure that removing section breaks achieves your formatting goals without introducing new problems. Test the document thoroughly after making changes, reviewing all pages for unexpected layout shifts or formatting inconsistencies.
FAQ
What happens when I delete a section break in Word?
When you delete a section break, the section above it merges with the section below, and the merged content adopts the formatting properties of the lower section. This can cause significant layout changes if the sections had different formatting. Always verify the results after deletion.
Can I undo section break deletion?
Yes, absolutely. If you delete a section break and don’t like the results, press Ctrl+Z immediately to undo the deletion. Word maintains an undo history, allowing you to revert changes. However, the undo history is limited, so act quickly if you need to restore a deleted break.
How do I know if my document has section breaks?
Enable formatting marks by clicking the Pilcrow button (¶) or pressing Ctrl+Shift+8. Section breaks appear as labeled symbols (Next Page, Continuous, Even Page, or Odd Page) in your document. If you don’t see any such symbols, your document contains no section breaks.
Can I remove some section breaks but keep others?
Yes, you can remove individual section breaks while preserving others. Use the manual deletion method, which allows you to delete specific breaks one at a time. Alternatively, use Find and Replace with careful review of each break before deletion, using Replace instead of Replace All.
Why does my document still have formatting problems after removing section breaks?
Formatting information sometimes persists even after section break removal. Try selecting affected text and pressing Ctrl+M to clear direct formatting. Also check for manual page breaks, unwanted headers/footers, or other formatting artifacts that might remain separate from the section breaks themselves.
Is there a way to remove all section breaks at once?
Yes, use the Find and Replace method with the special character code for section breaks. Open Find & Replace (Ctrl+H), search for section breaks using the Special button or by typing ^b, leave the Replace field empty, and click Replace All. This removes every section break in your document simultaneously.
Will removing section breaks affect my page numbering?
Possibly. If your section breaks were controlling page numbering (such as restarting numbering at each chapter), removing them will merge the numbering. You might need to manually adjust page numbering through the Insert > Page Numbers menu after removing section breaks.
Can I remove section breaks from specific pages only?
You can selectively remove section breaks by using the manual deletion method and carefully choosing which breaks to delete. However, you cannot remove breaks from specific pages using Find and Replace without affecting the entire document. Manual selection provides the most control for partial removal.
Related Posts

Superscript in Google Docs: Expert Tips

Strikethrough in Excel: Easy Steps for Beginners
