
Program a Universal Remote? Expert Tips Inside
How to Program a Universal Remote: Expert Tips Inside
A universal remote can simplify your entertainment setup by consolidating control of multiple devices into a single handheld unit. Whether you’re managing a television, soundbar, streaming device, or cable box, learning how to program a universal remote eliminates the need for juggling multiple remotes across your living room. This comprehensive guide walks you through every method—from manual code entry to automatic scanning—ensuring you can get your remote working with any device in minutes.
Programming a universal remote might seem intimidating if you’ve never done it before, but the process is remarkably straightforward once you understand the basic principles. Most modern universal remotes use infrared signals to communicate with your devices, and manufacturers have made setup accessible to everyone, regardless of technical expertise. We’ll cover setup strategies, troubleshooting tips, and advanced features that transform your remote experience.
Understanding Universal Remote Basics
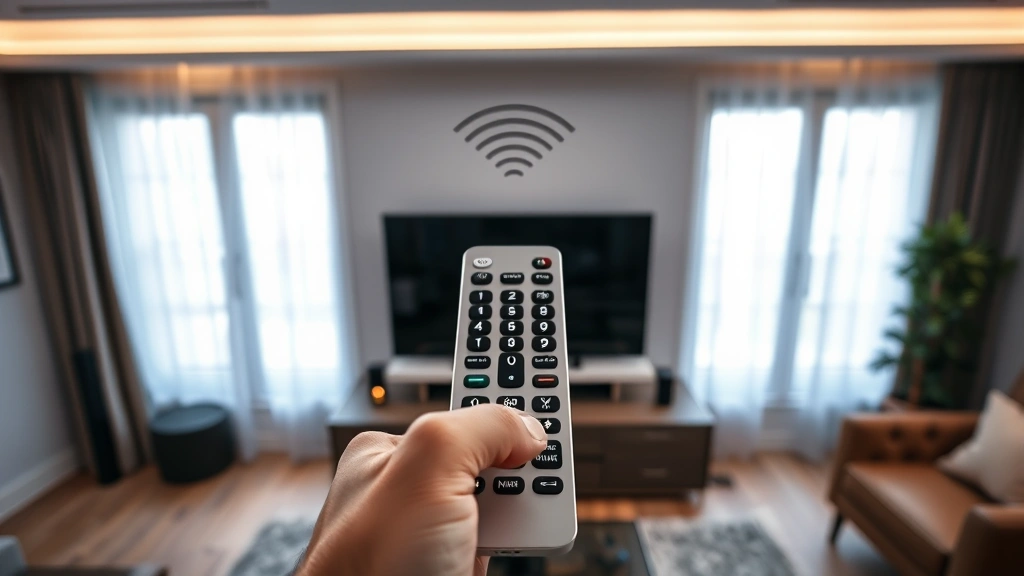
Universal remotes work by transmitting infrared (IR) signals that mimic the commands from original manufacturer remotes. Think of it as a translator—your universal remote learns or stores the specific codes that your TV, soundbar, or cable box understands, then sends those exact signals when you press a button. This is why programming similar devices often follows comparable logic patterns.
There are several types of universal remotes available on the market. IR-only remotes use infrared signals and require a direct line of sight to your devices. RF (radio frequency) remotes work through walls and obstacles, making them more flexible for complex home setups. Smart remotes connect via WiFi or Bluetooth and often integrate with mobile apps for enhanced control. Understanding which type you own determines which programming methods apply to your situation.
The device codes that power universal remotes are maintained by manufacturers and remote makers. Each code represents a specific brand and model combination—for example, your Samsung TV might use code 0060, while your LG TV uses code 0061. When you program your remote, you’re essentially telling it which codes to activate for which devices.
Gathering Your Setup Information
Before you begin programming, collect essential information about each device you want to control. Write down the manufacturer and model number for your television, cable box, streaming device, soundbar, and any other equipment. You’ll find this information on the device itself, in the user manual, or on the manufacturer’s website.
Check your remote’s documentation or visit the manufacturer’s website to download the code list specific to your remote model. Major manufacturers like This Old House recommend keeping physical documentation handy, though most remotes include a quick-start guide with common codes. Many remotes also have websites where you can search codes by device brand and model.
Ensure you have fresh batteries installed in your universal remote before starting. Weak batteries can cause programming failures or inconsistent signal transmission. Keep the remote and all devices you’re programming within arm’s reach, as you’ll need to point the remote at each device during testing.
Method 1: Auto Code Search Programming
The auto code search method is the easiest approach for most users and works with nearly all universal remotes. This method automatically cycles through available codes until it finds one that works with your device.
Step 1: Enter Programming Mode
Turn on the device you want to program (for example, your television). Hold down the MODE or SETUP button on your remote for 3-5 seconds until you see a light indicator change or hear a beep. This light—usually red or green—indicates the remote is in programming mode.
Step 2: Select Your Device
Press the button corresponding to the device type you’re programming. Most remotes have dedicated buttons labeled TV, DVD, SAT (satellite), CABLE, or AUX. This tells the remote which device category to program. The indicator light typically blinks to confirm selection.
Step 3: Initiate Code Search
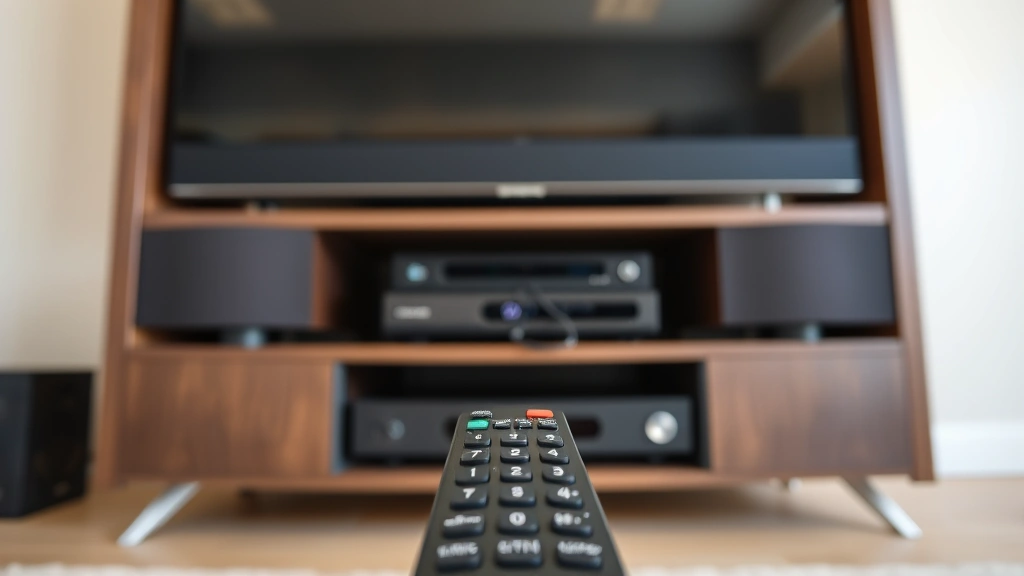
Press and hold the POWER button while pointing the remote at your device. The remote will begin cycling through codes automatically, sending a power-off command with each code. Watch your device carefully—when it turns off, you’ve found a working code. Release the POWER button immediately when the device powers down.
Step 4: Confirm and Store
Press the POWER button again to verify the device powers back on. If it does, press ENTER or OK to save the code. The indicator light should blink or change to confirm the code has been stored. If the device doesn’t respond, repeat the auto search process, as you may have found an incorrect code.
Method 2: Manual Code Entry
Manual code entry gives you precise control and is faster once you have the correct codes for your devices. This method works best when you have the specific codes from your remote’s documentation or manufacturer website.
Finding Your Device Codes
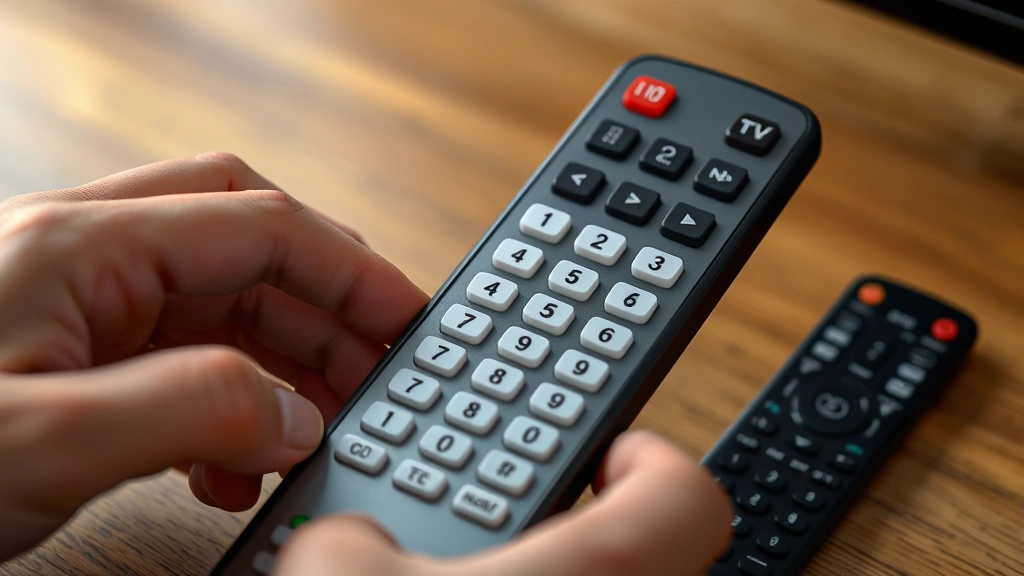
Consult your remote’s code list or visit the manufacturer’s support page. Search by your device brand (Samsung, LG, Sony, etc.) and model number. You’ll typically find multiple codes per brand, as different models use different codes. Write down the primary code and any backup codes listed.
Entering Codes Manually
Enter programming mode by holding the MODE or SETUP button until the indicator light activates. Select your device type using the appropriate button. Enter your device code using the number pad on the remote, typically 3-5 digits. The indicator light should blink after each digit. Press ENTER when you’ve finished entering the code.
Testing Your Entry
Point the remote at your device and test basic functions like POWER, VOLUME, and CHANNEL. If commands work correctly, press ENTER to save. If nothing happens, try the next backup code on your list. Repeat until you find a working code.
Method 3: Learning Mode Setup
Some advanced universal remotes include learning mode, allowing them to copy commands directly from your original manufacturer remotes. This method is invaluable when you can’t find working codes through other methods.
Activating Learning Mode
Consult your remote’s manual for the specific key combination to enter learning mode, as this varies significantly between remote models. Common activation sequences include holding SETUP and LEARN simultaneously, or pressing MODE twice followed by a specific number. Once activated, the indicator light typically changes color or blinks in a distinct pattern.
Copying Commands
Select which button on your universal remote you want to program. Point your original manufacturer remote directly at your universal remote’s IR receiver (usually a small window at the top). Press and hold the button on the original remote for 2-3 seconds. The universal remote should beep or flash to indicate it received the command. Release the button and repeat for each command you want to copy.
Storing Learned Commands
After programming several buttons, exit learning mode by pressing ENTER or waiting for a timeout period. Test each learned button on your device to confirm proper operation. Learning mode is particularly useful for complex home automation setups where standard codes don’t provide complete control.
This method requires patience but delivers reliable results even with older or obscure devices. The ability to learn custom commands makes this approach invaluable for creating a truly personalized remote experience.
Testing and Troubleshooting
Basic Function Testing
After programming each device, systematically test all major functions. Start with POWER to verify the remote can turn devices on and off. Test VOLUME and CHANNEL controls on televisions. For cable boxes, test guide, menu, and select buttons. For soundbars and audio equipment, verify volume and input selection.
Common Programming Issues
If your remote doesn’t control a device after programming, first verify you’re pointing it directly at the device with no obstacles. Check that fresh batteries are installed—weak batteries often cause intermittent failures. Ensure the correct device mode is selected on the remote. Try re-entering the code or running auto search again, as the first attempt sometimes captures an incomplete code.
Signal Strength Problems
If the remote only works from short distances, your batteries may be dying or the remote’s IR transmitter may have dust accumulation. Clean the IR window at the top of the remote with a soft, dry cloth. Test from different distances and angles to identify signal weakness patterns. Some devices have IR receivers in inconvenient locations—experiment with aiming at different spots on the device.
Device-Specific Troubleshooting
Smart TVs often require specific codes or may need to enable IR control in settings menus. Check your TV’s settings to ensure IR remote functionality is enabled. Older devices sometimes use less common codes that auto search takes longer to find—try manual entry with backup codes. Streaming devices like Roku or Apple TV may have limited IR support; check manufacturer documentation for compatibility.
Advanced Remote Features
Once basic programming is complete, explore advanced features that enhance your experience. Macro buttons let you program a single button press to execute multiple commands in sequence. You might program one button to turn on your TV, select HDMI input, and adjust volume—all with one press.
Device switching on premium remotes allows automatic input switching. Program the remote to switch your TV to HDMI 3 whenever you select your cable box device button, eliminating manual input selection. This feature requires remotes with advanced programming capabilities and compatible devices.
Customization options vary by remote model but often include button relabeling, backlight activation, and programmable favorites. Explore your remote’s settings menu to discover available customization features. Some remotes allow you to reassign rarely-used buttons to frequently-used functions, personalizing the remote to your specific needs.
For comprehensive help with advanced features, consult Family Handyman guides on smart home integration, which often cover remote programming as part of larger automation discussions.
Maintaining Your Universal Remote
Battery Care
Replace batteries every 6-12 months, depending on usage frequency. Remove batteries during extended storage periods to prevent corrosion. Always use fresh, high-quality batteries from reputable brands, as cheap batteries often deliver inconsistent power output.
Physical Maintenance
Keep your remote away from moisture, extreme heat, and direct sunlight. Clean the IR window monthly with a soft cloth to prevent dust accumulation that reduces signal strength. Avoid dropping the remote or applying excessive pressure to buttons, as internal components are delicate.
Code Organization
Keep a written record of which codes you’ve programmed for each device. If you reset the remote or need to reprogram, this documentation saves significant time. Many users create a simple spreadsheet listing device type, brand, model, and programmed code.
Software Updates
Smart remotes and those with WiFi connectivity may receive firmware updates that improve functionality. Check the manufacturer’s website periodically for available updates. Follow the manufacturer’s instructions carefully when updating, as interrupted updates can render the remote temporarily unusable.
Regular maintenance ensures your remote continues operating reliably for years. A well-maintained universal remote becomes an indispensable part of your home entertainment setup, providing seamless control across all your devices.
FAQ
Can I use one universal remote for all my devices?
Yes, quality universal remotes can control TVs, cable boxes, streaming devices, soundbars, and most IR-equipped devices. However, some newer smart devices may require WiFi or Bluetooth connectivity rather than IR signals. Check your remote’s compatibility list and device specifications to confirm all your equipment can be controlled.
How long does programming typically take?
Programming a single device usually takes 2-5 minutes using auto code search, or 1-2 minutes if you have the exact code. Completing a full home entertainment setup with multiple devices typically takes 15-30 minutes total. Learning mode programming takes longer, usually 5-10 minutes per device, as you must copy commands individually.
What if I can’t find a code for my device?
Try the auto code search method, which cycles through all available codes automatically. If that fails, check if the device is compatible with IR remotes—some modern devices only support WiFi or Bluetooth. Contact the device manufacturer’s customer support for specific code recommendations. As a last resort, use learning mode to copy commands from the original remote if your universal remote supports this feature.
Do I need to reprogram when I change batteries?
No, your programmed codes remain stored in the remote’s memory even when batteries are removed or depleted. Simply install fresh batteries and your settings will be intact. The only exception is if the remote experiences a hardware failure or you perform a factory reset.
Can universal remotes work through walls?
Standard IR remotes require direct line of sight to devices and cannot transmit through walls. RF (radio frequency) universal remotes can transmit through walls and obstacles. If you need to control devices in other rooms, look for RF-capable universal remotes, which are available from most major manufacturers and home improvement retailers like Lowe’s.
Is it possible to control multiple TVs with one remote?
Yes, many universal remotes allow programming the same device type multiple times using different codes. Program each TV with its specific manufacturer code, then use the device button to switch between controlling different TVs. Some advanced remotes include zone controls for managing multiple televisions simultaneously.
What’s the difference between IR and RF remotes?
IR (infrared) remotes require direct line of sight and typically have shorter range, usually 20-30 feet. RF (radio frequency) remotes work through walls and obstacles with ranges up to 100 feet, making them ideal for complex home layouts. RF remotes are generally more expensive but offer superior flexibility for multi-room control.
Related Posts

Superscript in Google Docs: Expert Tips

Strikethrough in Excel: Easy Steps for Beginners
