
Fix a Running Toilet: Expert Tips & Tricks
Fix a Running Toilet: Expert Tips & Tricks
A running toilet is one of the most common household plumbing issues, yet it’s often overlooked because homeowners assume it requires professional help. The truth is that most running toilet problems can be diagnosed and fixed in under an hour with basic tools and a little knowledge. A continuously running toilet wastes thousands of gallons of water annually, driving up your water bill while damaging the environment. Understanding how your toilet works and identifying the root cause is the first step toward a permanent solution.
Whether you’re dealing with water trickling into the bowl or a constant flow, this comprehensive guide will walk you through every troubleshooting step and repair technique. We’ll cover everything from simple adjustments to component replacements, ensuring you can tackle this problem confidently. By the end, you’ll understand exactly what’s causing your toilet to run and how to fix it once and for all.
How a Toilet Works
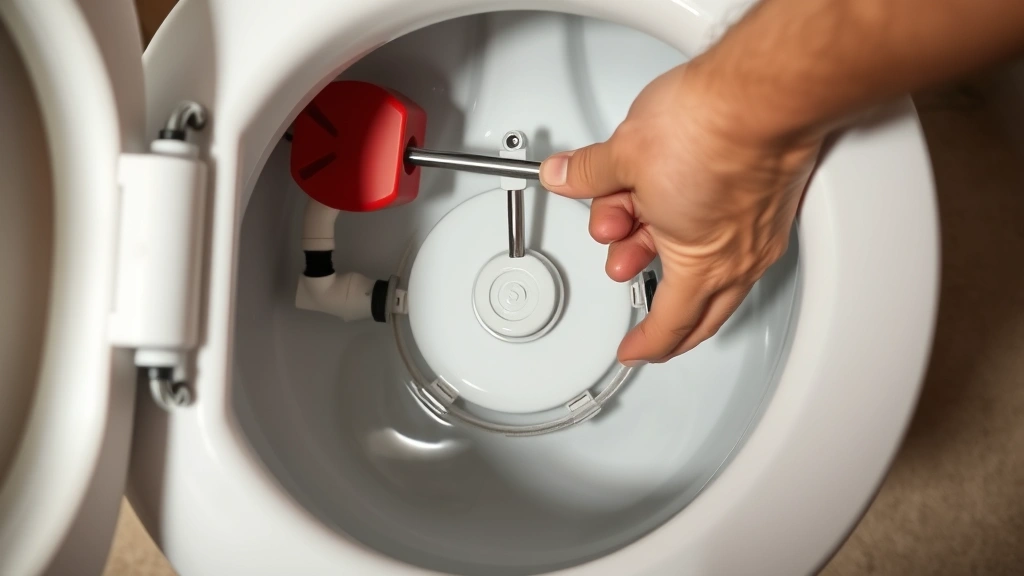
Before you can fix a running toilet, you need to understand the basic mechanics. A toilet consists of two main chambers: the tank (the large container behind the bowl) and the bowl itself. The tank holds water and contains several critical components that work together during the flushing cycle. When you press the handle or button, a chain or cable pulls up a flapper valve, allowing water to rush from the tank into the bowl. Once the tank empties, the flapper closes, and a fill valve (also called a ballcock) opens to refill the tank with fresh water.
The fill valve is controlled by a float mechanism—either a ball or cup-shaped device—that rises as water fills the tank. Once the water reaches the proper level, the float triggers the fill valve to shut off. If any of these components malfunction, your toilet will run continuously. Understanding this cycle helps you pinpoint exactly where the problem lies, making your repair much more efficient and effective.
The key components you need to know about include the flapper (the rubber seal that lets water into the bowl), the fill valve (which controls water entering the tank), the float (which tells the fill valve when to stop), and the overflow tube (which prevents the tank from overflowing). Each of these plays a crucial role in keeping your toilet functioning properly.
Identifying Why Your Toilet Keeps Running
A running toilet typically falls into one of two categories: water continuously trickling into the bowl, or the fill valve running constantly. To diagnose the issue, start by removing the tank lid and observing what happens after you flush. Listen carefully and watch where the water is going. If you hear the fill valve running and water is entering the tank, your problem is likely with the flapper or the overflow tube. If water is silently leaking from the tank into the bowl, the flapper is almost certainly worn out.
Check the water level in the tank first. The water should stop filling when it reaches about an inch below the overflow tube. If water is continuously entering the tank even when it’s full, the fill valve isn’t shutting off properly. If water is trickling into the bowl from inside the tank, your flapper has failed. You can also perform a simple dye test: add food coloring to the tank and wait fifteen minutes without flushing. If the color appears in the bowl, you have a flapper leak.
Another common issue is a stuck or misaligned float. The float should move freely up and down as the water level changes. If it’s hitting the tank wall or chain, it won’t trigger the fill valve to shut off. Sometimes the problem is as simple as adjusting the float arm or cleaning mineral deposits that prevent smooth movement. Take time to observe your specific toilet’s behavior before beginning repairs.
The Fill Valve Problem
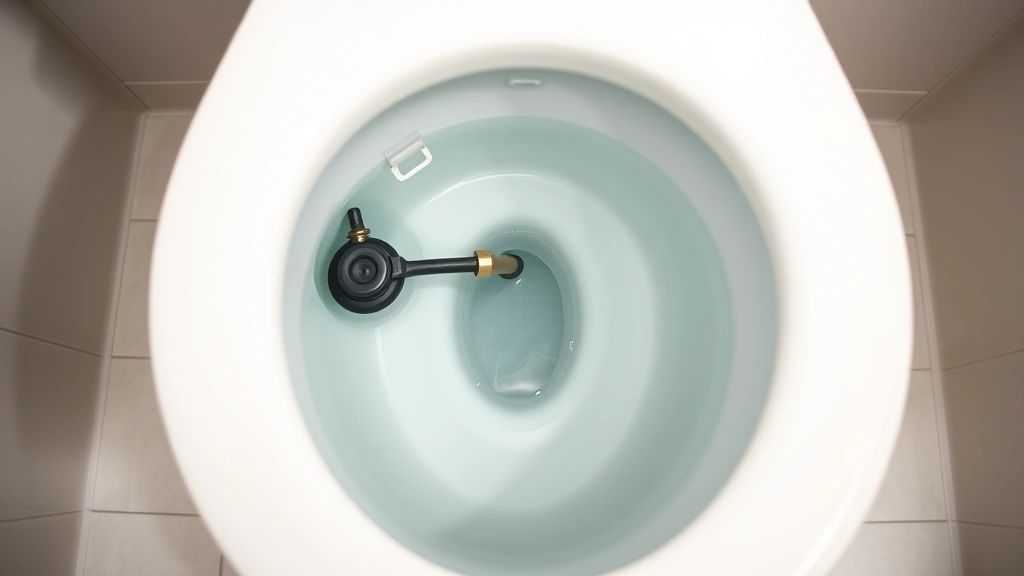
The fill valve (ballcock) is responsible for refilling your tank after each flush. When this component fails, water continuously enters the tank, causing it to overflow into the overflow tube and down into the bowl. A faulty fill valve is one of the most common causes of a running toilet, especially in older homes.
Fill valve problems typically manifest in three ways. First, the valve might not shut off completely, allowing a slow trickle of water into the tank indefinitely. Second, the float mechanism might be stuck or damaged, preventing it from signaling the valve to close. Third, mineral deposits or debris might clog the valve, preventing it from sealing properly. Before replacing the entire valve, try these troubleshooting steps:
- Clean the fill valve: Turn off the water supply to your toilet using the shutoff valve beneath the tank. Flush to empty the tank. Remove the fill valve cap (usually a large nut at the top) and rinse away any sediment or mineral buildup under running water. Reinstall and test.
- Adjust the float: If your toilet has a ball float, try bending the float arm slightly downward to lower the water level. This forces the fill valve to shut off earlier. For cup-style floats, there’s usually a clip you can move down the rod to achieve the same effect.
- Check for leaks: Look for water spraying from the fill valve or pooling around the base. These indicate internal damage requiring replacement.
If cleaning and adjustment don’t resolve the issue, you’ll need to replace the fill valve. This is a straightforward repair that takes about thirty minutes. Most hardware stores carry universal fill valves that fit standard toilets, and detailed installation guides are readily available.
Flush Valve and Flapper Issues
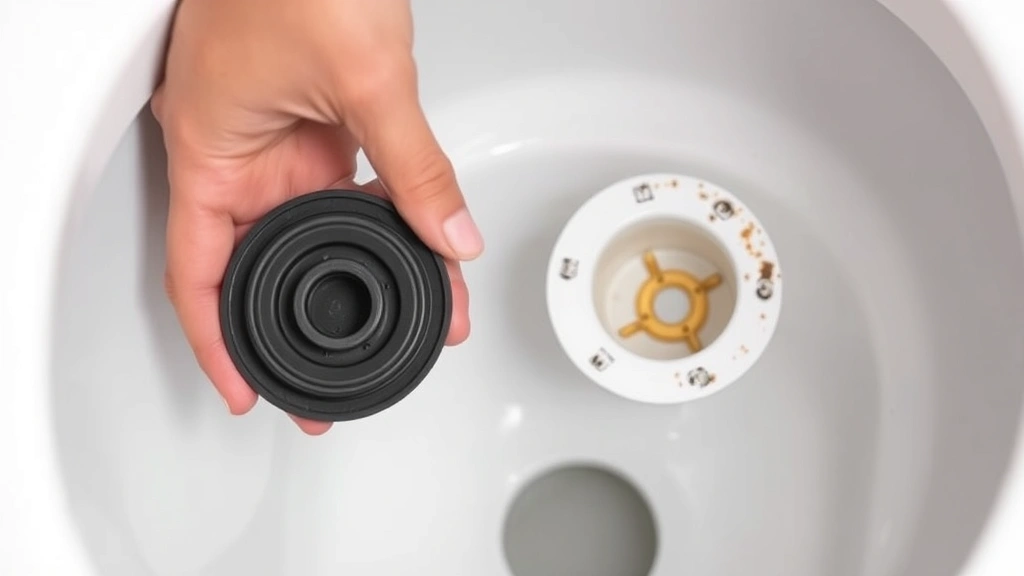
The flapper is a rubber seal at the bottom of the tank that lifts when you flush, allowing water to surge into the bowl. When the flush cycle ends, the flapper seals again, allowing the tank to refill. A deteriorated or misaligned flapper is the second most common cause of a running toilet. Over time, rubber flappers become brittle, cracked, or warped, losing their ability to seal properly.
You can identify a flapper problem by listening for a faint hissing sound coming from inside the tank, or by observing water slowly trickling into the bowl even when the toilet hasn’t been flushed recently. The dye test mentioned earlier is the most reliable way to confirm a leaking flapper. If food coloring appears in the bowl within fifteen minutes, your flapper needs replacement.
Flapper replacement is one of the easiest toilet repairs you can perform. Start by turning off the water supply and flushing to empty the tank. The flapper is held in place by a clip or ears on either side of the overflow tube. Unhook the chain or wire connected to the flush handle, then slide the old flapper off its mounting. Install the new flapper (which costs just five to fifteen dollars) by reversing the process. Make sure the chain has the right amount of slack—about half an inch of play when the flapper is closed.
Sometimes the problem isn’t the flapper itself but the flush valve seat (the rim where the flapper seals). If the seat is corroded or pitted, even a new flapper won’t seal properly. You can purchase a universal flapper and flush valve seat repair kit that includes a new seat ring to install over the damaged one. This approach is much cheaper than replacing the entire toilet.
Step-by-Step Repair Guide
Now that you understand the common causes, let’s walk through a complete diagnostic and repair process. This methodical approach will help you fix your running toilet regardless of the underlying issue.
Step 1: Turn Off Water and Document the Problem
Locate the shutoff valve beneath your toilet tank and turn it clockwise to stop water flow. This valve is crucial for all toilet repairs. Take a moment to describe exactly what you’re experiencing: Is water trickling into the bowl? Is the fill valve constantly running? Does the water level stay too high? This information helps you focus your repair efforts.
Step 2: Inspect the Tank Interior
Remove the tank lid by lifting it straight up (it’s heavy, so be careful). Set it somewhere safe where it won’t break. Look at all the internal components. Check the flapper for visible cracks, warping, or mineral buildup. Examine the float to ensure it moves freely without hitting the tank walls or chain. Look at the fill valve for signs of leakage or corrosion. Note any debris or sediment in the tank bottom.
Step 3: Perform the Dye Test
Add several drops of food coloring to the tank water and wait ten to fifteen minutes without flushing. If the color appears in the bowl, you have a flapper leak. If the water level rises above the overflow tube, your fill valve isn’t shutting off. This test eliminates guesswork and points you toward the correct repair.
Step 4: Clean and Adjust
Before replacing anything, try these non-destructive fixes. Clean the fill valve by turning off water, flushing, and removing the valve cap. Rinse away mineral deposits. Adjust the float arm downward slightly to lower the fill level. Check that the flapper moves freely and isn’t stuck. These simple steps resolve many running toilet issues without requiring part replacement.
Step 5: Replace Worn Components
If cleaning and adjustment don’t work, replace the faulty parts. For a leaking flapper, unhook the chain, slide off the old flapper, and install a new one (fifteen-minute job). For a faulty fill valve, turn off water, flush, disconnect the supply line, unscrew the mounting nut, and install a new universal fill valve (thirty-minute job). Follow the package instructions carefully, as different valve styles have slightly different installation procedures.
Step 6: Test and Adjust
Turn the water supply back on slowly and let the tank fill. Listen for the fill valve to shut off when the water reaches the proper level. Flush several times and observe the refill cycle. The tank should fill completely and stop automatically within one minute. Water should not trickle into the bowl. If problems persist, you may need to adjust the float position slightly or repeat the cleaning process.
Prevention and Maintenance
Once you’ve fixed your running toilet, prevent future problems with regular maintenance. Check your toilet monthly by listening for unusual sounds and watching the fill cycle. If you notice the water level dropping or the fill valve running longer than usual, address it immediately before the problem worsens. Many running toilet issues start small and become major water wasters if ignored.
Hard water areas experience more mineral buildup in fill valves and flappers. If you live in an area with hard water, consider installing a water softener system to reduce mineral deposits throughout your plumbing. In the meantime, clean your fill valve every six months by removing the valve cap and rinsing the internal components.
Replace your flapper every three to five years as preventive maintenance, even if it’s not currently leaking. The rubber deteriorates over time, and a new flapper costs just ten dollars compared to hundreds of gallons of wasted water. If your toilet is over twenty years old, consider replacing the entire fill valve and flapper assembly as a comprehensive preventive measure. Many older toilets have components that are difficult to find and increasingly unreliable.
Ensure your water supply line is properly connected and not kinked. A kinked line can cause pressure fluctuations that make the fill valve malfunction. Check periodically for leaks around the base of the toilet, which might indicate internal tank cracks requiring toilet replacement. These maintenance habits keep your toilet running efficiently and catch problems before they become expensive.
If you’re tackling other home repairs, you might also be interested in how to install gutters to protect your home’s foundation from water damage. Understanding basic plumbing also helps when you need to fix a hole in the wall caused by water damage or when planning home improvements that involve plumbing considerations.
FAQ
How much water does a running toilet waste?
A running toilet can waste between 200 and 1,000 gallons of water per day, depending on the severity of the leak. Over a year, this translates to 73,000 to 365,000 gallons—enough to fill a swimming pool multiple times. This explains why even small running toilet problems significantly impact your water bill.
Can I fix a running toilet without turning off the water supply?
While you can diagnose a running toilet without shutting off water, you should always turn off the water before attempting repairs. This prevents accidents, water damage, and ensures you can safely work inside the tank without water flowing unexpectedly.
What’s the difference between a ballcock and a fill valve?
Ballcock is the older term for what’s now called a fill valve. Both refer to the same component—the mechanism that refills the tank after flushing. Modern fill valves are typically more reliable and easier to adjust than older ballcock designs.
How do I know if my toilet needs professional repair?
Most running toilet problems are DIY-friendly, but call a professional plumber if you notice cracks in the tank, persistent leaks around the base, or if your toilet is over thirty years old. Also seek professional help if you’ve replaced the flapper and fill valve but the problem continues, as this might indicate a cracked overflow tube or tank damage requiring toilet replacement.
Can mineral buildup in my fill valve be cleaned?
Yes, mineral deposits are often removable. Turn off water, remove the fill valve cap, and soak the internal components in white vinegar for one hour. Scrub gently with an old toothbrush to remove deposits, then rinse thoroughly before reinstalling. This process works best on light to moderate buildup and can extend your fill valve’s life by several years.
Why does my toilet run intermittently?
Intermittent running usually indicates a partially stuck fill valve or a flapper that’s not sealing completely. The toilet might run for a minute, then stop for a while before running again. This pattern suggests the float mechanism is working partially but not perfectly. Cleaning the fill valve often resolves this issue, or you may need to replace the flapper.
Is it better to repair or replace a running toilet?
Repair is almost always the better choice for running toilets. Most problems cost five to fifty dollars in parts and take under an hour to fix. Toilet replacement costs hundreds to thousands of dollars. Only replace your toilet if it’s cracked, severely damaged, or over thirty years old and experiencing multiple problems simultaneously.
Related Posts

Superscript in Google Docs: Expert Tips

Strikethrough in Excel: Easy Steps for Beginners
