
Remove Nail Varnish Safely: Expert Tips
Remove Nail Varnish Safely: Expert Tips for Perfect Results
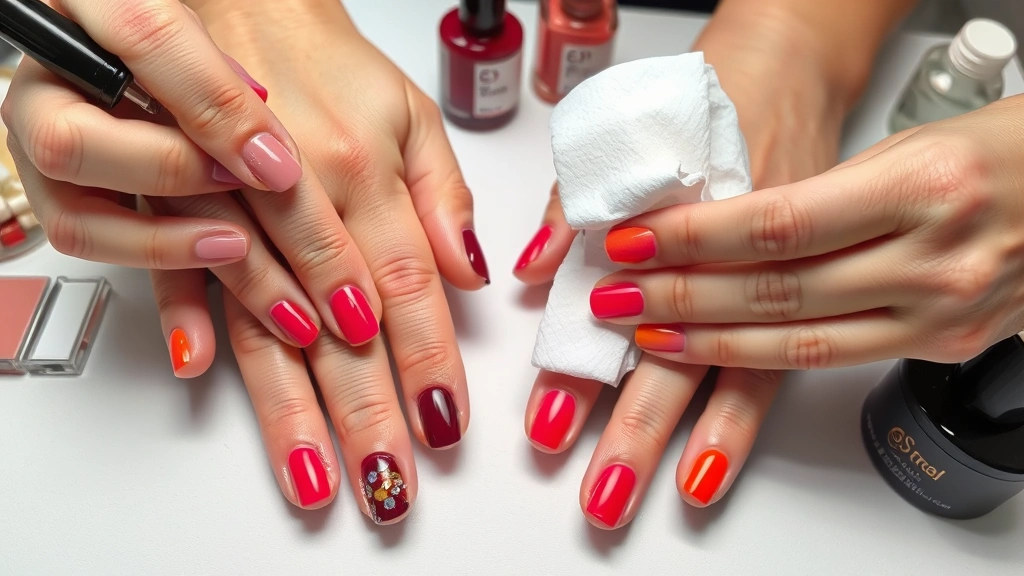
Removing nail varnish might seem like a straightforward task, but doing it incorrectly can damage your nails and irritate your skin. Whether you’re prepping for a fresh manicure or simply want to go natural, understanding the proper techniques and products is essential for maintaining healthy, beautiful nails. This comprehensive guide will walk you through everything you need to know about safely removing nail varnish without causing harm.
Nail varnish removal is more nuanced than simply wiping off color. The chemicals involved, the tools you use, and the technique you employ all play crucial roles in protecting your nail health. Many people rush through this process, leading to brittle nails, peeling cuticles, and weakened nail beds. By following expert-recommended methods, you can ensure your nails remain strong and healthy throughout the removal process.
Understanding Nail Varnish Removal Basics
Before diving into the removal process, it’s important to understand what you’re working with. Nail varnish is composed of pigments, resins, and solvents that harden into a protective coating on your nails. When you want to remove this coating, you need a solvent strong enough to break down these chemical bonds without damaging the nail structure underneath.
The most common ingredient in nail polish removers is acetone, a powerful solvent that effectively dissolves varnish quickly. However, acetone can be harsh on nails and surrounding skin, causing dryness and irritation with frequent use. This is why understanding your options and choosing the right product is crucial for nail health. Many people don’t realize that repeated exposure to harsh removers can lead to weakened nails, discoloration, and peeling.
Non-acetone removers are gentler alternatives that work more slowly but are less damaging to your nails and skin. These formulas often contain gentler solvents like ethyl acetate or methyl ethyl ketone. While they require more time and effort, they’re ideal for people with sensitive skin or those who remove polish frequently. Learning how to properly use these products ensures you get the best results while maintaining nail integrity.
The quality of your nail varnish also affects removal difficulty. Professional-grade polishes and gel formulas are designed to last longer and resist chipping, which means they require more aggressive removal methods. Understanding the type of polish you’re removing helps you select the appropriate technique and product strength needed for effective removal.
Choosing the Right Nail Polish Remover
Selecting the appropriate nail polish remover is the foundation of safe varnish removal. You have several options, each with distinct advantages and disadvantages. The choice depends on your nail sensitivity, the type of polish you’re removing, and how frequently you remove polish.
Acetone-Based Removers: These are the fastest and most effective options for removing regular nail varnish. Acetone penetrates the polish quickly, often requiring just one to two minutes of soaking. However, acetone strips natural oils from your nails and skin, potentially causing brittleness and dryness. This Old House recommends using acetone sparingly and following up with intensive moisturizing treatments. If you use acetone, ensure you’re working in a well-ventilated area due to the strong fumes.
Non-Acetone Removers: These gentler formulations are ideal for frequent polish removal or sensitive skin. They work by slowly dissolving the varnish without the harsh drying effects of acetone. While they require more time—typically five to ten minutes—the reduced damage to your nails and skin makes them worth the wait. Many non-acetone removers contain conditioning ingredients like vitamin E or jojoba oil.
Natural and Organic Options: If you prefer avoiding synthetic chemicals, natural removers using plant-based solvents are available. These are the gentlest option but also the slowest and sometimes less effective on stubborn polishes. They’re excellent for occasional use or for people with chemical sensitivities.
Gel Polish Removers: Gel varnish requires specialized removal products. These removers are formulated to break down the UV-cured resin structure of gel polish. Using regular nail varnish remover on gel polish won’t work effectively and can damage your nails through excessive rubbing.
When shopping for nail polish remover, check the ingredient list and choose products from reputable brands. Family Handyman suggests looking for removers that include moisturizing agents alongside the active solvent. Quality matters—cheaper removers often contain filler ingredients that reduce effectiveness and require more application.
Step-by-Step Removal Process
Now that you’ve selected your remover, follow these expert-recommended steps for safe and effective varnish removal. This methodical approach minimizes damage while ensuring complete polish removal.
Step 1: Prepare Your Workspace
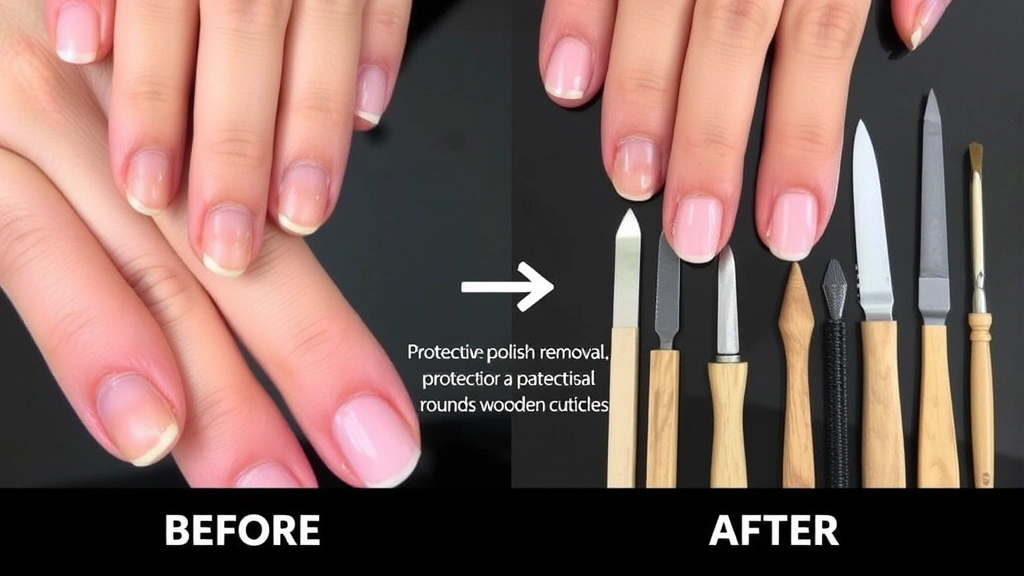
Set up in a well-ventilated area, preferably near a window or with a fan running. Nail polish remover fumes can cause headaches and dizziness, especially with acetone-based products. Lay down a protective surface like newspaper or a designated nail care mat to prevent staining. Gather all supplies: cotton pads or balls, the nail polish remover, a nail file, and a cuticle pusher.
Step 2: File Your Nails
Before applying remover, gently file your nails in one direction. This creates texture that helps the remover penetrate the polish more effectively. Avoid sawing back and forth, which can cause splitting. File at a slight angle to the nail edge, creating a smooth, beveled surface. This preparation step reduces the time needed for soaking and minimizes damage.
Step 3: Apply Remover
Soak a cotton pad thoroughly with nail polish remover. Press the saturated pad onto your nail and hold it in place for 30 seconds to one minute. For acetone-based removers, one minute is usually sufficient. For non-acetone formulas, wait three to five minutes. Don’t rush this process—allowing adequate soaking time means less scrubbing required, which reduces nail damage.
Step 4: Gently Remove Polish
Using gentle pressure, wipe the varnish away from the nail base toward the tip. If polish doesn’t come off easily, reapply the remover pad and wait longer rather than scrubbing harder. Excessive rubbing damages the nail surface and can cause peeling. Work methodically through each nail, taking time with any stubborn spots.
Step 5: Clean Residue
After removing most polish, use a clean cotton pad with fresh remover to eliminate any remaining traces. Pay special attention to the nail edges and cuticle area where polish accumulates. This ensures a clean base for your next manicure or allows your nails to breathe if going polish-free.
Step 6: Rinse and Hydrate
Wash your hands thoroughly with soap and warm water to remove all remover residue. Pat dry gently and immediately apply cuticle oil or hand moisturizer. This step is crucial for counteracting the drying effects of the remover and preventing nail brittleness. Use a rich moisturizer and massage it into your nails and surrounding skin.
Protecting Your Nails and Skin
Prevention and protection are key to maintaining healthy nails during the removal process. Several strategies can minimize potential damage and keep your nails strong.
Avoid Frequent Removal: While it might be tempting to change your polish color weekly, excessive removal stresses your nails. Space out manicure changes by at least a few days, allowing your nails to recover between removal sessions. This spacing prevents the cumulative damage that leads to weak, brittle nails.
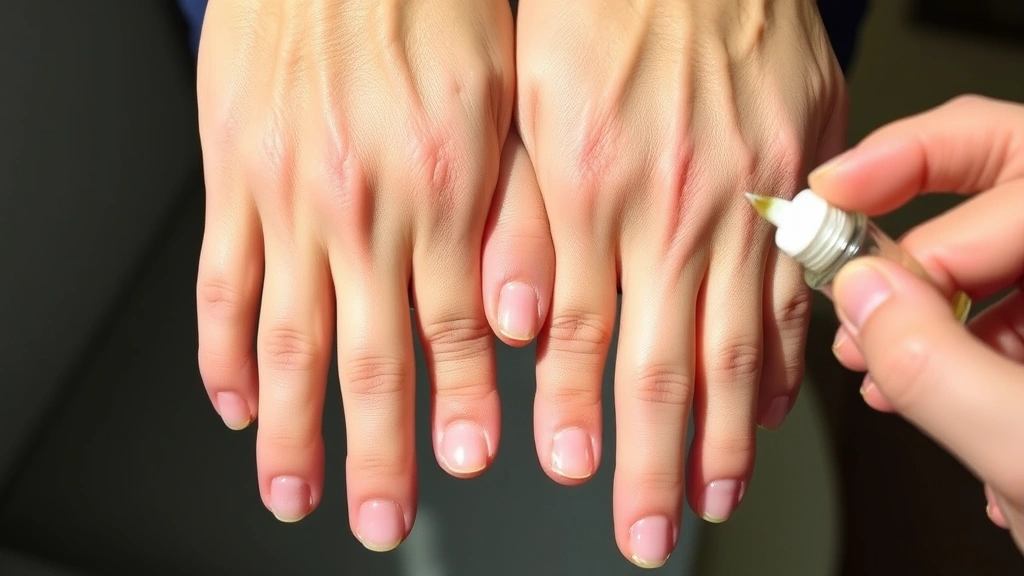
Use Protective Barriers: Before applying remover, apply a thin layer of coconut oil or petroleum jelly around your cuticles and skin. This barrier prevents the remover from drying out these sensitive areas while still allowing effective polish removal. The oil creates a protective seal that maintains skin hydration.
Limit Exposure Time: Never leave remover-soaked cotton pads on your nails for extended periods beyond what’s necessary. Extended exposure increases chemical absorption and drying effects. Set a timer if using non-acetone removers to ensure you don’t leave them on longer than needed.
Keep Nails Hydrated: After removal, prioritize hydration. Apply cuticle oil daily and use hand creams regularly. Well-hydrated nails are more flexible and resistant to peeling and breaking. This is especially important if you frequently maintain your home and hands through various tasks.
Wear Gloves: When doing household cleaning or other activities, wear protective gloves. This prevents your nails from absorbing harsh chemicals and reduces breakage risk. Gloves also keep your hands dry, which is essential for nail health.
Removing Stubborn or Gel Polish
Sometimes regular removal techniques don’t work, particularly with gel varnish or particularly stubborn polish. These situations require specialized approaches to avoid damaging your nails through excessive rubbing.
Gel Polish Removal: Gel varnish requires a different approach because it’s cured under UV light and bonds more strongly to the nail. The proper method involves filing away the top glossy layer, applying a gel-specific remover or acetone-soaked foil wraps, and waiting 10-15 minutes before gently pushing off the remaining polish with a cuticle pusher. Never peel or pick at gel polish, as this removes the top nail layer.
Many professionals recommend the foil wrap method for gel removal. Soak cotton pads in acetone, place them on each nail, and wrap aluminum foil around each finger to hold the pad in place. This creates an effective seal that allows the acetone to penetrate the gel polish thoroughly. After 15 minutes, gently push the softened gel away using a wooden or plastic pusher.
Glitter or Stubborn Polish: Glitter polish often resists removal because the sparkles grip the nail surface. For glitter varnish, file the top layer lightly to break the seal, then apply remover and wait longer than usual. Some experts recommend using a slightly stronger remover or repeating the soaking process multiple times rather than scrubbing aggressively.
Multi-Layered Polish: If you’ve applied multiple polish coats without removal, the job takes longer but follows the same principles. Soak longer and be patient. Rushing leads to nail damage. Consider using a slightly stronger remover if you’ve been wearing the same polish for several weeks.
For particularly stubborn polish, This Old House recommends a two-step approach: first, file away as much surface as safely possible, then apply remover and wait patiently. This reduces the scrubbing needed and minimizes nail damage.
Aftercare and Maintenance
What you do after removing varnish is just as important as the removal process itself. Proper aftercare determines how quickly your nails recover and how healthy they remain.
Immediate Aftercare: Right after removal, your nails are vulnerable. Avoid applying new polish immediately; let your nails breathe for at least 24 hours. During this time, continue moisturizing regularly. Apply cuticle oil every few hours and use a nourishing hand cream before bed. This recovery period allows your nails to rehydrate and regain their natural strength.
Nail Strengthening: If your nails feel weak or brittle after removal, use a nail strengthening treatment. These products contain proteins and nutrients that reinforce nail structure. Apply them according to package directions, typically daily for several weeks. Biotin supplements may also help strengthen nails when taken consistently.
Base Coat Application: When you’re ready to apply new polish, always use a quality base coat. This protective layer prevents the polish from staining your nails and reduces direct chemical contact. Base coats also provide a smoother surface for polish application, reducing the number of coats needed and thus reducing future removal difficulty.
Maintenance Between Manicures: Keep your nails moisturized throughout the week you’re wearing polish. Apply cuticle oil daily, especially before bed. This maintains nail hydration and prevents the brittleness that develops from extended polish wear followed by harsh removal.
Professional Removal Option: If you’re concerned about damaging your nails, consider having polish removed professionally. Nail technicians have experience with various polish types and use techniques refined through training. This is particularly recommended if you wear gel polish regularly or have naturally weak nails.
Just as you’d carefully maintain your home—like learning how to address household issues properly—caring for your nails requires the right approach and consistent maintenance.
FAQ
Is acetone-free nail polish remover as effective as acetone?
Acetone-free removers work effectively but require more time and patience. They’re gentler on nails and skin, making them ideal for frequent use or sensitive individuals. For stubborn polish, acetone-based removers work faster, but non-acetone options will eventually remove any polish if you allow adequate soaking time.
How often can I safely remove nail polish?
Most experts recommend removing polish no more than once weekly. Frequent removal stresses nails and can lead to weakness and brittleness. If you change polish frequently, allow your nails to go polish-free for at least 24 hours between applications to recover.
Can I use rubbing alcohol instead of nail polish remover?
While rubbing alcohol can dissolve some polish, it’s not formulated for this purpose and works slowly and incompletely. Nail polish remover contains specific solvents designed to break down varnish effectively. Using inappropriate substitutes requires excessive rubbing, which damages nails more than using proper remover.
Why do my nails peel after removing polish?
Peeling typically results from either excessive scrubbing during removal or insufficient moisturizing afterward. Both nail polish remover and the polish itself dry out nails. Prevent peeling by using gentle removal techniques, limiting removal frequency, and moisturizing immediately after removal. Continue applying cuticle oil and hand cream daily.
Is it safe to remove gel polish at home?
Yes, but it requires the proper technique to avoid nail damage. Use acetone-soaked foil wraps rather than picking or peeling. Never force gel polish off; if it resists, soak longer. Professional removal is recommended if you’re unsure about proper technique, as improper removal can severely damage your nail beds.
What should I do if my nails become discolored after polish removal?
Discoloration usually fades naturally within a few weeks as nails grow out. However, if staining persists, it may indicate damage to the nail surface. Use a gentle nail buffer to smooth the surface and continue moisturizing. If discoloration doesn’t improve within a month, consult a dermatologist to rule out infection or other issues.
Learning proper maintenance techniques for all aspects of home and personal care ensures long-term health and satisfaction. Whether you’re managing household tasks or personal grooming, understanding the right methods makes all the difference in achieving quality results without causing damage.
For additional guidance on specialized removers and professional products, check with retailers like Lowe’s or The Home Depot, which carry quality nail care products alongside their home improvement selections.
Related Posts

Superscript in Google Docs: Expert Tips

Strikethrough in Excel: Easy Steps for Beginners
